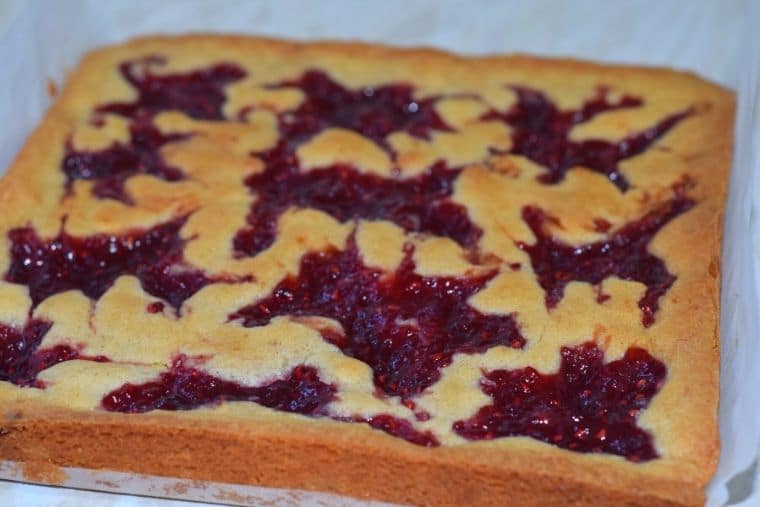
Bakewell cookie bars are the gorgeous fusion of a Bakewell tart and a white chocolate chip cookie, in an easily munched bar form! They're a deliciously soft and gooey raspberry almond cookie bar - perfect for Summer picnics.
Jump to:
✏️ Making a tasty and easy recipe
I’m in love with all things Bakewell. But what is Bakewell you ask? Well, Bakewell is a place in England. It’s where the Bakewell tart originates from, which was apparently invented by accident!
Bakewell desserts traditionally have a shortcrust pastry base, beneath a layer of jam followed by frangipane and topped by flaked almonds or icing.
I know what you’re thinking, what is frangipane? Well, put simply, it’s an almond pastry cream or paste. And you what, it’s damn tasty.
I originally made these cookie bars during my recipe testing for the best Bakewell blondies. My first test came out with that slight caramel flavour that you get in cookies. I thought to myself, “this is almost a cookie, so why not go all for it?”.
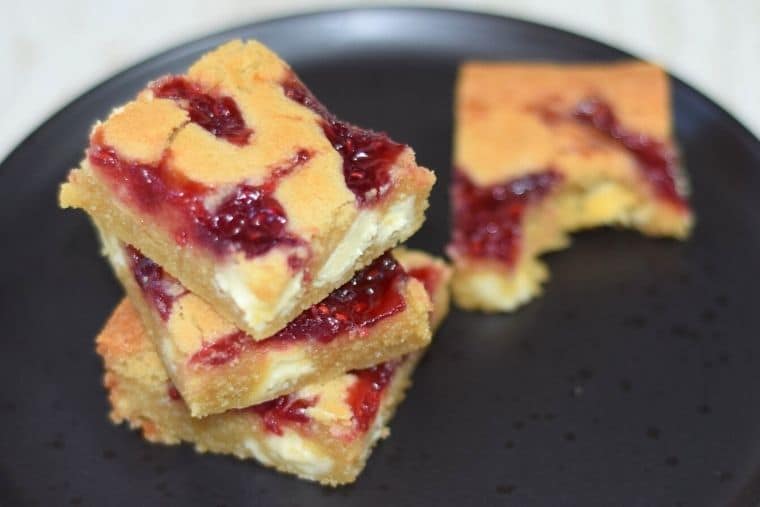
A few tweaks and tests and I got the texture of this Bakewell cookie bar to be gorgeously chewy and soft with a tasty crispy top.
The Bakewell flavours of almond and raspberries are beautifully combined with white chocolate and the brown sugar sweetness of the cookie.
This is one of my all-time favourite recipes! And not just because it’s Bakewell flavoured and I’m very much addicted. It’s also super easy to make and looks a lot more impressive than it is (I won’t tell if you won’t).
🥘 Ingredients notes
- Use good quality ingredients! This is so important because if you’re using cheap jam, for example, you’ll be able to taste this in your cookie bar. My favourite jam to use (if you’re not making your own!) is Tiptree raspberry or cherry preserves. The higher fruit content really adds to the flavour of your cookie bar.
- Similarly, better quality chocolate chips will have a better taste - trust me. These Belgian white chocolate chips by Callebaut are delicious!
- Always sieve your flour and baking powder. I used to be a bit lazy and skip this part, but it really makes such a difference to get you a lump-free mixture.
- When measuring your ingredients, I always recommend using weights rather than cups where possible for greater accuracy. Accuracy is important for the amount of flour used.
🔪 Equipment notes
- I like to use digital scales for weighing my ingredients as it's easier and more accurate than other scales. I'm a fan of these KitchenAid or Salter ones!
- Use measuring spoons for your teaspoon and tablespoon amounts where possible. Be sure to level off the heaped ingredients in your scoops before adding them to your mix.
- To make it easier to get your cookie bars out of the pan, grease and line your tin with parchment paper (or greaseproof paper). Leave a small overhang of paper on two of the sides so you can lift them out easily.
🍱 Storage
You can store your cookie bars in an airtight container. They should keep for up to 4 days stored at room temperature.
If you like your cookie bars a bit firmer and chewier, you can store them in the fridge instead.
💭 Top tips
- To help prevent your chocolate chips from sinking to the bottom of your Bakewell cookie bars, you can first toss them in the all-purpose flour (or self-raising flour if using).
- Don’t overmix your cookie bar dough, or you’ll get slices that are a bit too chewy and dense.
- When adding your fruit jam preserves to the cookie bars before baking, using a teaspoon to dollop the jam on top is easiest. You may need to dig / push the spoonful in a little as your cookie dough is quite firm.
- I also recommend using the spoon to push aside the mixture a little as you add the jam in, almost like your making a little hole for the jam. This allows it to sit partway into your cookie bars rather than just on top.
- Try not to open your oven partway through baking as, just like with a cake, the cookie bar may sink in the middle if you do.
- Your giant cookie will be a little bit wobbly in the middle when it’s done. I know that can be a bit alarming as it will seem under-done. But that’s ok, it will firm up as it cools just like a regular cookie. When I baked it to a point of no wobble, the bars lost their beautifully soft and gooey centre!
- Let your cookie bars cool in the tin for 10mins before removing the whole slab and placing it on a wire rack to finish cooling.
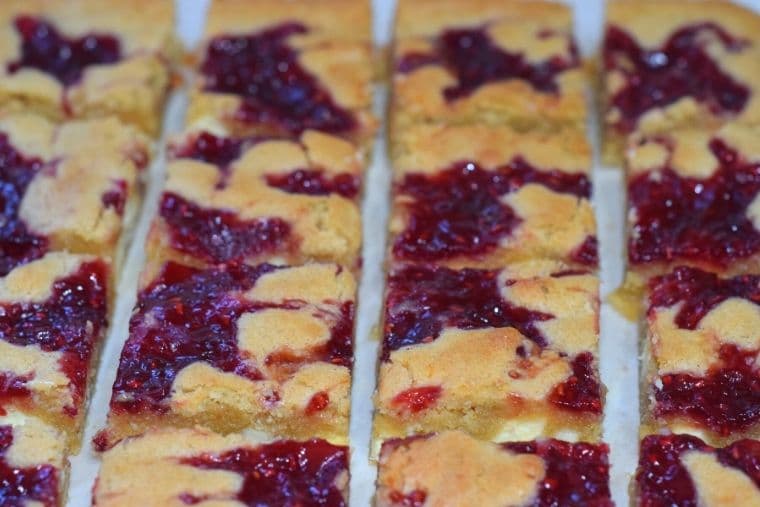
- For the best results, let you Bakewell cookie bar traybake cool completely before slicing into bars.
♻️ Alternatives and substitutions
Instead of plain / all-purpose flour, you can swap this for self-raising flour of the same quantity and remove the baking powder from this recipe.
If you’re not hugely into raspberry, you can try swapping jam flavours. For a classic Bakewell flavour, try using cherry jam instead or go for an unusual twist and get your hands on some blueberry jam.
For a less sweet, but more authentic taste, try scattering fresh raspberries throughout your bars to replace your raspberry jam. Fresh fruit in a cookie is normally a no-no, as they’re too wet for cookie to handle. Think sink holes and structural insanity. But in this thick cookie bar they’re actually pretty nice!
Gluten-free option:
For a gluten-free option, swap all of the plain / all-purpose flour (or self-raising flour if using) for ground almonds and reduce the almond extract to ½ tsp. The texture of these will be a little less fine, but still super tasty and moreish!
Alternatively, you can swap the the plain / all-purpose flour for a gluten-free flour blend of the same quantity instead. I usually recommend a pre-mixed blend such as King Arthur's measure for measure flour or Freee from Doves Farm.
🧁 Other goodies
So, I definitely recommend that you whip up a batch of these easy homemade Bakewell cookie bars! But as an avid home baker, I’m sure you’re asking yourself “what next?”.
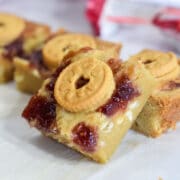
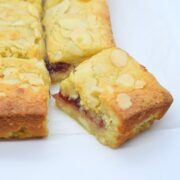
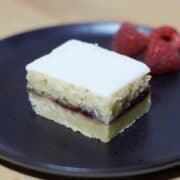
Well, you should definitely check out my recipe for the Bakewell white chocolate blondies that I was aiming for when I tested a version of the recipe originally. But if you’re also a Bakewell addict like me, then I recommend trying my Bakewell shortbread slices too!
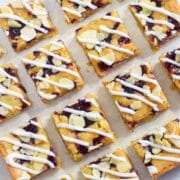
If you’re a big fan of white chocolate and cookies, then take a look at my recipe for matcha white chocolate cookies. Matcha green tea is one of my other big flavour obsessions!
Other Related Recipes:
Looking forward to some new recipes? Check out my Facebook, Instagram and Pinterest pages for a few sneak peeks and some sweet inspiration!
Or if you’d like to hear about our latest recipes, why not subscribe to our newsletter?
📖 Recipe
Bakewell Cookie Bars
Rate this recipe here:
Equipment
Ingredients
- 115 g (½ cups) unsalted butter
- 100 g (½ cups) light brown sugar
- 80 g (⅓ cups) caster sugar (golden or white)
- 1 egg
- 1 teaspoon almond extract
- 125 g (1 cups) white chocolate chips
- 185 g (1 ½ cups) plain / all-purpose flour (see notes below for self-raising flour swap)
- 2 teaspoon baking powder
- 15 g (1 tablespoon) cornstarch (called cornflour in the UK)
- 50 g (½ cups) ground almonds
- 100 g (¾ cups) conserve / jam (cherry or raspberry)
Instructions
- Pre-heat oven: 180°C / 160°C (fan) / Gas Mark 4 / 350°F
- In a heatproof bowl, melt the butter in the microwave (for 30secs at a time) until hot and then stir in the sugars. Put this to one side to cool slightly.
- In a separate bowl, lightly beat the egg and add this to the slightly cooled butter mix along with the almond extract, stirring until combined.
- Place a large sieve over the bowl, and add the chocolate chips to the sieve. Sift the flours and baking powder through the sieve into the mixture, coating the chips. Set these chips to one side.
- Add the ground almonds to the mixture and fold this and the flours in gently until just combined.
- Stir in the flour-coated chocolate chips until spread evenly throughout.
- Press the cookie mix into a lined 9inch square tin, smoothing evenly across the pan.
- Microwave the jam for 10secs, and then add large dollops of this across the top of the cookie mix, pressing the jam in slightly with the spoon if needed.
- Gently swirl or spread out the jam through the cookie mix using a skewer or knife.
- Bake for 30-35mins or until there is only a slight wobble in the centre and it has a crispy top.
- Allow the cookie to cool in the tin for 10mins before removing the bars and transferring them to a wire rack. Once cooled completely, cut into squares and enjoy.
Notes
- Instead of plain / all-purpose flour, you can use self-raising flour and remove the baking powder from this recipe.
Nutrition
Nutritional information is an estimate based on an online nutritional calculator, actual values may vary.

Tiffany W. says
Made these tonight, the flavor is excellent! I'm in the states and made my own self-raising flour (not common here). These were very easy to make and I will definitely try again, maybe without the white chocolate chips to cut out a touch of sweetness.
P J Harries says
so tasty and easy to make!
Sweet Mouth Joy says
Thanks!