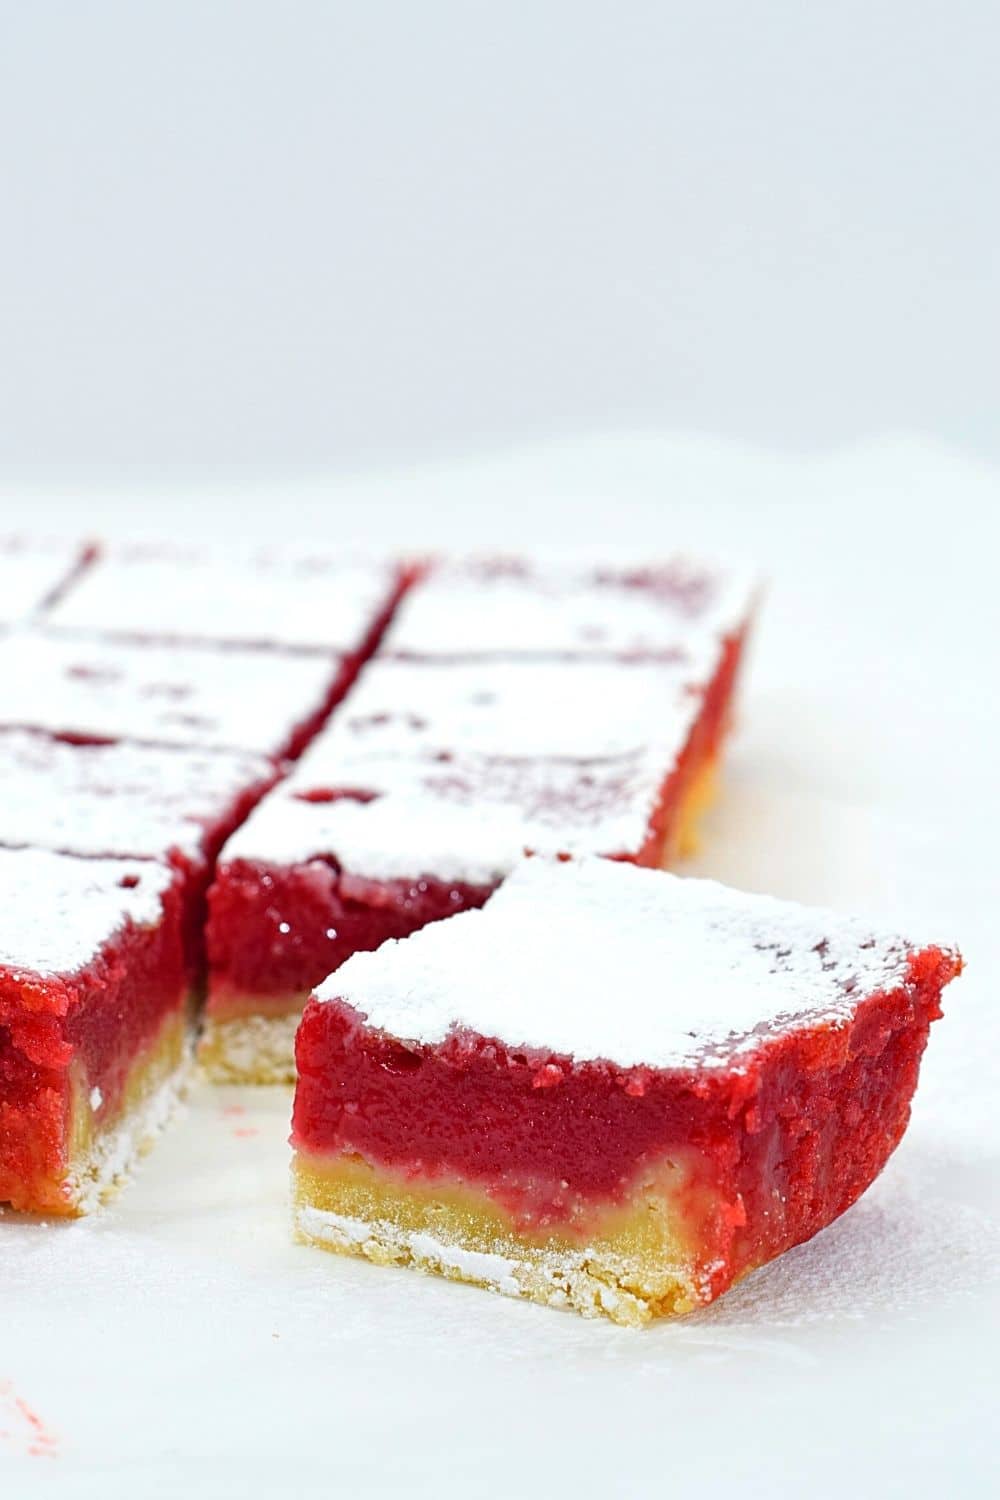
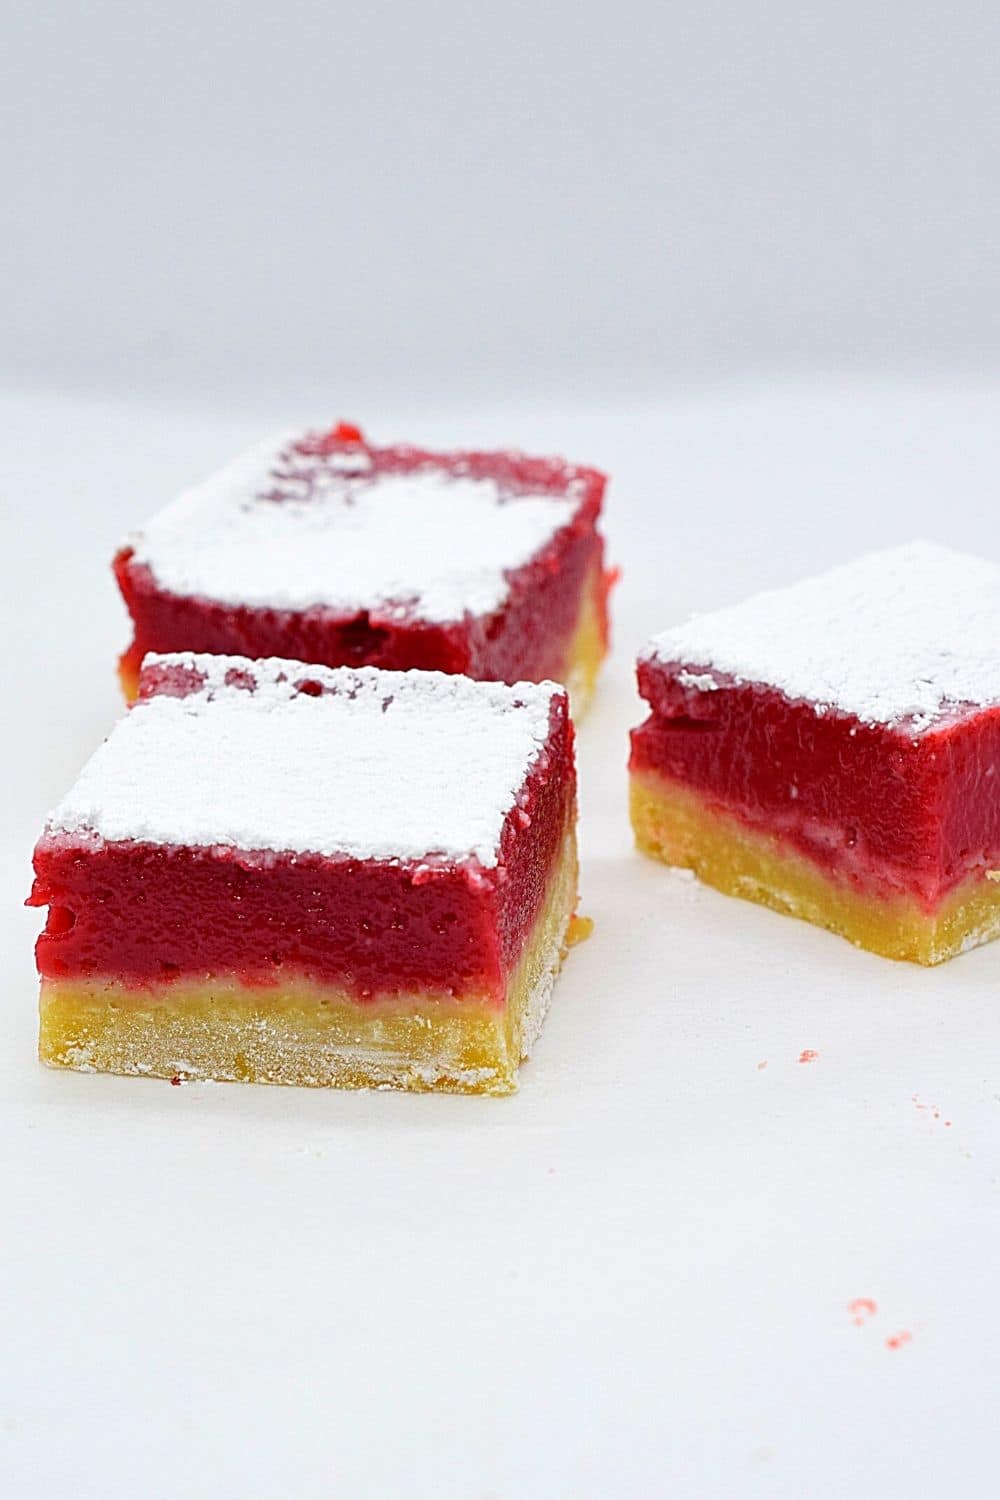
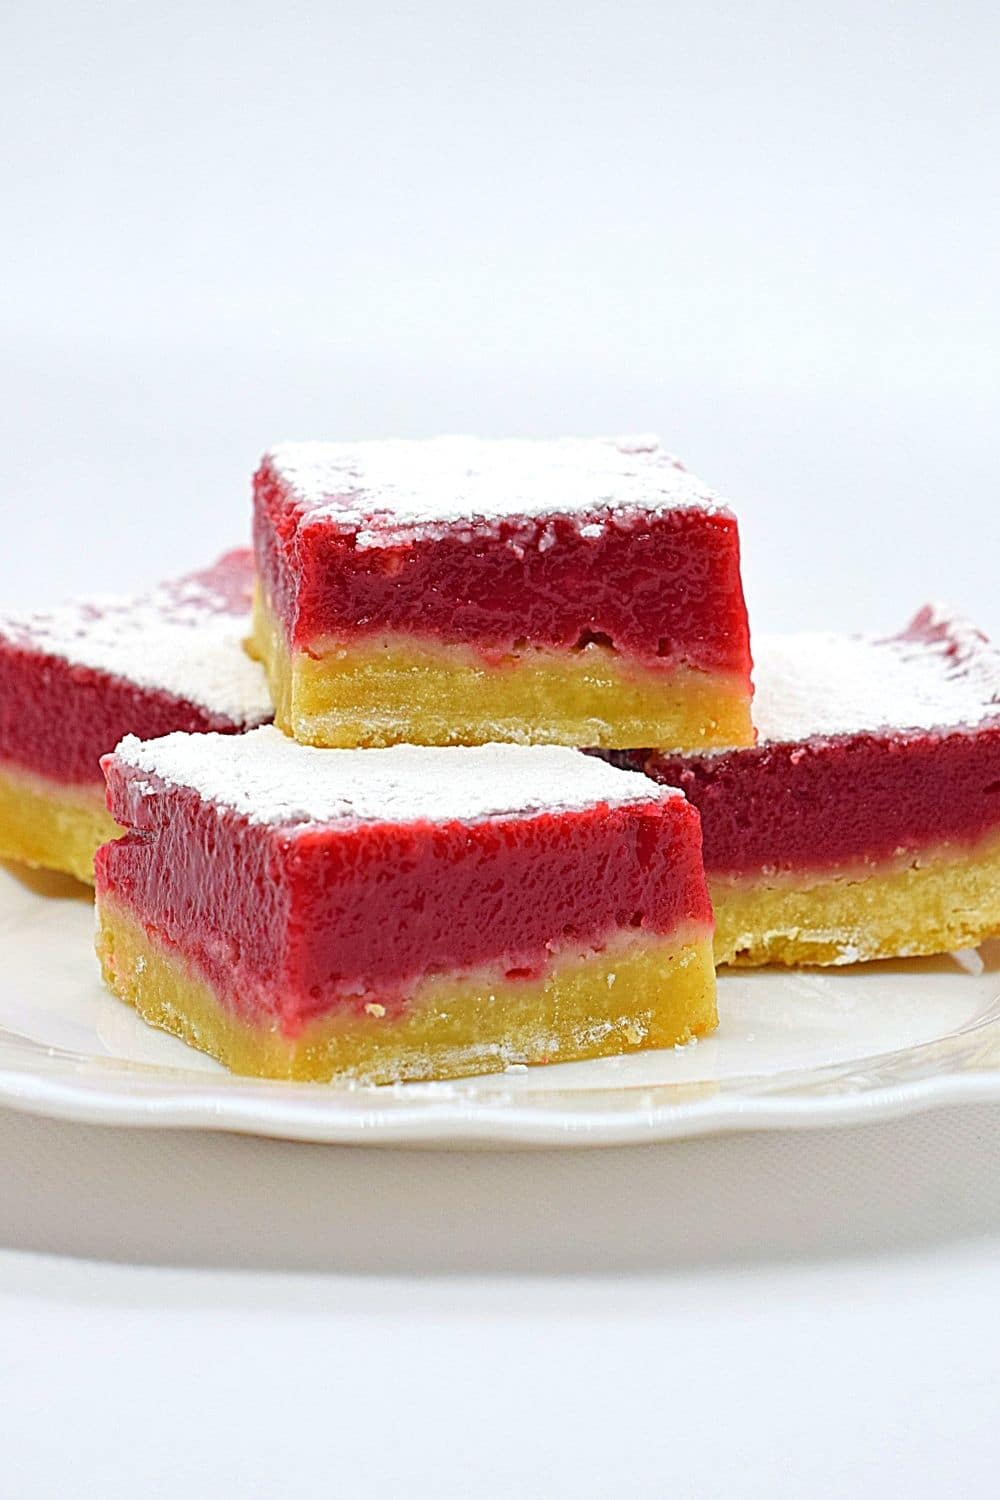
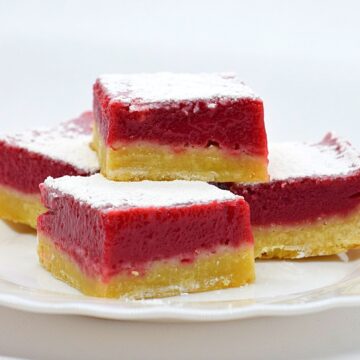
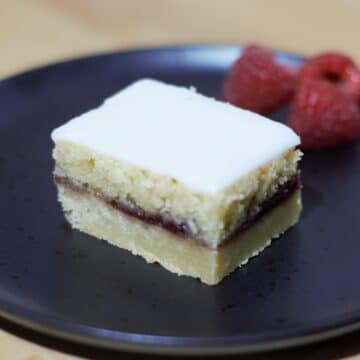
These ultimate real raspberry dream bars are so deliciously moreish! They have a buttery shortbread crust and a smooth raspberry curd layer on top. Dust with powdered sugar for an added sweet delight.
Jump to:
✏️ Recipe creation
These best ever raspberry squares are without oat, streusel or crumble toppings for a pure raspberry delight! They're like a shortbread version of a raspberry pie. The smooth raspberry curd layer sits on a vanilla shortbread base that practically melts in your mouth.
These raspberry citrus bars are basically a raspberry flavour version of the all-time classic lemon bars. A little squeeze of lemon juice in the raspberry layer adds a tangy flavour - sweet with a zesty kick!
For this simple raspberry snack recipe, you can use fresh or frozen raspberries. It's also a great way to use leftover fresh raspberries.
These ultimate raspberry shortbread bars are perfect for a Spring or Summer picnic, a classy afternoon tea, BBQ or a bake sale. The gorgeous raspberry red also makes them a great Galentine's or Valentine's Day gift too!
Check out this collection of delicious raspberry desserts for more great ideas!
🥘 Ingredients
This raspberry dream bars recipe calls for the following ingredients:
Raspberry filling:
- Raspberries: fresh or frozen raspberries work great.
- White sugar: finely granulated such as caster sugar.
- Lemon juice: use fresh lemon juice for best results.
- Plain flour (all-purpose flour)
- Egg: large size, room temperature for ease of mixing.
- Red food coloring: optional for a bright pop of colour.
Shortbread base:
- Unsalted butter: softened for ease of mixing.
- White sugar: finely granulated such as caster sugar.
- Vanilla extract: use extract or paste over essence for the best flavour.
- Plain flour (all-purpose flour): sieve for a smooth dough.
- Cornstarch: fine white flour called cornflour in the UK and other countries.
See the recipe card for quantities.
Top tip: For accuracy, it's best to weigh your ingredients rather than using cups.
♻️ Substitutions / Variations
You can use red or black raspberries for this raspberry layer bar recipe.
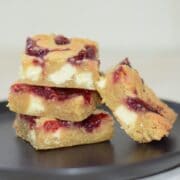
Turn your raspberry shortbread squares into raspberry coconut bars by topping them with shredded dessicated coconut after baking. You can also replace ⅓ cups (40g) of plain all-purpose flour with desiccated coconut to give your shortbread base a lovely coconut flavour.
I like to add a few drops of red food colouring to my raspberry curd filling to make it really eye-catching, but they will look great without this too!
💭 Top tips
- Grease and line your brownie pan with parchment paper (greaseproof paper), leaving a small overhang over the sides so you can lift it out easier.
- If using frozen raspberries for this recipe, you might need to heat them for an extra 5mins to break them down and reduce the liquid. Alternatively, you can thaw them first before using.
- To help your buttery shortbread base bake evenly, once the dough has been pressed into the baking tin, use a fork to poke holes spaced across the surface before the initial bake.
- When sieving your reduced raspberry mixture, try to push through as much through your sieve as possible. Mash through all that berry goodness! This is what gives your dessert bars their flavour so the more you can get, the stronger the flavour will be. When I make mine, I usually get around 160ml / 11tbsp of raspberry juice.
- Let your raspberry bars cool completely before removing them from the tin and cutting them into squares.
- If you're planning to dust your raspberry bars with powdered sugar, wait until they've cooled, right before serving. If your raspberry shortbread squares are a bit moist, then they will absorb the powdered sugar.
❔ Recipe FAQs
Your raspberry dream bars should last for up to 4 days stored in an airtight container at room temperature.
Yes! You can freeze your raspberry dream bars in an airtight container (or cling film plus foil) for up to 3 months. Defrost then enjoy!
Swap the plain all-purpose flour for a gluten-free 1:1 blend.
You can also replace the cornflour/cornstarch with more of the gluten-free all-purpose blend. The gluten-free flour is naturally "shorter" in texture so more cornflour/cornstarch isn't needed.
🧁 Other goodies
If you love a homemade fruit dessert bars, then why not take a look at my classic lemon bars? Or if you want a twist on the classic, check out my recipe for raspberry almond shortbread slices - they're delicious!
If you're a fan of all things fruity, then take a look at my recipe for homemade lemon curd, passionfruit curd or passionfruit Viennese biscuits.
You'll also love these adorable strawberry hearts melting moments sandwich cookies.
Other Related Recipes:
Looking forward to some new recipes? Check out my Facebook, Instagram and Pinterest pages for a few sneak peeks and some sweet inspiration!
Or if you'd like to hear about our latest recipes, why not subscribe to our newsletter?
📖 Recipe
Raspberry Bars
Rate this recipe here:
Equipment
Ingredients
Raspberry filling:
- 3 cups (360 g) raspberries fresh or frozen
- 1 ⅛ cups (225 g) white sugar finely granulated e.g. caster
- ½ lemon's juice roughly 2 tbsp
- ⅓ cups (40 g) plain all-purpose flour
- 3 eggs large
- red food colouring optional
Shortbread base:
- ¾ cups (170 g) unsalted butter room temp.
- ⅓ cups (70 g) white sugar finely granulated e.g. caster
- 1 teaspoon vanilla extract
- 1 ¼ cups (155 g) plain all-purpose flour
- 1 tablespoon cornstarch fine white powder called cornflour in the UK
Instructions
Raspberry reduction:
- Heat the raspberries in a medium saucepan, simmering for 10mins (or 15mins if frozen), breaking down the raspberries as you stir continuously.
- Press the mix through a mesh sieve into a heatproof bowl, mashing through as much of the mixture as you can before discarding the solids. Allow this to cool on the side while you make the shortbread base.
Shortbread base:
- Pre-heat oven: 180°C / 160°C (fan) / Gas Mark 4 / 350°F
- Mix shortbread base ingredients together and press into a lined 8inch square tin. Make sure to press all the way to the edges. Use a fork to prod little holes in the base to help cook.
- Bake the base for 20mins until lightly golden. While the base cooks, prepare the filling.
Raspberry filling:
- In a large mixing bowl, beat together the eggs, sugar and flour until fully combined.
- Add the lemon juice and cooled raspberry liquid into the egg mix, beating together until smooth.
- If using, add in a few drops of red food colouring to the filling mix and stir until combined. Add a few more drops at a time until the desired colour is reached.
- Once the base has cooked, pour the raspberry mix over the top and return to the oven to cook for a further 25-30mins until the bars have set and there is no wobble in the middle.
Notes
- The cornflour used in this recipe is a white fine flour, not a yellow coarse flour. However, sometimes this is called cornstarch and the yellow version is called cornflour, e.g. in the US, so be sure to pick the white one!
- If using frozen raspberries for this recipe, you might need to heat them for an extra 5mins to break them down and reduce the liquid. Alternatively, you can thaw them first before using.
- To help your buttery shortbread base bake evenly, once the dough has been pressed into the baking tin, use a fork to poke holes spaced across the surface before the initial bake.
- When sieving your raspberry reduction, push as much through your sieve as possible. The more you get, the stronger the flavour will be. I usually get roughly 160ml / 11tbsp of raspberry juice.
- Dust your raspberry bars with powdered sugar once cooled, right before serving. If your raspberry shortbread squares are a bit moist, they will absorb the powdered sugar.
Nutrition
Nutritional information is an estimate based on an online nutritional calculator, actual values may vary.
Jeannie says
sounds like a good dessert and easy to make. I havent bake with raspberry needed to try.
Sweet Mouth Joy says
Thanks Jeannie, happy baking!
Denise Williams says
Decadent, delicious,creamy, zesty,sweet, mouth watering, and crunchy! This recipe hits ALL of my high notes, packed into one bite! These were a major hit at my home! Leaving you craving just one more! This was easier than I thought to make. My daughter doesn't like lemon, so I switched it out, and substituted it with cream of tartar. This will be one to make, over, and over again! Absolutely loved,loved,loved them!❤️❤️❤️
Denise E Williams says
My families favorite Thanksgiving dessert! Definitely requested again this year! I'm making a large batch this time!