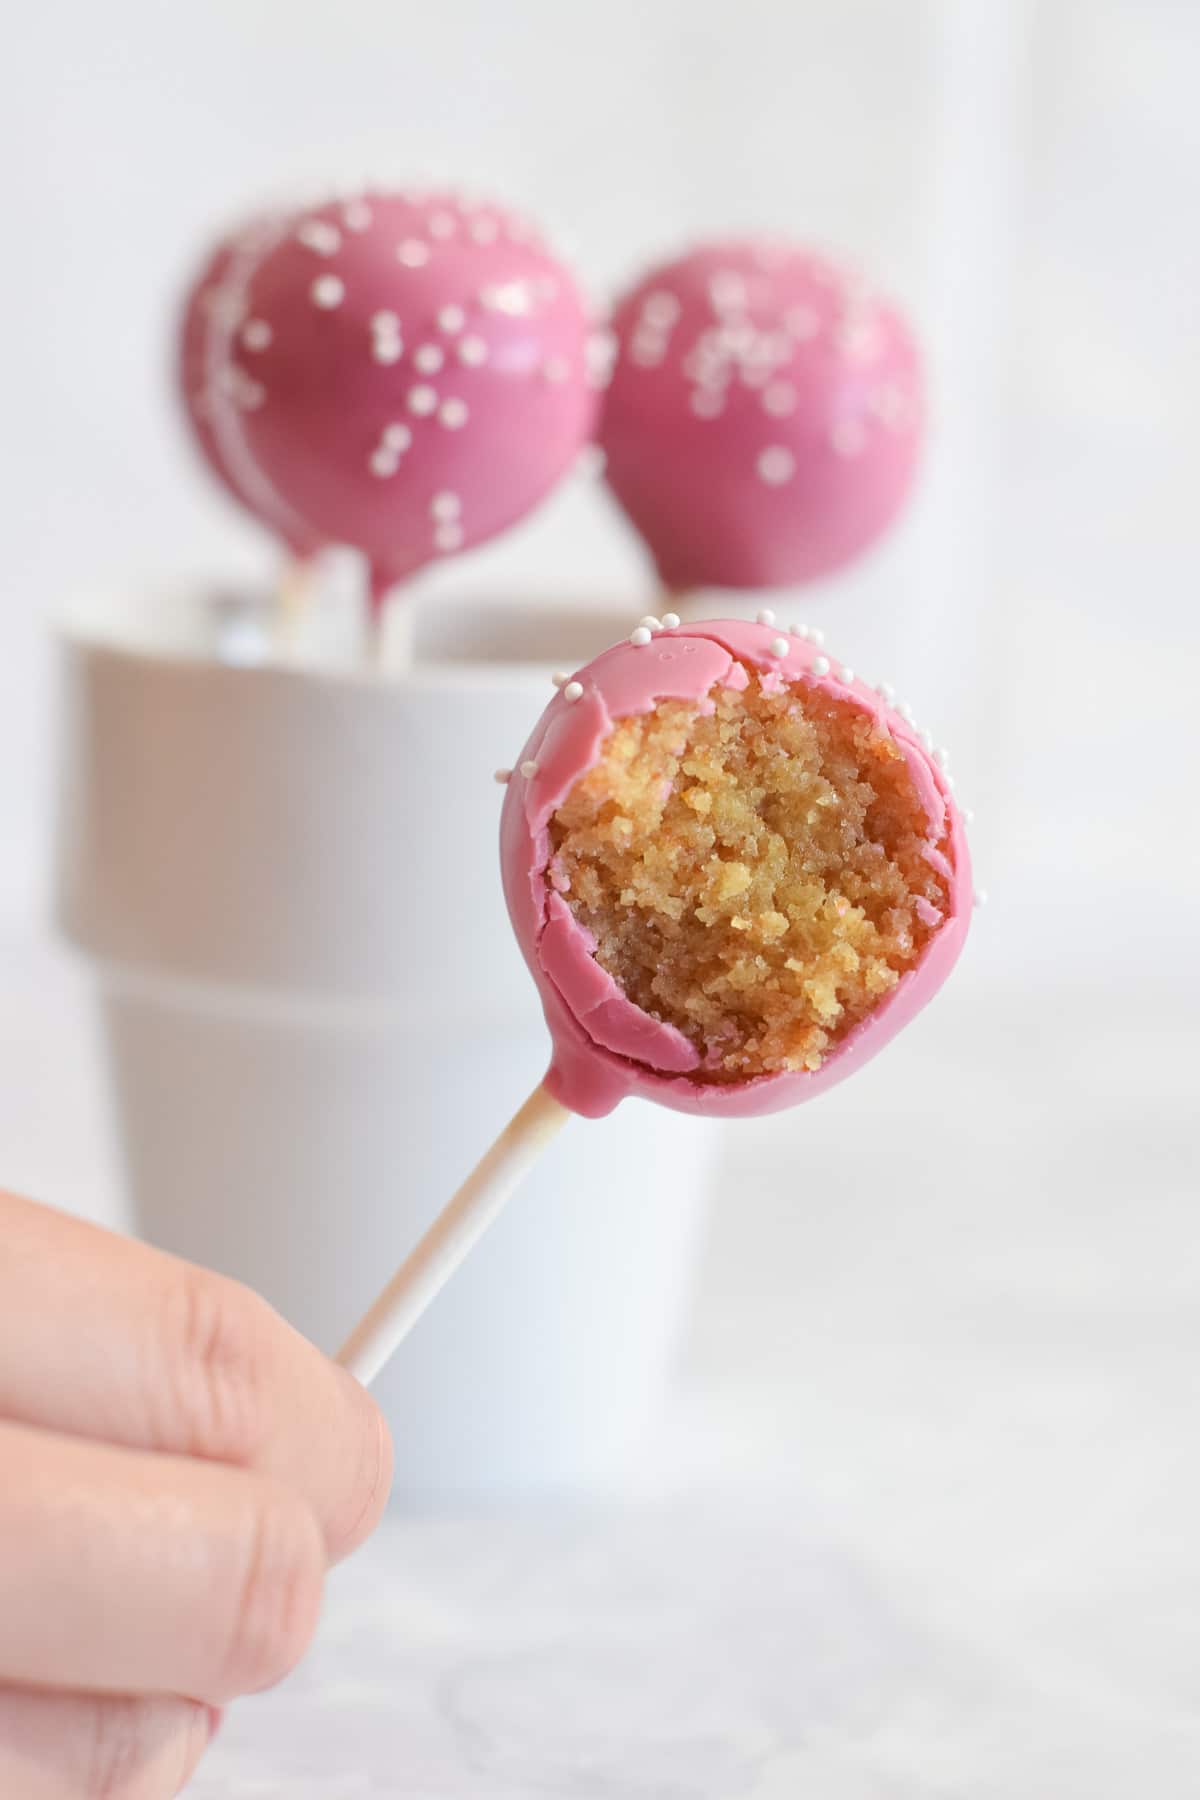
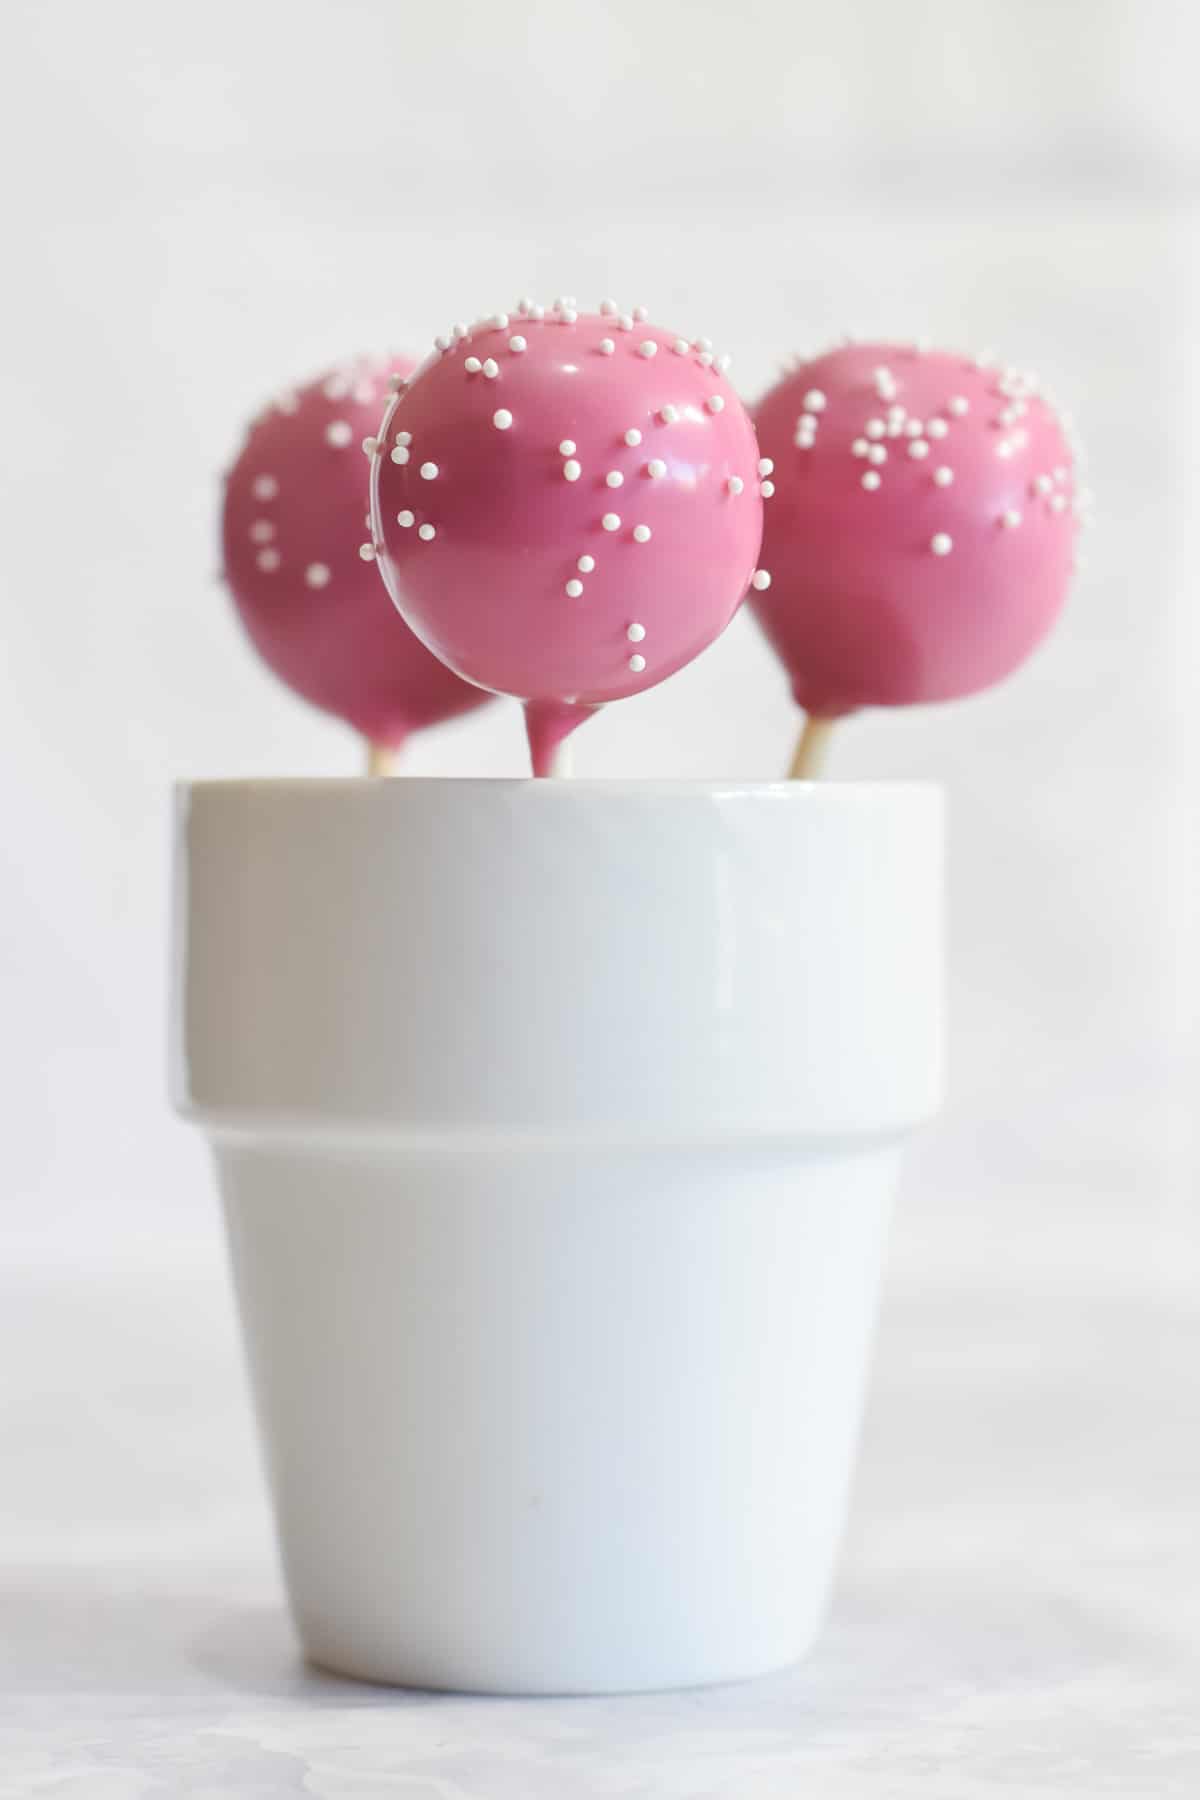
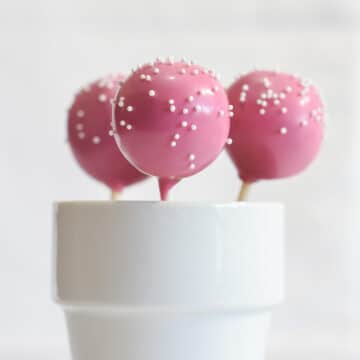
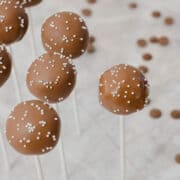
These deliciously cute vanilla cake pops are just like the pink birthday cake pop from Starbucks, but (in my opinion) much more tasty as they’re freshly homemade!
A batch of tasty vanilla cake pops is the perfect gift for anyone with a sweet tooth. They also make a great sweet snack for birthday parties and other celebrations.
Jump to:
🍭 What is a cake pop?
Cake pops are basically little cake balls on lollipop sticks, coated in candy melts or chocolate. The cake balls usually consist of crumbled sponge cake mixed with frosting such as buttercream.
However, you can also use balls of cookie dough, brownies, or other great treats and fillings to make your cake pops.
✏️ Making a tasty and easy recipe
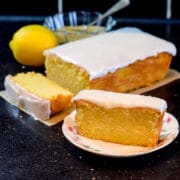
I’m a big fan of Starbucks, and after making a copycat recipe for their iced lemon loaf, I really wanted to see what other great treats I could recreate to enjoy at home. One of their biggest hits is their birthday cake pop and being a big fan of vanilla goodness, I just had to give these a try!
For my Starbucks birthday cake pops copycat recipe, I wanted to use simple ingredients for a homemade cake and frosting from scratch. I think this really makes the best cake pops with a delicious flavor!
This recipe also doesn’t use a cake pop maker, so no need to buy anything extra for them except the lollipop sticks.
🍰 How to use leftover cake for cake pops
Instead of making your cake and frosting, especially for cake pops, you can use spares and leftovers instead.
Crumble your unfrosted cake offcuts or leftovers then weigh the amount that you have. You'll need to mix in roughly ⅓ of this weight in frosting to make cake pop filling.
The amount of frosting to sponge ratio that you need can vary quite a lot, depending on how moist your sponge is and the consistency of your frosting. As a general rule, you want to add enough frosting that your crumbled sponge comes together and holds its shape like a soft dough.
One thing I always do when I make a big layer cake is slice off the tops of the cakes. This gives them a nice level top and removes any peaks that may have formed. These offcuts of cake are perfect to use in this cake pop recipe.
Store your cake offcuts or cake leftovers in an airtight container in the fridge for up to 4 days before using them.
Alternatively, you can freeze the cake offcuts by wrapping them in plastic wrap (cling film) and a layer of foil for up to 2 months. Defrost them and use them in cake pop recipes such as this one.
🥘 Ingredients
This cake pop recipe calls for the following ingredients:
(1) Cake:
- Unsalted butter
- Caster sugar (white finely granulated sugar)
- Eggs
- Plain flour (all-purpose flour)
- Baking powder
- Milk
- Vanilla extract
(2) Buttercream:
- Unsalted butter
- Icing sugar (powdered confectioners’ sugar)
- Vanilla extract
- Milk
(3) Coating:
- Pink candy melts
- Vegetable oil (or canola, sunflower, etc.)
- Sprinkles
See the recipe card for quantities.
Ingredient tips
- Using room temperature ingredients for these cake pops will improve the ease at which they will mix together.
- To get a lump-free cake batter and frosting, sieve your icing sugar (confectioners sugar), flour and baking powder.
- Depending on the brand you’re using, you’ll probably need to add some oil to your melted candy melts to make them easier to work with and cover your cake balls better. I usually use pink PME candy melts and stir in roughly 2-3 teaspoon of oil (such as vegetable, canola, sunflower or soybean oil).
- For cake pops that are the copycat of Starbucks birthday cake pops, you’ll need light pink candy melts. If the pink is quite dark, you can add white food coloring or melted white candy buttons to lighten it to baby pink.
- To flavour your cake mixture and frosting, I’d recommend using a vanilla extract rather than vanilla essence. It has a purer vanilla taste as it’s less processed.
- When measuring your ingredients, I recommend using weights rather than cups where possible for greater accuracy. This is especially important for the amount of flour used in your cake.
🔪 Equipment
I use the following equipment for this recipe:
- 8inch / 20cm round cake pan
- Parchment paper (greaseproof paper)
- Electric hand mixer or stand mixer (or whisk / fork)
- Large and medium mixing bowl
- Sieve
- Rubber spatula or wooden spoon
- Weighing scales
- Measuring spoons
- Wire cooling rack
- Flat plate, tray or baking sheet
- Lollipop sticks
- Cake pop stand (or Styrofoam block)
- Microwaveable jug, cup or bowl
Equipment tips
- I like to use digital scales for weighing my ingredients as it's really easy and accurate. I'm a fan of these KitchenAid or Salter ones.
- It's best to use measuring spoons for your teaspoon and tablespoon amounts. You should also level off the heaped ingredients in your scoops before adding them to your mix for better accuracy.
- You can get different sizes and materials for your cake pop sticks. I like to use either the 4inch or 6inch length lollipop sticks, and preferably the recyclable sticks so they’re more environmentally friendly.
- Melting your candy melts into a narrow heat-proof jug or cup is best for dipping the cake pops in the candy coating. You'll use less candy this way and won't need a spoon to help coat your cake pop fully.
- I usually melt my candy melts in the microwave (at 20 second intervals). Alternatively, you can use a double boiler set-up (bain-marie).
- Form your cake pop mix into walnut-sized balls using a tablespoon scoop and then rolling the small balls in the palm of your hand to make a round ball. However, you can also use a cookie scoop or small ice cream scoop instead.
- Standing up your cake pops can be difficult because they’re so top-heavy. If you don’t have a cake pop stand, you can push them into a block of Styrofoam or a short cardboard box. The cardboard box must be shorter than the sticks with the balls on.
- If you don’t have something to hold your cake pops up, you can place them stick-side-up on top of a sheet of parchment paper (greaseproof paper) on a flat plate or cookie sheet to set. They’ll have a flat side and won’t be perfect balls, but they’ll still look cute and taste amazing.
📖 Method
Cake
Preheat the oven to 180°C / 160°C (fan) / Gas Mark 4 / 350°F.
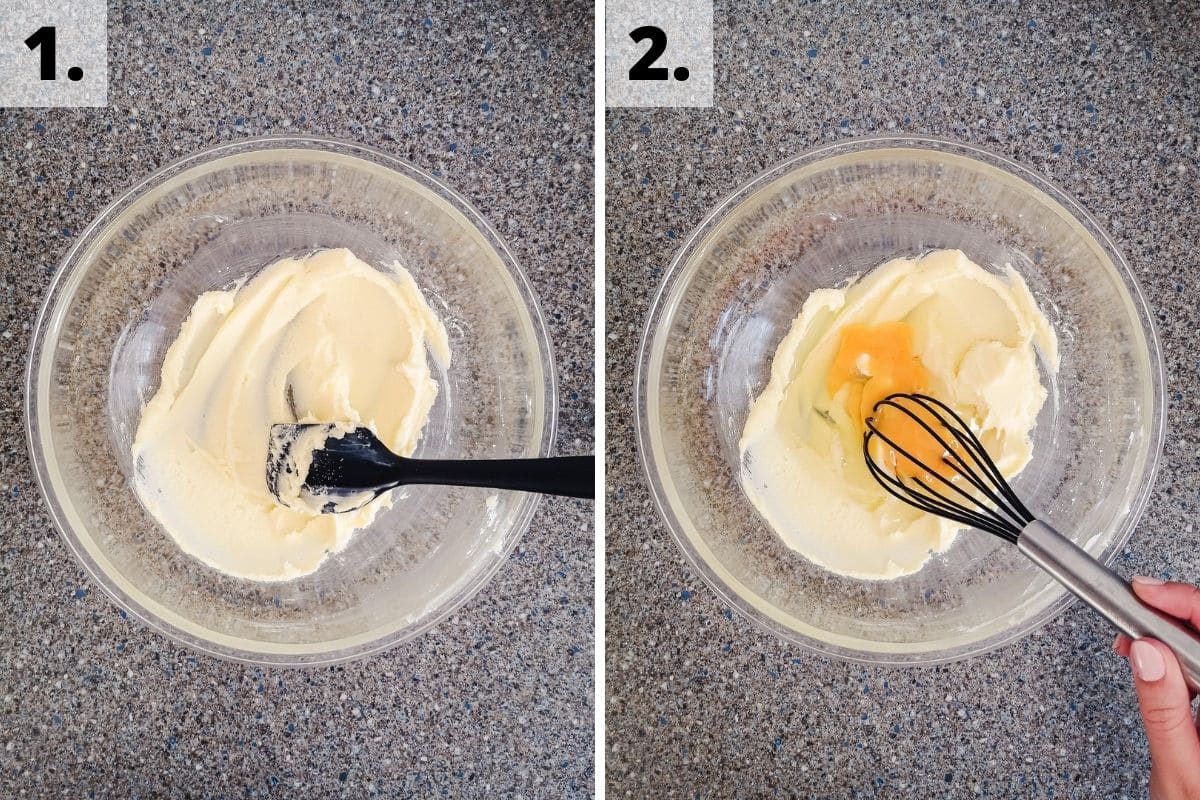
Step 1 - In a large bowl, cream together the butter and sugar.
Step 2 - Beat in the eggs, one at a time.
Step 3 - Sieve in the flour and baking powder.
Step 4 - Fold in gently.
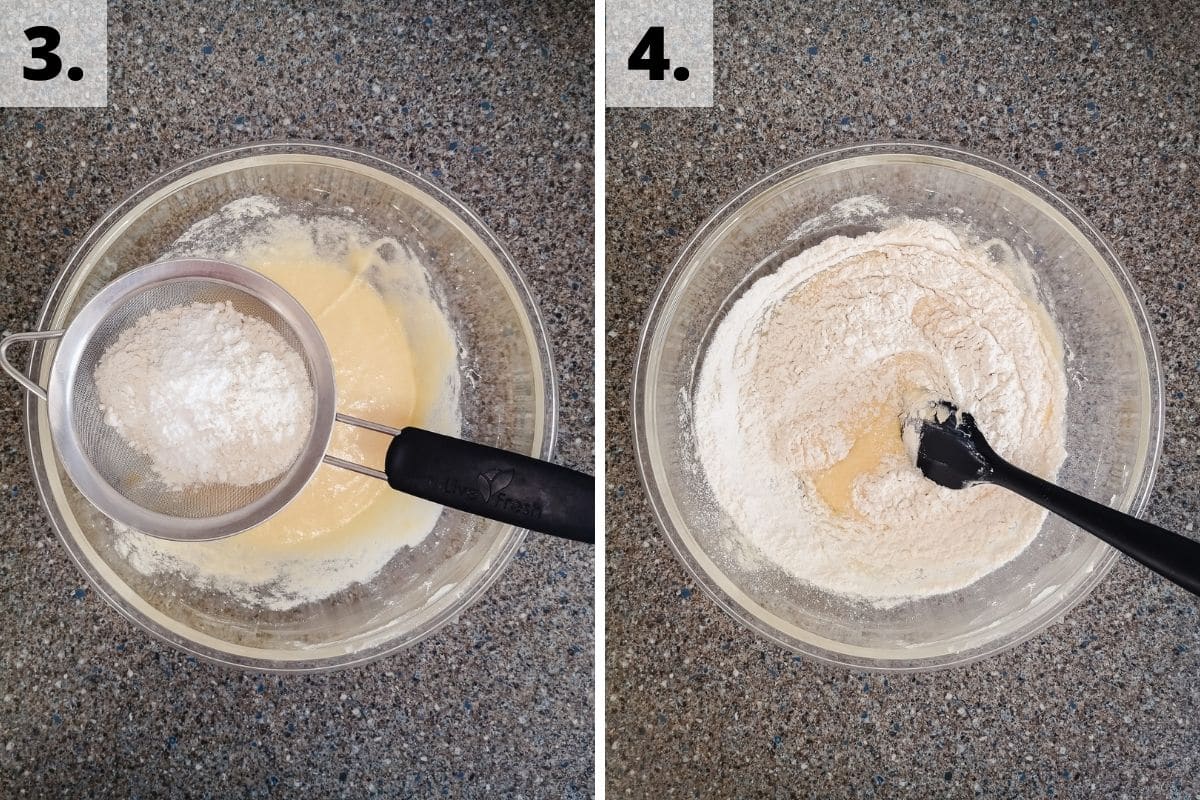
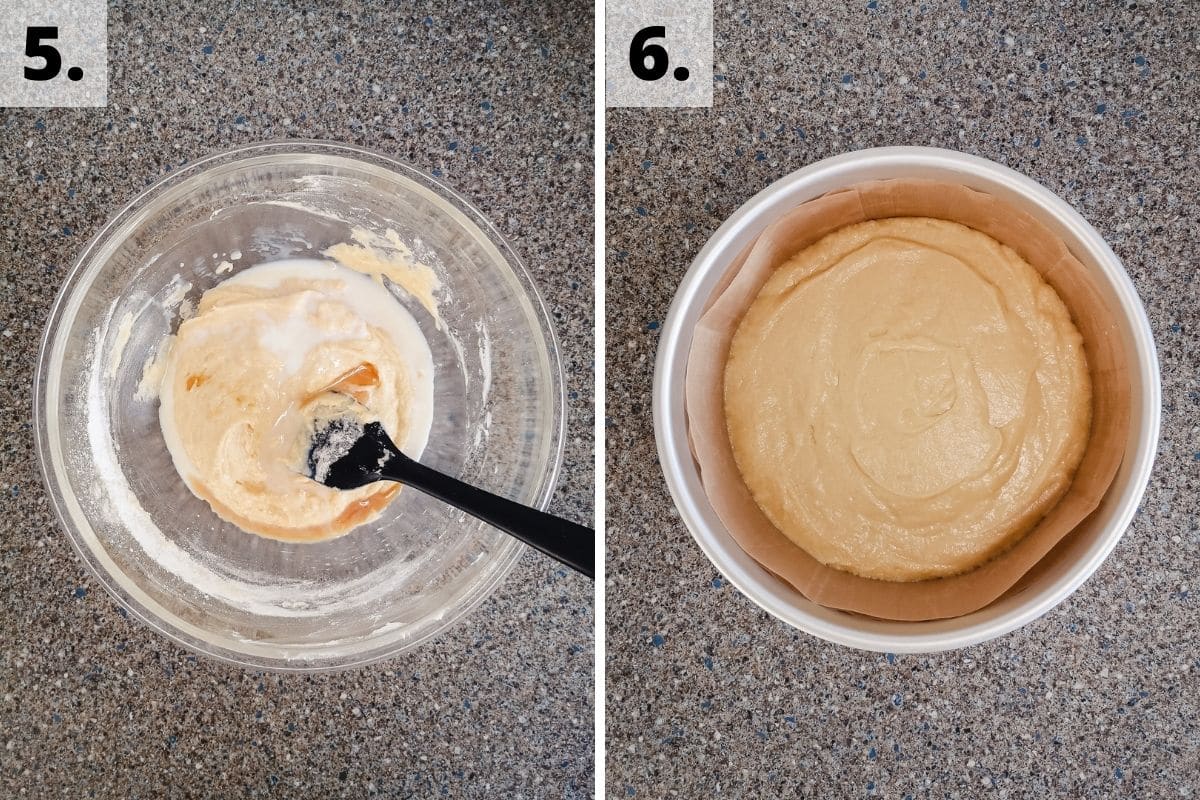
Step 5 - Stir in the vanilla extract and milk until only just combined.
Step 6 - Pour your batter into a greased and lined 8-inch round cake tin and bake for 25-30mins until risen, springy and a skewer comes out clean. Allow cooling for 15mins before transferring to a wire rack.
Buttercream
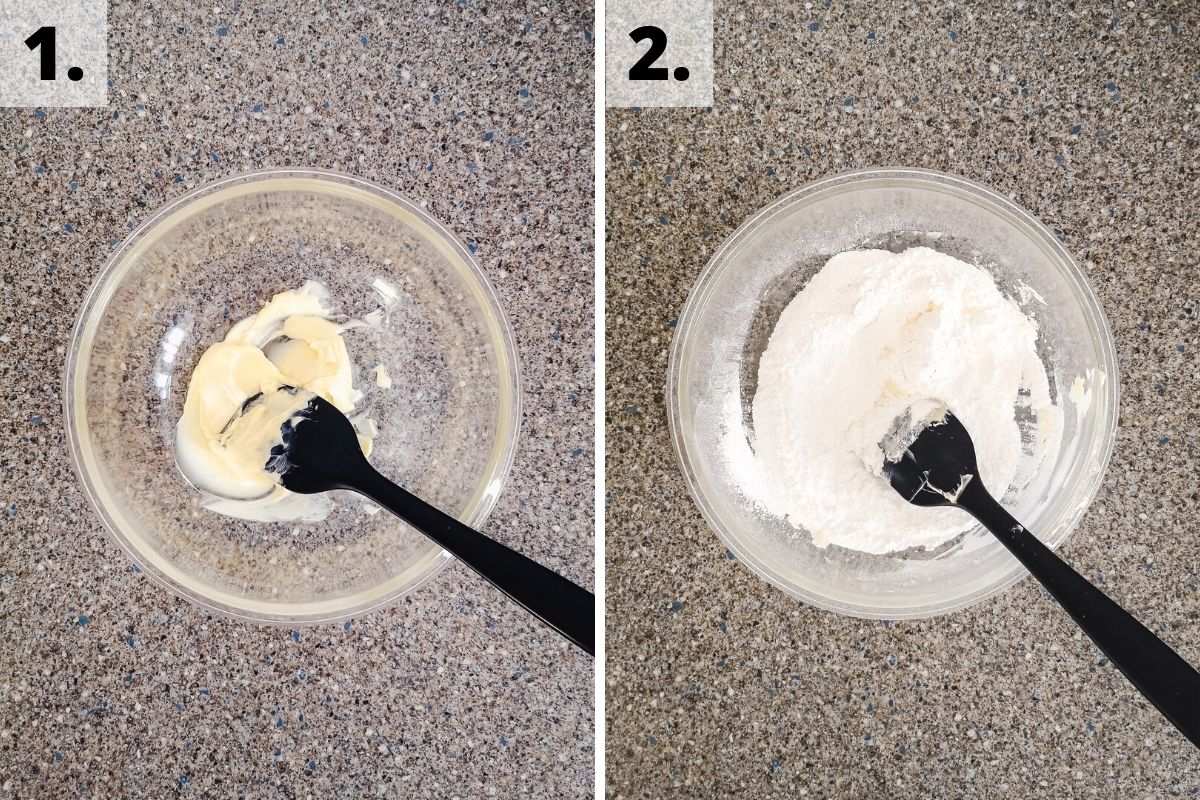
Step 1 - While the cake cools, beat the butter, by hand or hand mixer in a medium bowl (or using a stand mixer), for several minutes until pale and fluffy.
Step 2 - Sieve in half of your powdered sugar and beat until smooth. Repeat with the other half of your powdered sugar.
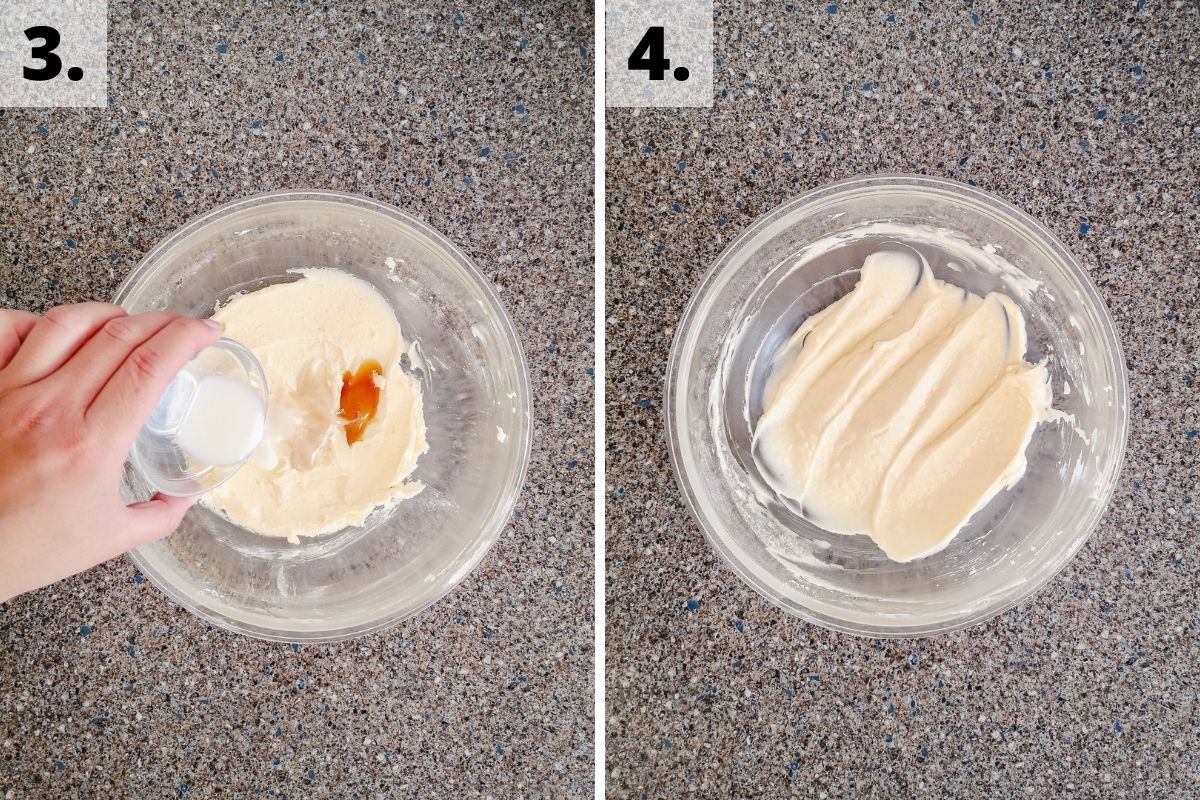
Step 3 - Add the vanilla and milk.
Step 4 - Beat together until smooth.
Cake pop filling
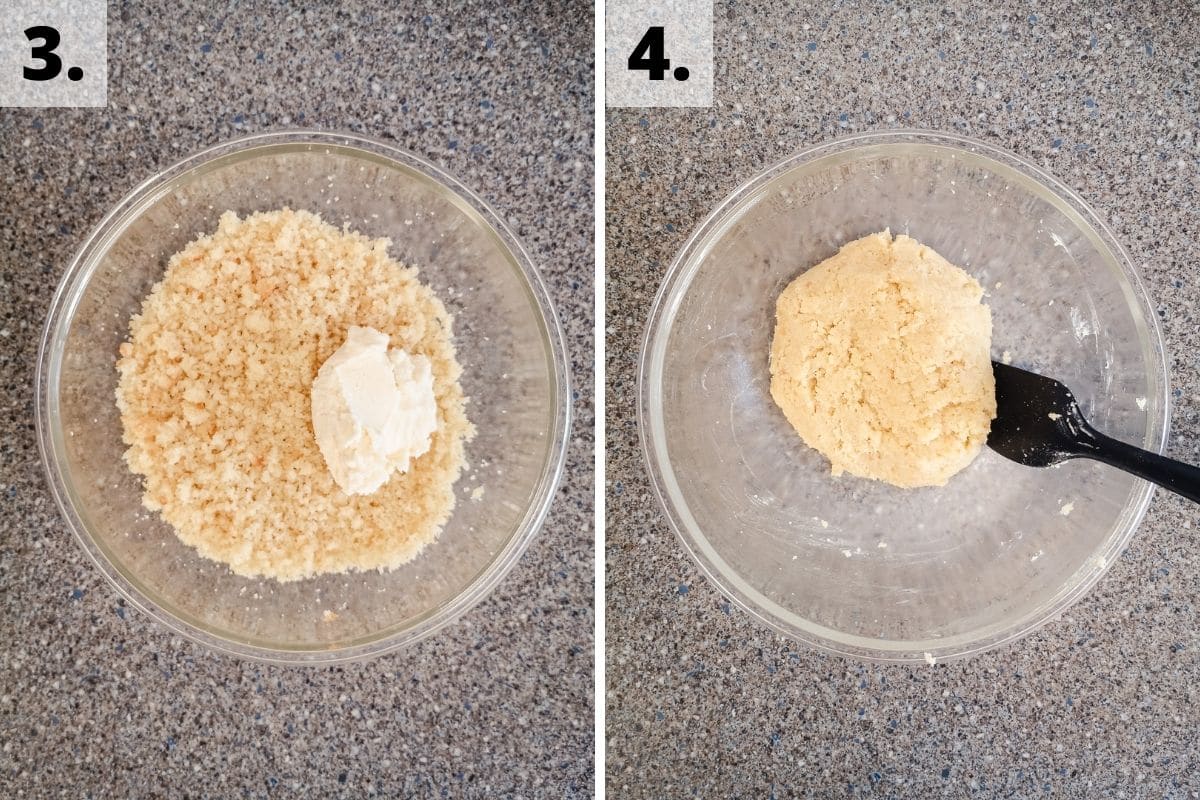
Step 1 - 2 - Once the cake has cooled, break it up into large chunks and blend it using short bursts in a food processor. Or crumble your cake by hand into a large bowl.
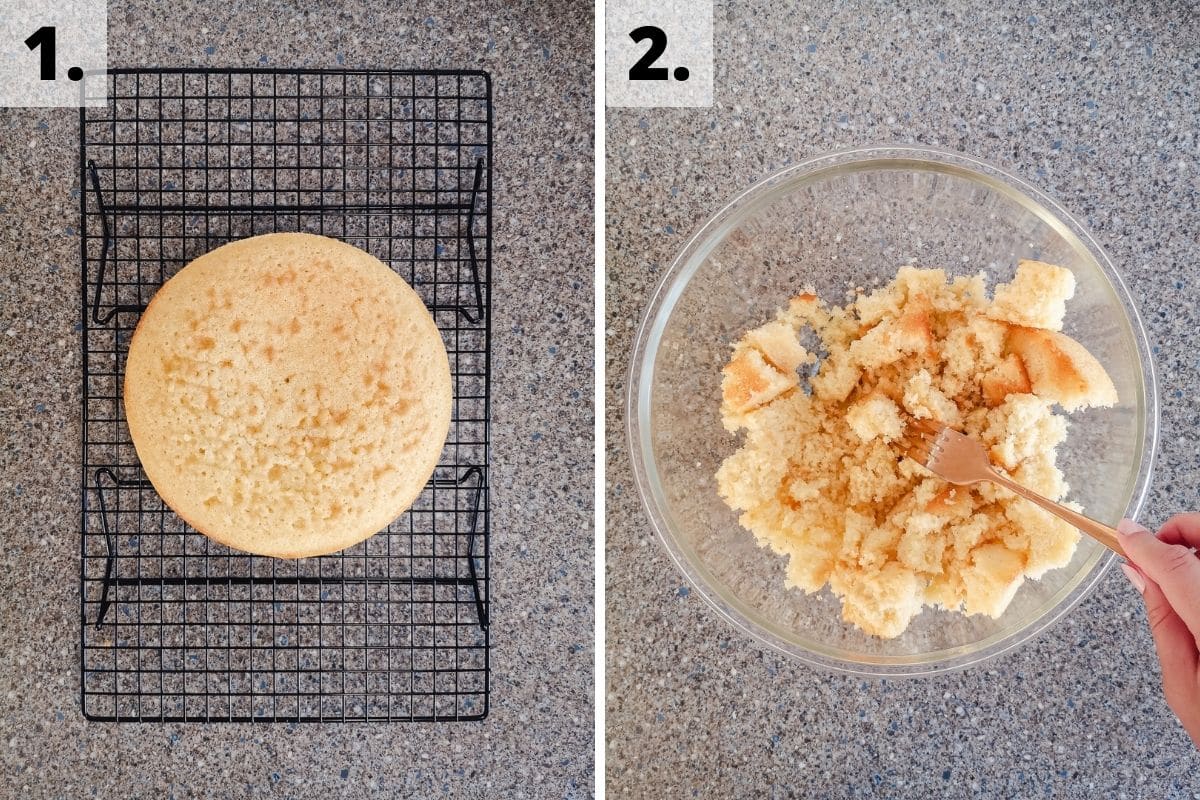
Step 3 - 4 - Mix in your buttercream using a wooden spoon or fork until it comes together like a soft dough.
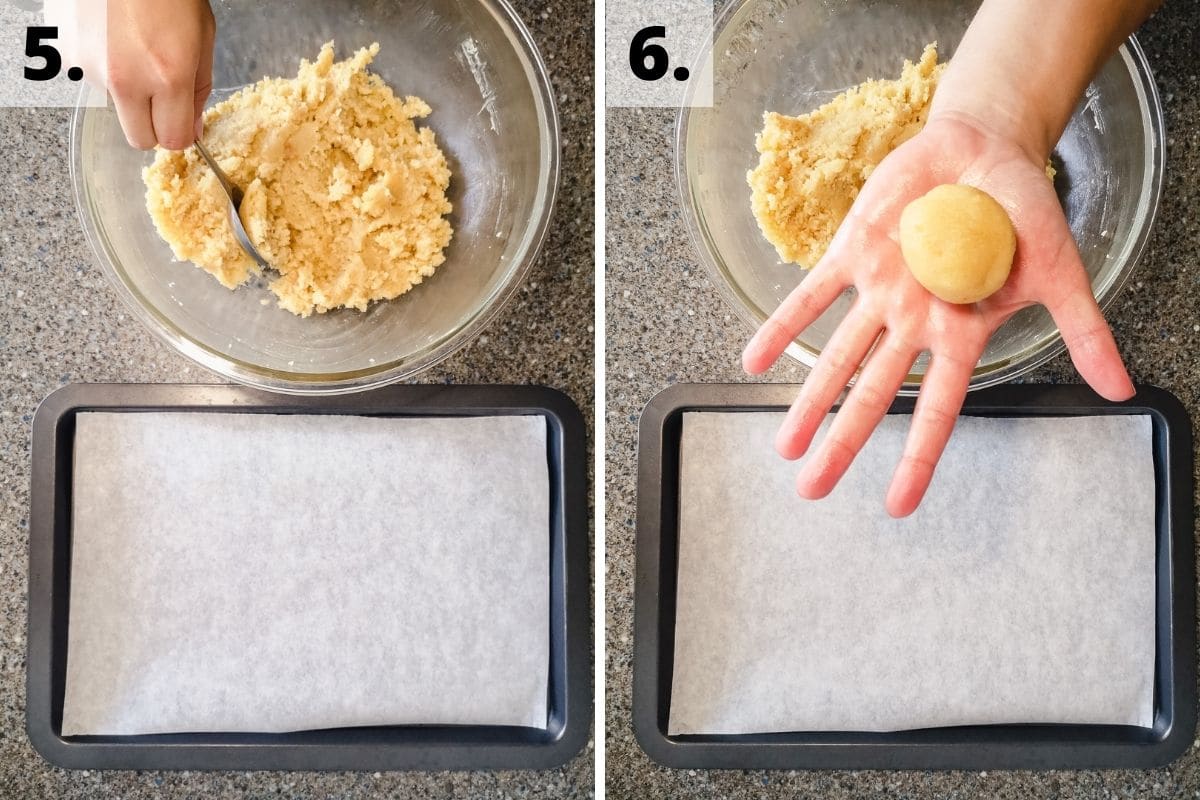
Step 5 - Scoop a walnut-sized amount of the filling (using your hands, a tablespoon or cookie scoop).
Step 6 - Roll it into a ball in your hands.
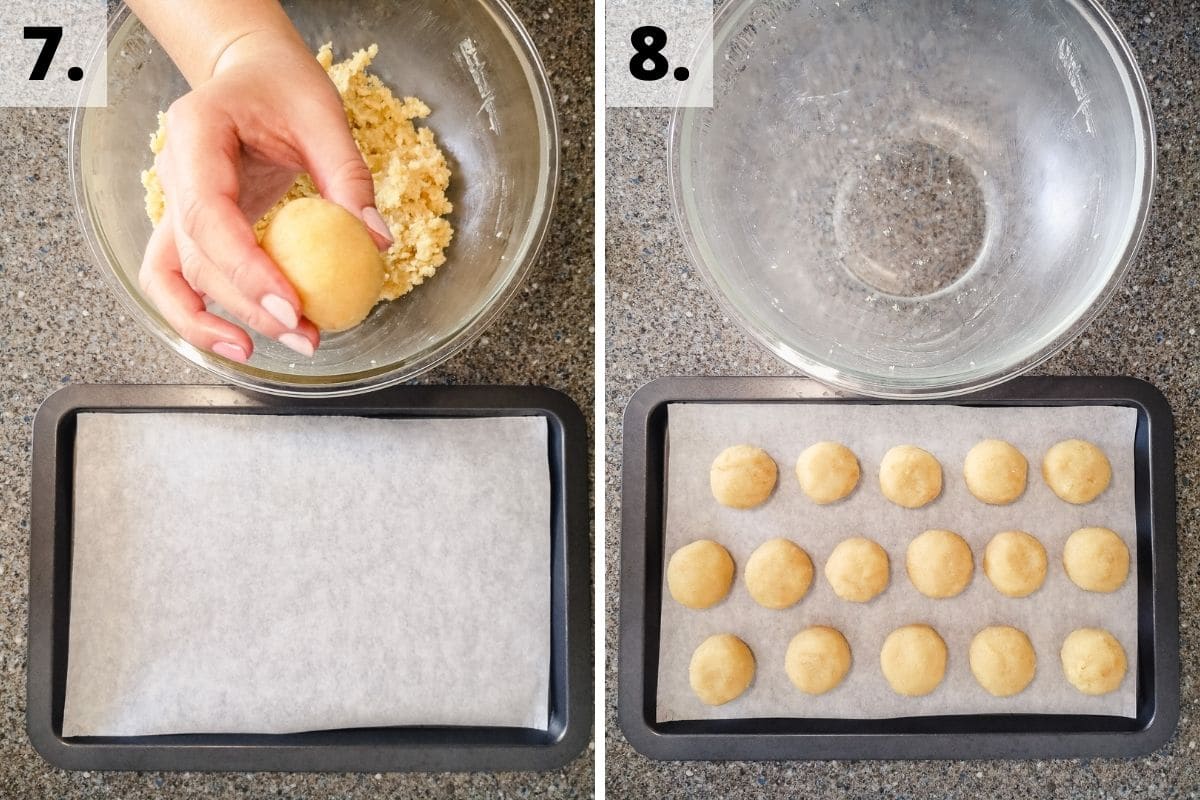
Step 7 - Place it on a plate or tray lined with greaseproof paper.
Step 8 - Repeat until you’ve used all the filling and then refrigerate the balls for 1hr.
Cake pop assembly
Step 1 - In a narrow heatproof jug, melt the candy melts in the microwave, 20secs at a time, stirring in-between until smooth.
Step 2 - Stir in the oil until you have a thin melted chocolate consistency.
Step 3 - Take 4 cake balls from the fridge. Dip one end of a lollipop stick into the melted candy before pushing it halfway into the middle of the flatter side of a cake ball. Repeat for all 4 cake balls.
Step 4 - Dip a cake ball into the melted candy, covering it completely. Gently tap off any excess back into the container before topping with sprinkles.
Step 5 - Place the cake pop into a stand or styrofoam block to set (roughly 5-10mins). Repeat until all 4 cake balls have been dipped and decorated.
Step 6 - Repeat this process until you've turned all the cake balls into candy-coated cake pops and enjoy!
🍱 Storage
You can store your finished homemade Starbucks cake pops at room temperature in an airtight container. They should keep fresh for up to 5 days.
If it’s hot where you live, it's best to keep your vanilla cake pops in the fridge, as otherwise, the candy shell might melt! They should stay fresh for roughly a week in the fridge.
💭 Top tips
- It’s easier to dip your cake balls into your melted candy melts if they’re cold. They’ll hold their shape better and are more likely to stay on your lollipop stick.
- It’s best to work with only a few cake balls at a time when coating and decorating them. Otherwise, the other cake balls might warm up while they’re waiting their turn. Take out only 4 cake balls at a time and leave the rest chilling in the fridge.
- Dip your lollipop stick in the melted candy first before pushing it into your cake ball. This helps stick your cake ball to your stick.
- Candy melts usually set fast, so work quickly to tap off any excess candy and add your sprinkles before the candy sets. Once it’s set, your sprinkles won’t stick to your cake pop.
- If it’s hot where you live, you might need to refrigerate your cake pops to set the coating.
- Your candy melts might start to solidify before you’ve managed to dip all your cake balls. If so, pop your heatproof container back in the microwave for another 10-15secs to warm the candy up again to a better consistency for dunking.
🎂 Cake pop decorating ideas
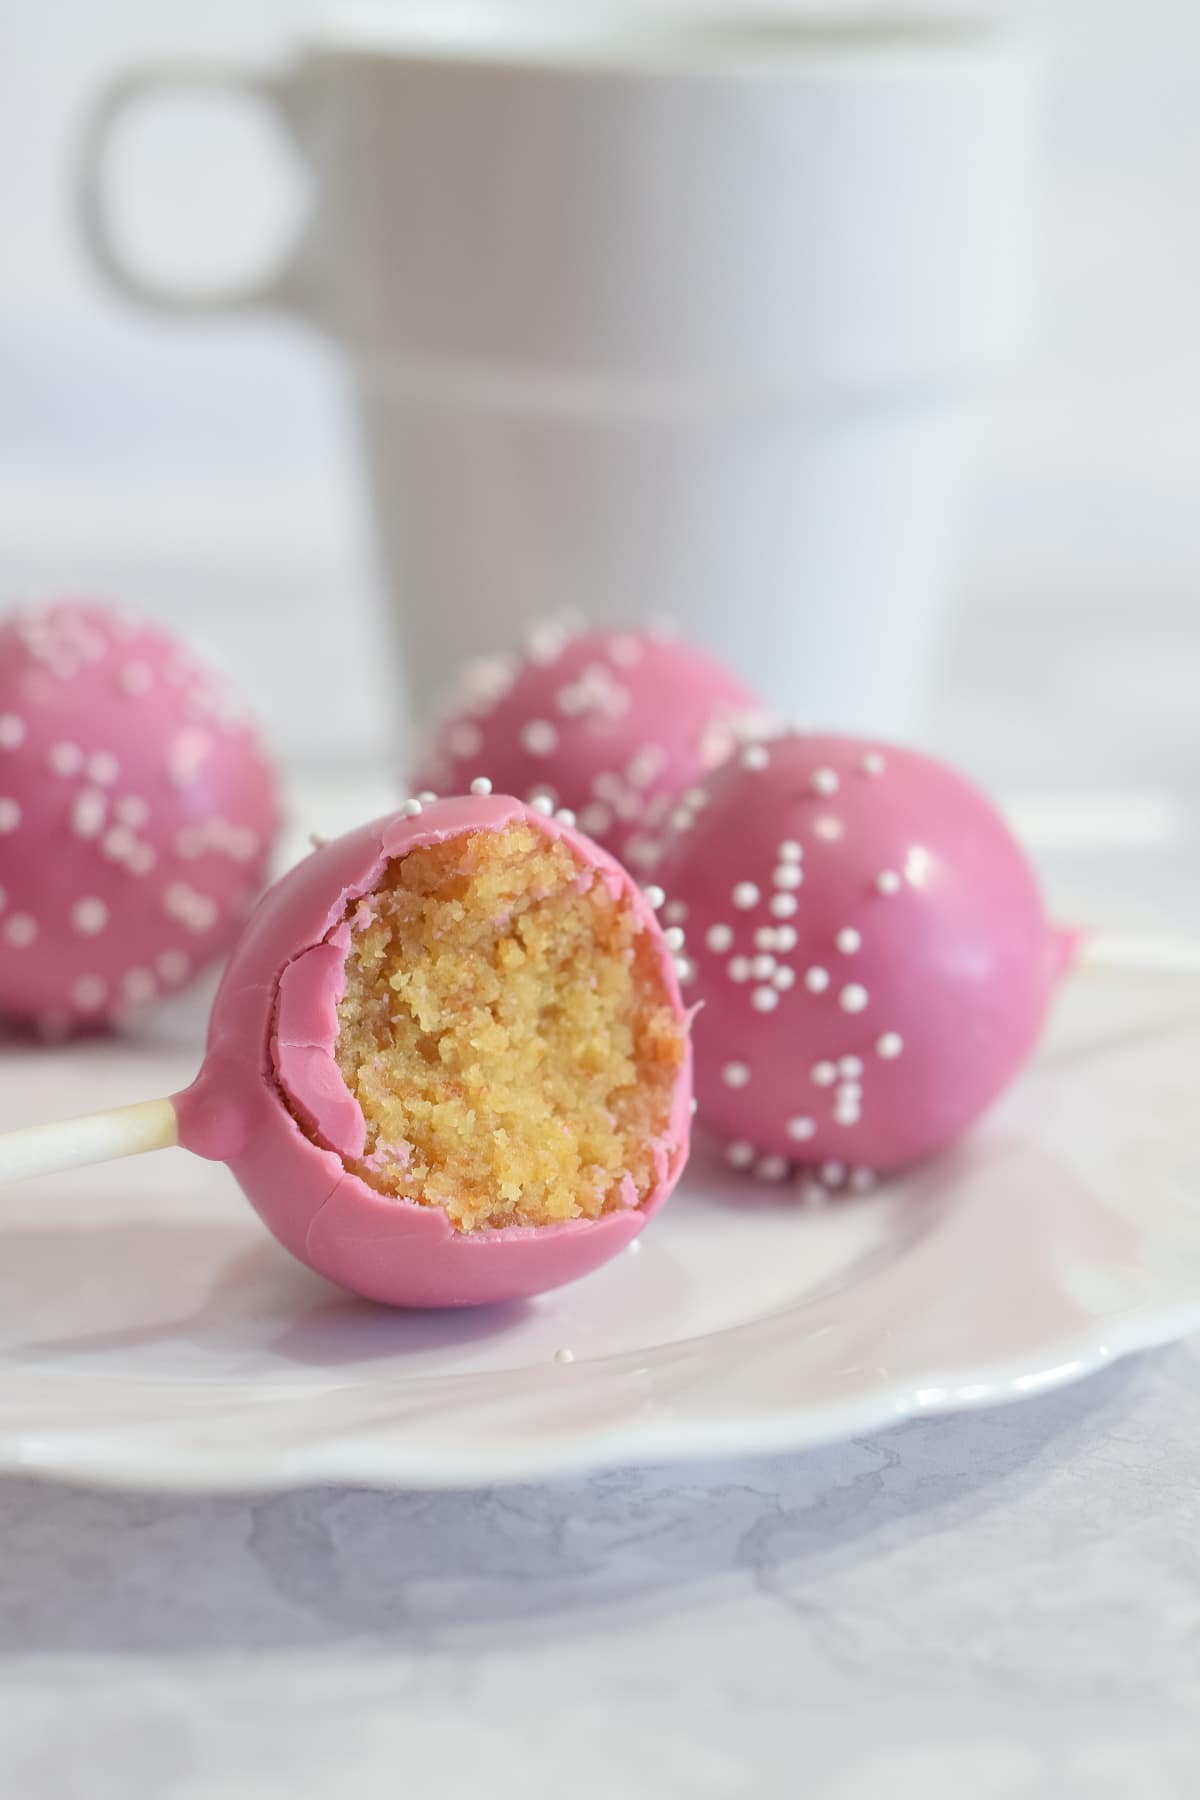
One of the best things about cake pops is that you can decorate them in so many different ways. Go nuts with different shell colours, drizzles, toppings, sprinkles… there’s so much you can do with them and each one in a batch can be different too!
Cake pop coating
For making copycat Starbucks cake pops, I like to use candy melts such as PME’s pink candy melts or Wilton's pink candy melts to make it as similar to the Starbucks version as possible.
You can also use chocolate instead of candy melts if you’d like. In fact, I often think a white chocolate coating tastes amazing with these vanilla cake balls! Chocolate can be trickier to use though as it can leave white streaks or go lumpy if not melted slowly.
Chocolate requires a powder or oil-based food colouring to change the colours. This is because regular water-based colourings will cause it to seize up. Have a play with different colors of your choice or lightly swirl a few colours together for a fun pattern.
For a Starbucks copycat birthday cake pop, you can swap the pink candy melts for melted white chocolate with a small drop of pink food coloring in it.
Cake pop toppings
I like to decorate these cake pops in the Starbucks birthday cake pop style, which is to lightly top them with a few white sprinkles. Here I’ve used the white mini shimmer pearls by Sprinkles and Toppers. In the US and other countries, these are also called white nonpareils. However, you can use any sprinkles you’d like.
You can also try using cake crumbs or drizzling melted chocolate over your cake pops. Or why not try a salted rum dulce de leche sauce for an adult finish to your cake pops! It might be messy, but it will be super tasty!
If you’re not using sauces and chocolate drizzles, add your topping to your cake pops before the coatings dry. Otherwise, they’ll just roll right off!
♻️ Options and substitutions
Flavour options
You can customise your vanilla cake pops to have different flavours. This recipe calls for a simple vanilla sponge cake (yellow cake) mixed with vanilla buttercream frosting. However, you can instead use your favorite cake sponges, either from scratch or a boxed cake mix, and a different flavour of frosting or spread.
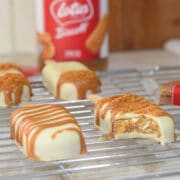
For example, if you swapped the vanilla frosting for biscoff spread, you’d have a biscoff cake pop, similar to one of my favourite recipes - biscoff cakesicles!
Another flavour idea is to swap the vanilla frosting for a lemon buttercream (like the one in this lemon cupcake recipe) and make a lemon cake pop instead.
Or for the grown-ups, swap the frosting in this recipe for Bailey's Irish cream buttercream instead!
Gluten-free option
To make your cake pops gluten-free, you can straight swap the plain all-purpose flour for a gluten-free 1:1 all-purpose blend. I usually recommend a pre-mixed blend such as King Arthur's measure for measure flour or Freee from Doves Farm
The other ingredients in this cake pop recipe should be gluten-free, but it's good to check the label on your ingredients just in case.
Self-raising flour substitution
I usually use plain all-purpose flour in this recipe. Alternatively, you can swap this for self-raising flour of the same quantity and exclude the baking powder.
🧁 Other goodies
I think you'll love these tasty and easy Starbucks copycat birthday cake pops! But as an avid home baker, I’m sure you’re asking yourself “what next?”.
If you’re looking for a few sponge cake recipes to use for your cake pops fillings, then why not take a peek at some of my favourite cakes and cupcakes - matcha green tea cupcakes, Oreo drip cake or Victoria sponge cake!
For these, you can scale down the sponge to only 2 egg’s worth specifically to make cake pops. Or make these impressive birthday cakes and use any leftovers or offcuts for your next batch of cake pops!
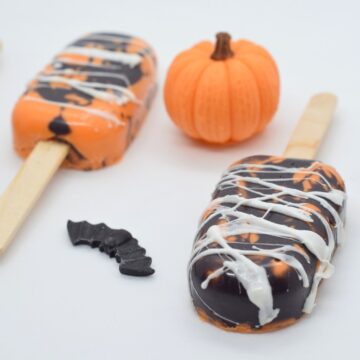
If you’re after more cake popsicle goodness, check out these tasty biscoff cakesicles, pumpkin cake pops, spookily delicious dark unicorn cakesicles or spiderweb orange cakesicles.
Looking forward to some new great recipes? Check out my Facebook, Instagram and Pinterest pages for a few sneak peeks and some sweet inspiration!
Or if you’d like to hear about our latest recipes and articles, why not subscribe to our newsletter?
You may also like:
📋 Recipe
Vanilla Cake Pops (Starbucks Copycat)
Rate this recipe here:
Equipment
- Cake pop stand, Styrofoam block or short cardboard box (optional, see notes above)
Ingredients
Cake for filling:
- 115 g (½ cups) unsalted butter (room temp.)
- 115 g (½ cups) caster sugar (granulated sugar)
- 2 eggs
- 115 g (1 cups) plain flour ** (all-purpose)
- 1 ¼ teaspoon baking powder
- 1 tablespoon milk (whole or semi-skimmed)
- 1 teaspoon vanilla extract
Buttercream for filling:
- 60 g (¼ cups) unsalted butter (room temp.)
- 130 g (1 cups) icing sugar (powdered sugar)
- 1 teaspoon milk (whole or semi-skimmed)
- ½ teaspoon vanilla extract
Toppings and coating:
- 150 g (⅔ cups) pink candy melts
- 1-3 teaspoon oil (e.g. vegetable, sunflower or canola)
- 2-3 teaspoon white mini pearl sprinkles (nonpareils)
Instructions
Cake for filling:
- Pre-heat oven: 180°C / 160°C (fan) / Gas Mark 4 / 350°F
- Cream together the butter and sugar until pale and smooth, then beat in the egg until fully combined.
- Sieve in the flour and baking powder, folding in gently. Then stir in the vanilla extract and milk until only just combined.
- Pour the cake batter into a greased and lined 8-inch round cake tin and bake for 20-25mins until springy to touch and a skewer comes out clean.
- Allow the cake to cool in the tin for 15mins before removing and transferring to a wire rack to finish cooling while you make the buttercream.
Buttercream for filling:
- Beat the butter (either by hand, using an electric mixer or stand mixer) until pale, light and fluffy.
- Sieve half of the icing sugar into the butter and beat until combined, then repeat this with the remaining half of the icing sugar.
- Add in the milk and vanilla extract, mixing until only just smooth.
Cake pop filling:
- Crumble up your cooled sponge into a large bowl, either using your hands or a fork.
- Using a fork or spatula, thoroughly mix in the buttercream to the crumbled cake. Your cake pop filling should be able to hold together like a soft dough.
- Scoop a walnut-sized amount of the filling mix (using a tablespoon or cookie scoop) and roll it in your hands to make a round ball. Place on a flat plate or tray lined with greaseproof paper.
- Repeat the above step until you've used up all of your filling mix and refrigerate for 1hr.
Cake pop assembly:
- In a narrow heatproof jug, mug or other container, slowly melt the candy melts in the microwave for 20secs at a time, stirring between bouts until smooth, then stir in the oil until you have a melted chocolate consistency.
- Take 4 cake balls from the fridge and dip one end of a lollipop stick into the melted candy before pushing it halfway into a cake ball. Repeat for all 4 cake balls.
- Holding the stick, dip a cake ball into the melted candy, covering it completely. Gently tap off any excess back into the container before topping with sprinkles and placing into a holder (e.g. cake pop stand or styrofoam block).
- Repeat the above steps until you've turned all the cake balls into cake pops. Allow the candy coatings to set for 5-10mins at room temperature, then enjoy!
Notes
Nutrition
Nutritional information is an estimate based on an online nutritional calculator, actual values may vary.







Ira
I only have 9 inch cake pans. Do you know what l should do now? Thanks in advance!
Kachina
Hi Ira, you can also use a 9-inch cake pan in place of the 8-inch tin and bake it for 15-20mins instead. You'll have a little more crust than using an 8-inch but that shouldn't affect your cake pops, especially as you mix it with buttercream so it's nice and moist. Happy baking!
Anaiah
This vanilla cake pops recipe is PERFECT and taste even better than Starbucks! I'm making this for my son's 3rd birthday, but with chocolate icing haha. Soo yummy!
Sweet Mouth Joy
Thanks Anaiah! Glad you like the recipe and happy birthday to your son!
Daniela
Thank you for such a detailed post and recipe. I can't wait to try them
Sweet Mouth Joy
Thanks Daniela! Happy baking!
Freya
These were so fun to make and much easier than I thought!
Sweet Mouth Joy
Thanks Freya! Glad you enjoyed them!
Kayla DiMaggio
These are so cute and they were so easy to make! Thanks so much for sharing this recipe!
Sweet Mouth Joy
Thanks Kayla, glad you like them. I find myself eating half the batch straight after making them!