This lemon curd is the perfect zesty treat for all the lemon lovers out there! Made using fresh lemon juice and zest, this creamy lemon curd is simple yet tangy and oh-so delicious.
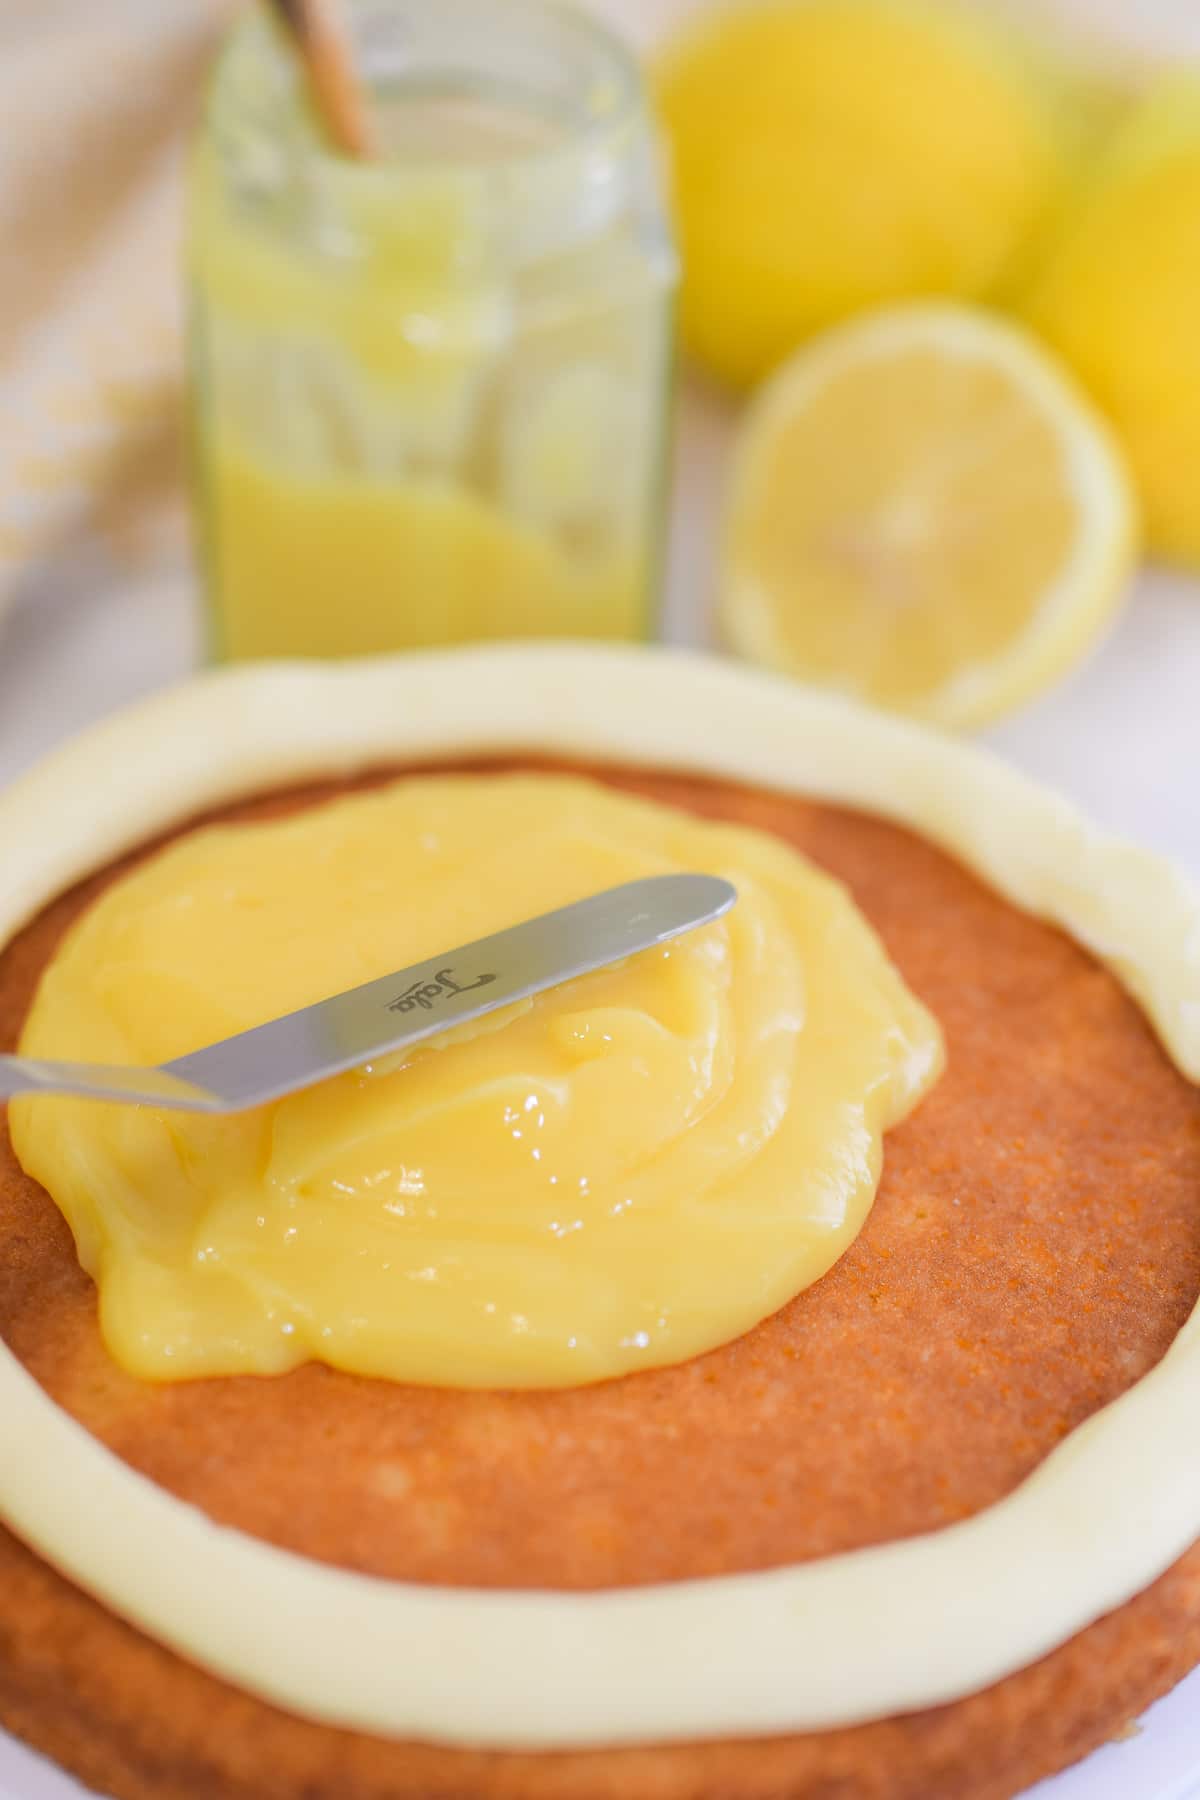
It’s especially great used as a cake filling, because this recipe makes a thick lemon curd so it won’t smoosh out from between your cake layers.
Use your homemade lemon curd for everything from a cake or cupcake filling, cookie filling (like macarons!), add it to buttercream for instant lemon flavour or just spread it on your toast for breakfast – yum!
Jump to:
✏️ Recipe creation
I’m a huge lemon fan, and I love nothing more than tangy zesty lemon desserts. That’s why I wanted to create a fresh lemon curd recipe that could be used for your desserts as well as your breakfast.
I’ve tried a few variations on this curd, but this easy recipe makes a curd that is thick enough to spread between your cake layers nicely. You’ll still need a frosting dam around the edge if you’re making a big or heavy cake though!
This lemon curd uses whole eggs with an extra yolk, which helps give it that thick creamy texture. It’s also a simple recipe that doesn’t require a double boiler, just make it straight in the pan!
I especially love using this lemon curd for scones at an afternoon tea or for a lemon curd cake on Mother’s Day. Or why not try using it between the layers of my favourite lemon white chocolate cake?
I also love making lemon curd as a way to use up leftover egg yolks!
🥘 Ingredients
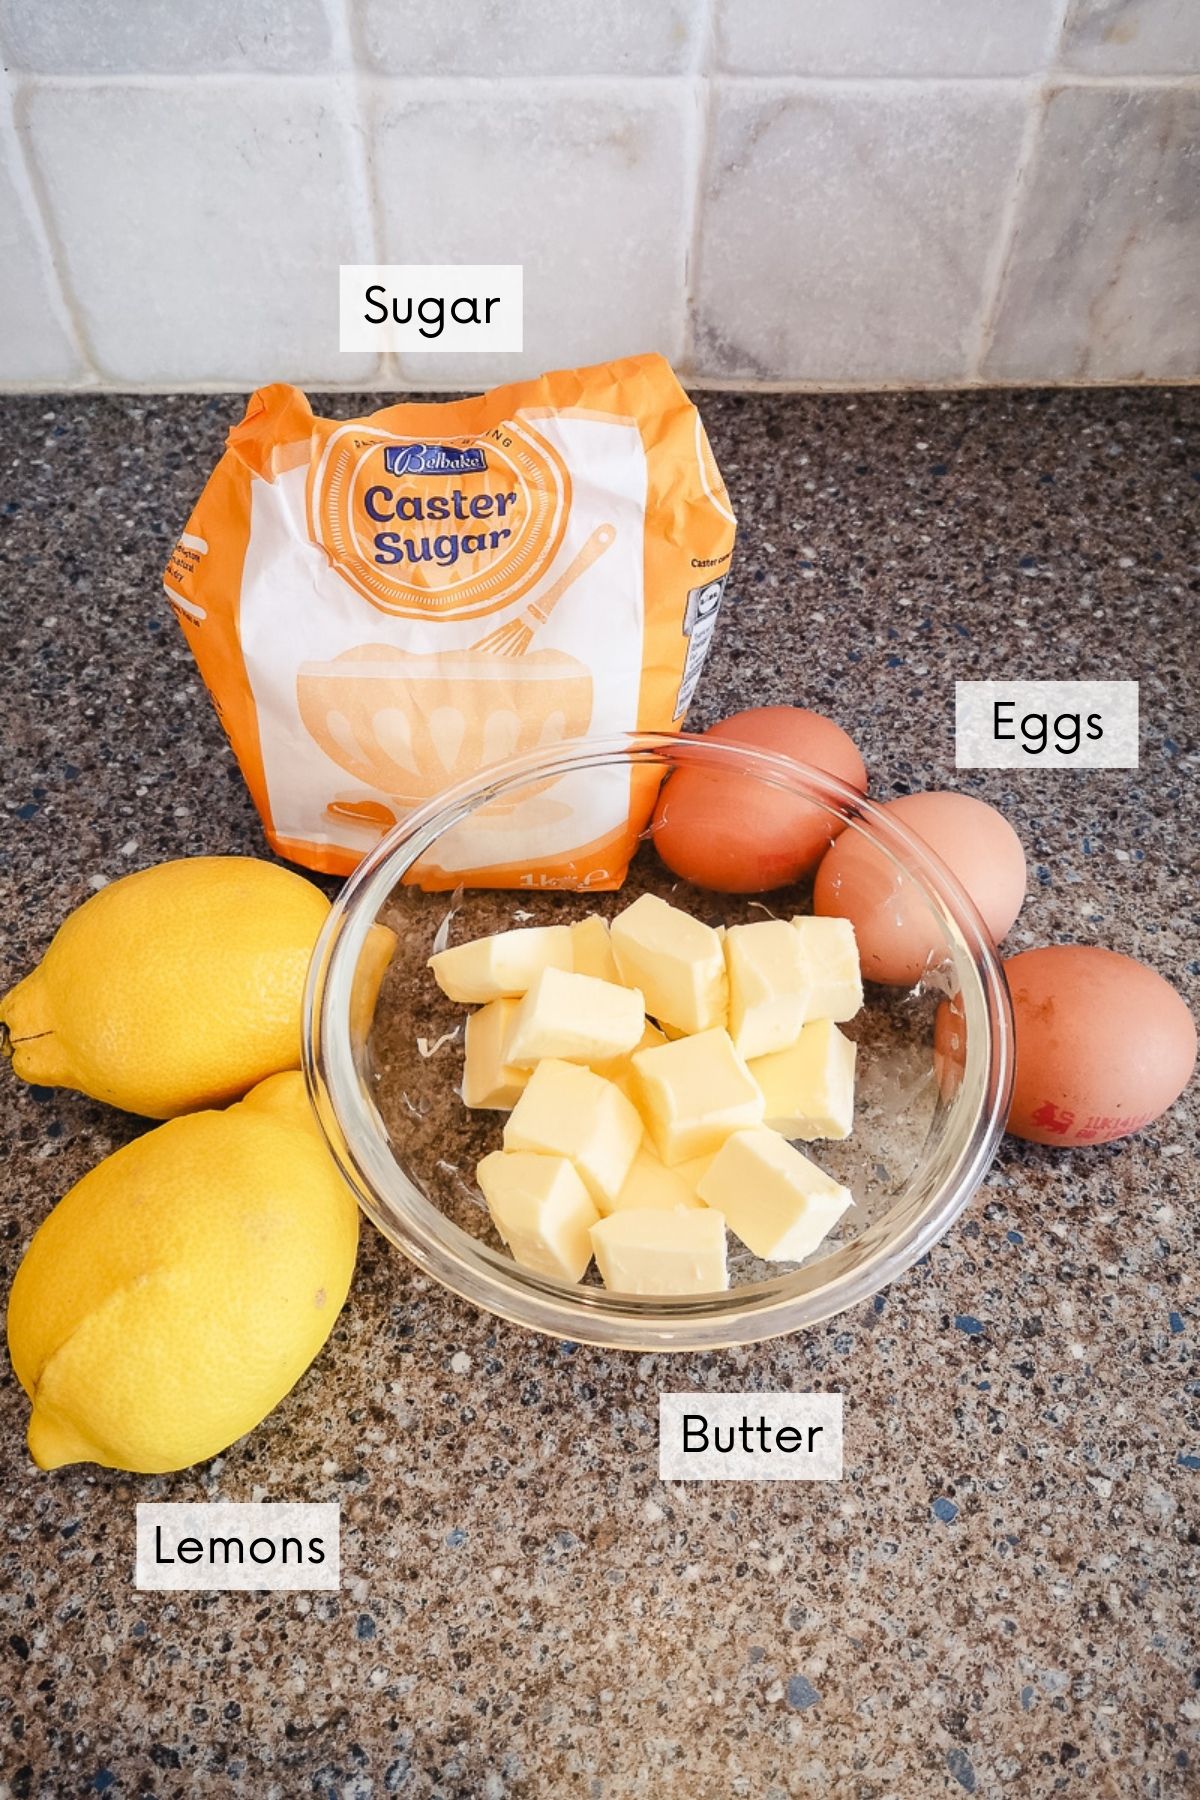
This lemon curd recipe calls for the following ingredients:
- Egg yolk
- Eggs
- Caster or granulated sugar
- Fresh lemons (zest and juice)
- Unsalted butter
- Salt (optional)
See the recipe card for quantities.
Ingredient substitutions
I usually use whichever fresh lemons are available at the grocery store. However, this curd is extra tasty if you can get Meyer lemons, which tend to be sweeter and less acidic than regular lemons.
You can use either caster or granulated white sugar for this recipe.
Ingredient tips
- Using unsalted butter lets you control the amount of salt in your curd. I like mine to be low salt so I don’t add much, but you can add an optional ⅛ teaspoon or a pinch of salt to taste.
- To measure your ingredients, it’s best to use weights rather than cups for better accuracy.
- Using a fresh lemon for this recipe is important. You also want the lemon to be unwaxed, so you’re not adding wax to your curd.
🔪 Equipment
I use the following equipment for this recipe:
- Zester or fine grater
- Citrus juicer / squeezer
- Medium saucepan
- Whisk
- Rubber spatula or wooden spoon
- Weighing scales
- Measuring spoons
- Storage jars (or heatproof bowl)
Equipment alternatives
If you don’t have a microplaner or zester to zest your lemons, you can use the fine holes of a cheese grater instead.
To juice your lemons, cut them in half and use a citrus squeezer or juicer. You can instead use a fork to press into the juicy fruit part and twist the fork while you squeeze the lemon half. Do this over a strainer to catch seeds.
I use sterilised 8oz storage jars or pots for storing my curd. This is the typical size for a jam jar you’d find in the store. However, you can use any size mason jar or other storage jar (as long as you have enough of them!).
If you’re planning to use your curd in a dessert shortly after, you can pour your cooked curd into a heatproof bowl instead. Allow the curd to cool briefly at room temperature before covering the bowl with plastic wrap and refrigerating your curd until set ready for use.
Equipment tips
- I like using digital scales for weighing my ingredients as it's easy and accurate. I quite like KitchenAid or Salter scales.
- For your curd to keep longer, you should sterilise your jars before use. See FAQs below for help!
- I like to use a silicone whisk so it doesn’t scratch the bottom and sides of your mixing bowl when you’re whisking vigorously.
- It’s best to use a heavy saucepan where possible. This distributes the heat better so you’ll get a more even and gradual warming to your curd. It’s less likely to overcook this way.
📖 Method
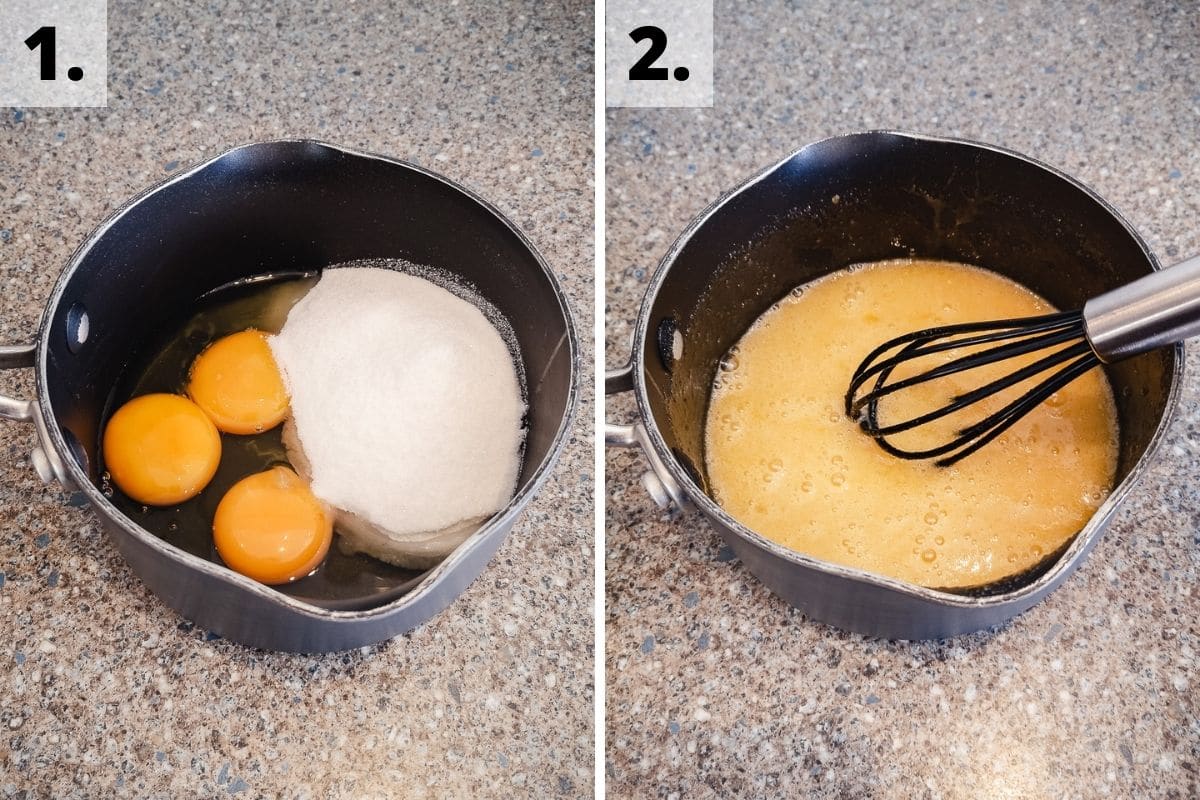
Steps 1 - 2: In a medium saucepan, whisk together the eggs, yolk and sugar until smooth.
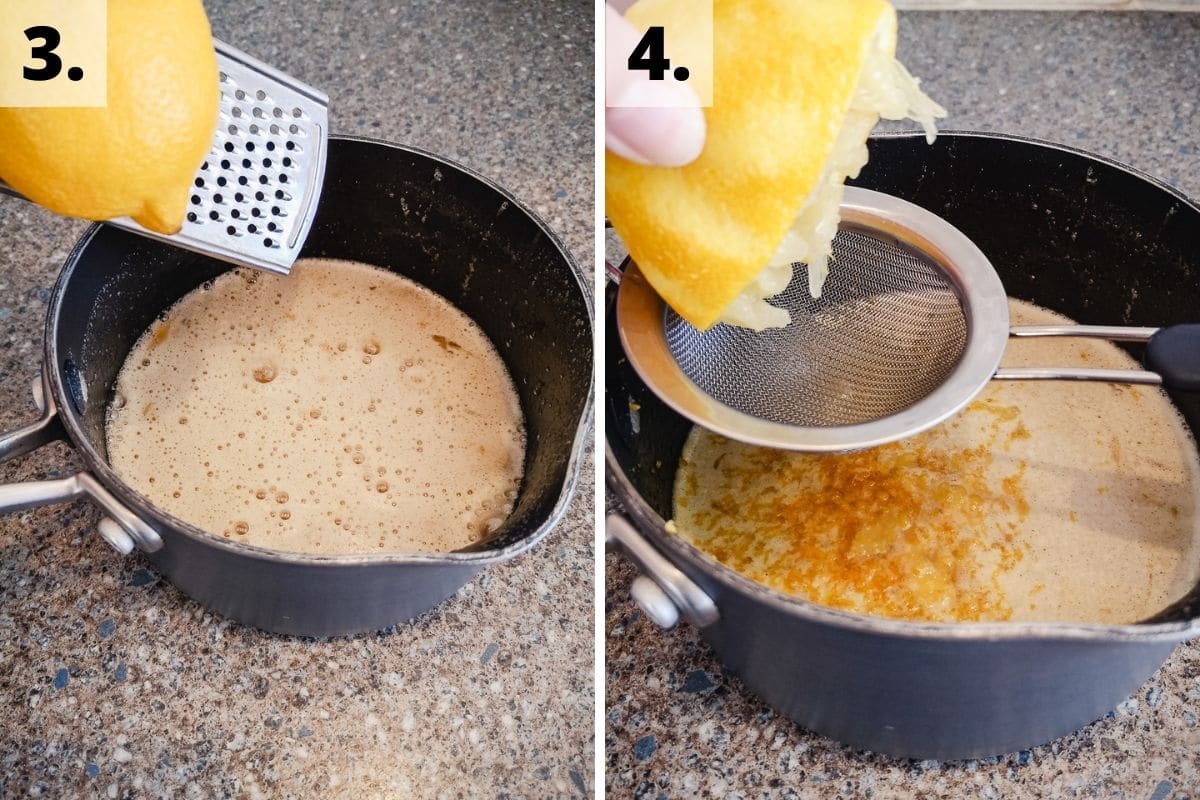
Steps 3 - 4: Zest the lemons into the pan, then cut them in half and squeeze in the lemon juice. You can use a strainer to ensure no pips get into the mix. Stir until fully combined.
Step 5: Add in the butter and heat on a medium-low heat, stirring until the butter has fully melted.
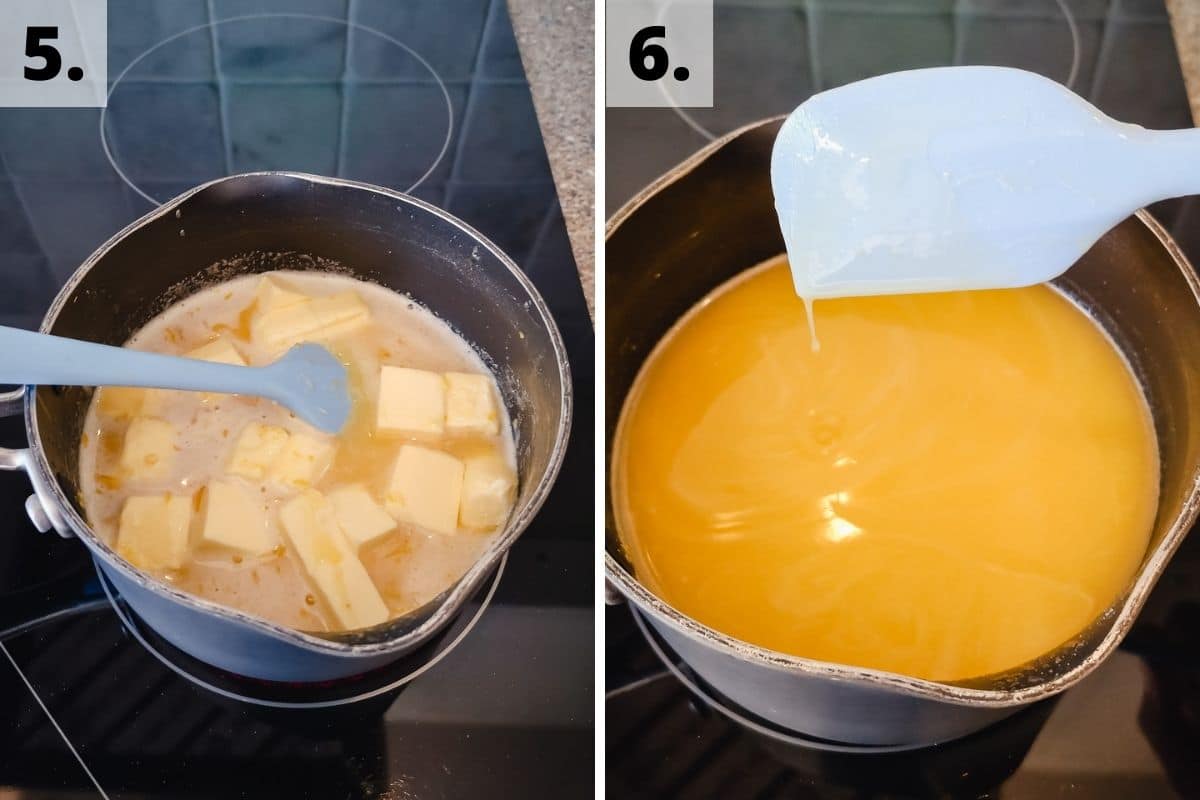
Steps 6 - 7: Stir continuously for roughly 15mins until the curd has thickened to a thin custard consistency and coats the back of your spoon/spatula. See the below video for a visual guide.
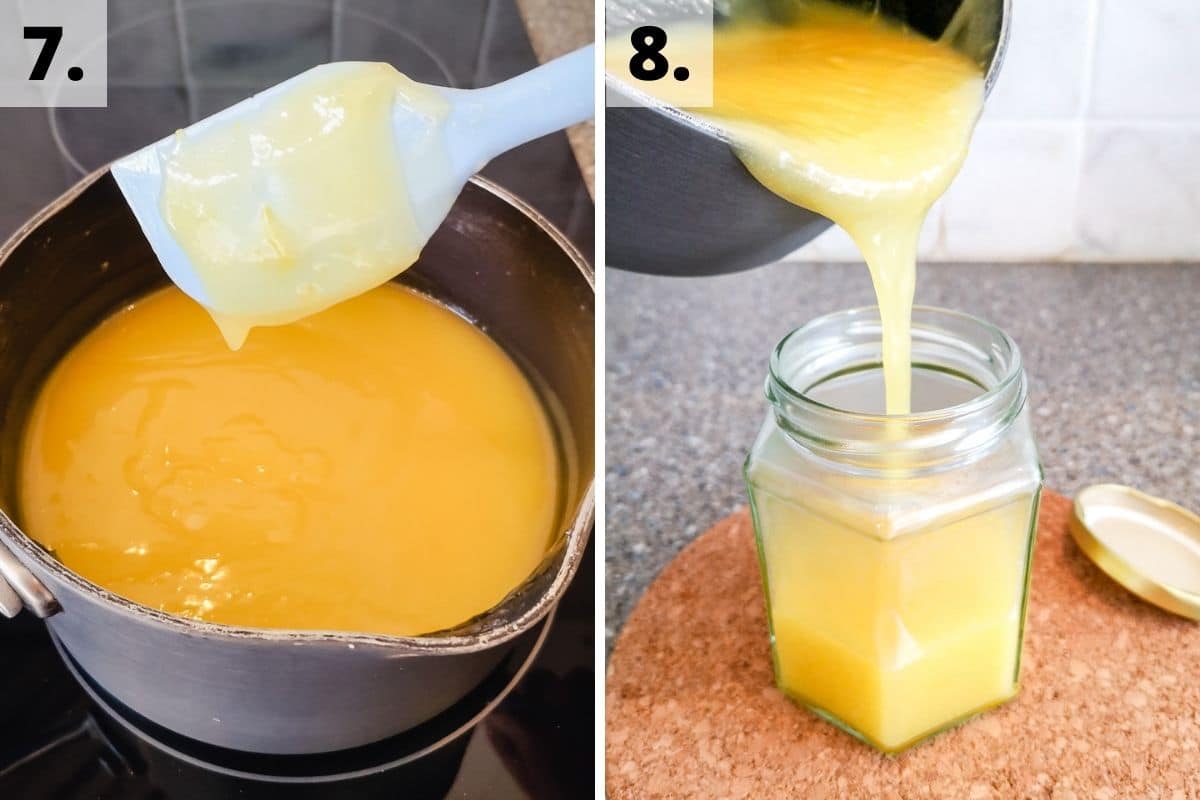
Step 8: Pour your curd into sterilised jars (or heatproof bowl if using for a cake filling) and allow it to cool on the side briefly before covering with the lid (or plastic wrap) and refrigerating until set.
🍱 Storage
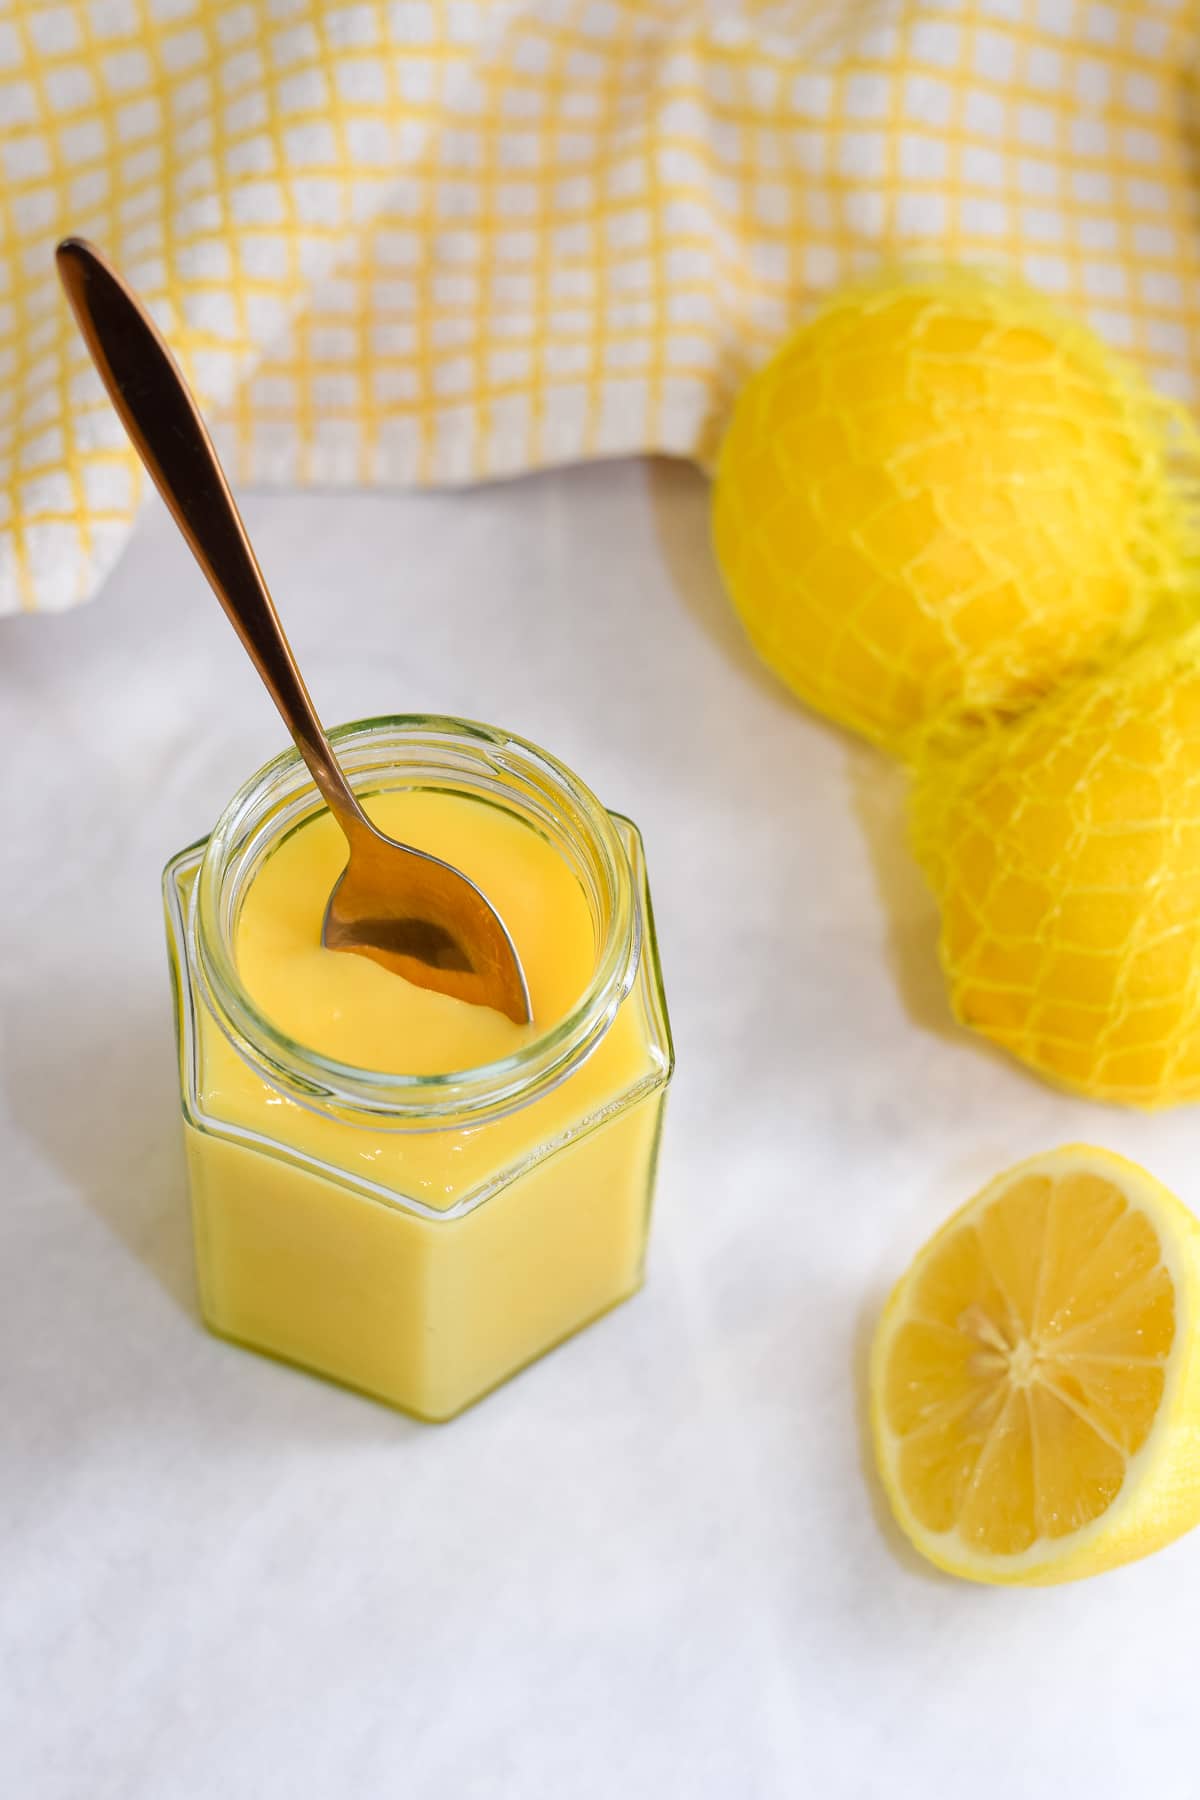
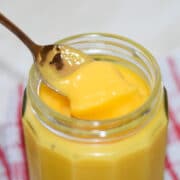
Your homemade lemon curd should last for up to 2 weeks stored in an airtight container (e.g. storage jars) in the fridge.
💭 Top tips
- It’s best to zest your lemons before you juice them. I’ve cut my lemon in half before without thinking and ended up squirting lemon juice everywhere as I tried to grate the zest into my mixture!
- For best results, it’s important to use a low-medium heat for your curd and stir continuously. If you heat the curd too quickly the eggs will scramble. You can always sieve out any little bits after if that happens, but it’s best to avoid this if possible.
- You’ll know your curd is done when it thickens up to the consistency of a thin custard and coats a layer on the back of your spoon/spatula. You should be able to run your finger along the coating, leaving a line without it running.
- If you want a super smooth curd, you can use a fine mesh sieve to sieve your cooked curd mixture before pouring it into your jars. This will remove any bits of zest.
❔ FAQs
Your homemade lemon curd should last for up to 2 weeks stored in an airtight container in the fridge.
To sterilise jars, you can wash them with hot soapy water then place them on a baking sheet in the oven at 275F / 140C / 120C (fan) / Gas 1 for 10-15mins until dry.
Note that most lids have rubber seals, so remove these before you heat them. If they’re built in, you can’t heat the lids along with the jars.
Alternatively, you can boil jars and lids in hot water in a large saucepan on the hob for 2-3mins.
Allow your jars to cool before use.
To zest a lemon, use a microplaner, citrus zester or grater (fine holes). Hold your lemon in one hand and your tool in the other, then rub the lemon against the tool over a container to catch the zest as it falls.
You only want the yellow lemon skin, so don’t rub the lemon all the way down through the white pith layer. Once you see it’s white, move on to another section of lemon.
Keep readjusting your grip on the lemon to rub a different yellow skin section every few strokes. Continue until there’s practically no yellow left on your lemon.
The best way to juice a lemon is to first cut it in half, through the middle rather than tip to tip. Press your lemon half into a citrus squeezer or juicer to release the juice.
You can instead use a fork to press into the juicy fruit part and twist the fork while you squeeze the lemon half. Do this over a strainer to catch any pips / seeds.
I definitely recommend juicing your lemon AFTER you’ve zested it.
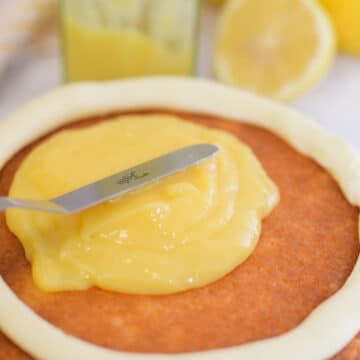
For a medium sized cake, place one cake layer upside-down on a plate and pour roughly ½ jar of curd on top, smoothing out evenly to roughly an inch inside the edges. You can use a knife or offset spatula for this.
Place your second cake layer on top (right way up) and decorate as desired.
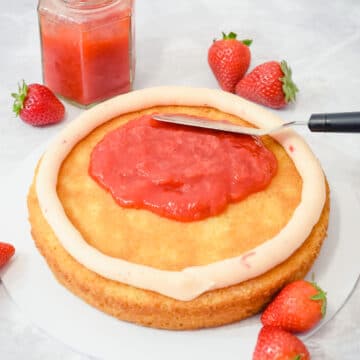
If you will be decorating your cake in frosting too, you should first pipe a circle of frosting around the top edge of your first cake layer. Do this before you add the curd in the middle. This stops your curd getting squeezed out as you frost the rest of your cake.
Yes, this is a gluten-free lemon curd recipe. However, not all lemon curd is gluten-free as some recipes add flour to thicken it.
Leftover egg whites are great for making meringue, macarons, Swiss buttercream, marshmallow and more!
🍋 Suggested uses
You can use your own lemon curd to make your favorite desserts into lemon dreams. And of course, any curd leftovers are great for your morning crumpets or toast!
Lemon cake filling
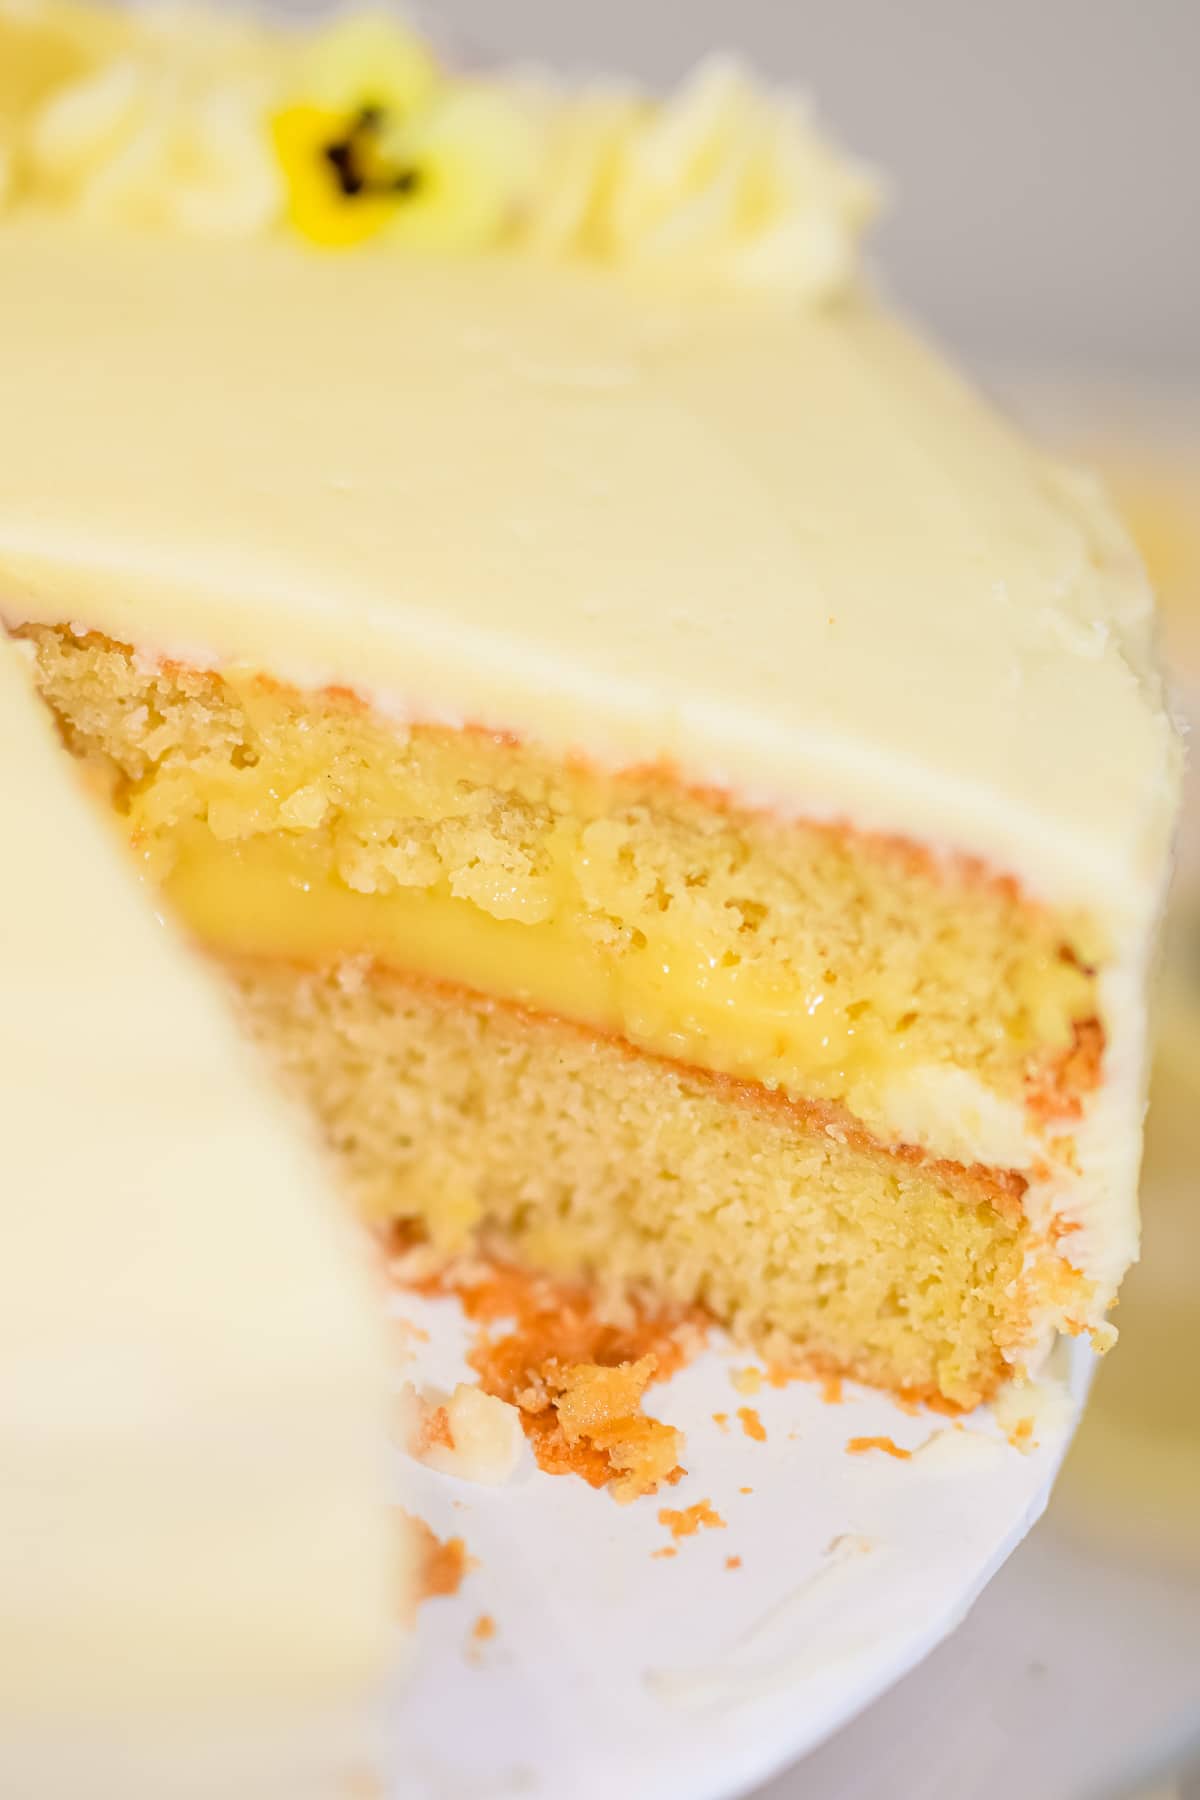
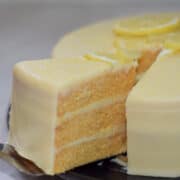
This lemon curd is great as a cake filling. Use it between a vanilla or lemon cake layers (like this Victoria sponge cake) for the ultimate tangy and moist lemon cake. You can also use a lemon curd filling to level up a white cakes or box mix cakes.
This recipe makes roughly 1 ½ standard sized jars worth of curd. This is more than enough to fill a medium-sized 3 or 4 layer cake with enough spare for optional topping too. For example, you can fill and decorate a 3-layer 8-inch celebration cake.
Decorate your lemon cakes with more lemon curd on top of the cake. Add slices of lemon and lemon peel for more even lemon goodness.
Lemon cupcakes
You can also fill cupcakes with this curd. Cut a small hole in the top of your cupcake, roughly ½ the cupcake’s depth, and remove the piece of cake.
Add 1 teaspoon of curd before either putting the cake piece back in or topping straight with your frosting of choice.
I especially love using this lemon curd to fill these raspberry cupcakes!
Lemon cake pops
How about making lemon cake pops? Swap out the frosting for this lemon curd in this cake pop recipe. Add 1 tablespoon at a time to your crumbled cake until it comes together to form a soft dough. Follow the rest of the recipe as normal.
Lemon pie filling
Not just for cakes, this lemon curd works great as a lemon pie filling – who doesn’t love a lemon meringue pie after all?
Depending on the size of the tart or pie case, this recipe should make enough for a single standard sized tart or pie.
Lemon frosting
You can also use the curd for adding lemon flavor to your frostings. Add the curd 1 tablespoon at a time to a basic American buttercream until you get the right flavour and thick consistency for lemon buttercream.
You can even use this method to make a lemon swiss meringue buttercream, using up the leftover egg white from this recipe.
♻️ Variations
If you prefer a subtle lemon flavor, you can reduce the lemon zest by ½ lemon.
I like this as a purely zesty lemon curd, but if you like a lime twist, replace 1 lemon with 1 ½ limes instead.
🧁 Other goodies
Looking for some other goodies to make?
If you’re a lemon dessert lover then you’ll love this Starbucks copycat lemon loaf cake or these classic lemon bars.
For a delicious cake, try this super simple white chocolate lemon cake recipe with its no-cream lemon white chocolate ganache. You can even add this curd for a lemon filling to go with your cake!
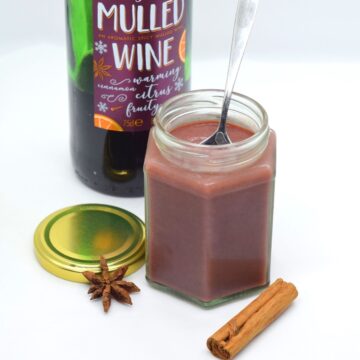
For some other tasty curds, take a look at my best ever passionfruit curd and, if you’re feeling festive, this mulled wine cranberry curd is always a great homemade gift!
Looking forward to some new recipes? Check out my Facebook, Instagram and Pinterest pages for a few sneak peeks and some sweet inspiration!
Or if you’d like to hear about our latest recipes, why not subscribe to our newsletter?
You may also like:
📖 Recipe
Lemon Curd
Rate this recipe here:
Ingredients
- 1 egg yolk
- 2 eggs
- 135 g (⅔ cups) white sugar caster or granulated
- 2 lemons' zest and juice roughly 8 tablespoon juice + 2tbsp zest
- 115 g (½ cups) unsalted butter
Instructions
- In a medium saucepan, whisk together the eggs, yolk and sugar until smooth.
- Zest the lemons into the pan, then cut them in half and squeeze in the lemon juice. You can use a strainer to ensure no pips get into the mix. Stir until fully combined.
- Add in the butter and heat on a medium-low heat, stirring until the butter has fully melted.
- Stir continuously for roughly 15mins until the curd has thickened to a thin custard consistency and coats the back of your spatula instead of running straight off.
- Pour your curd into sterilised jars (or heatproof bowl if using for a cake filling) and allow it to cool on the side briefly before covering with the lid (or plastic wrap) and refrigerating until set.
Notes
- This recipe makes roughly 350ml curd, which is 1 ½ jars using a standard preserves jar.
- Your curd can take several hours to chill until set.
- If using your curd for a dessert, you can set the cooked curd in a heatproof bowl (instead of jars) and cover it with plastic wrap to refrigerate.
- This is a gluten-free recipe.
- Check out the short video showing the consistency before and after your curd is cooked to help you know when your curd is ready for chilling.
Nutrition
Nutritional information is an estimate based on an online nutritional calculator, actual values may vary.



Comments
No Comments