These matcha green tea cupcakes are packed full of that distinctly earthy matcha flavour. They have a soft matcha sponge topped with delicious matcha green tea buttercream frosting. It also has a lovely little hint of vanilla!
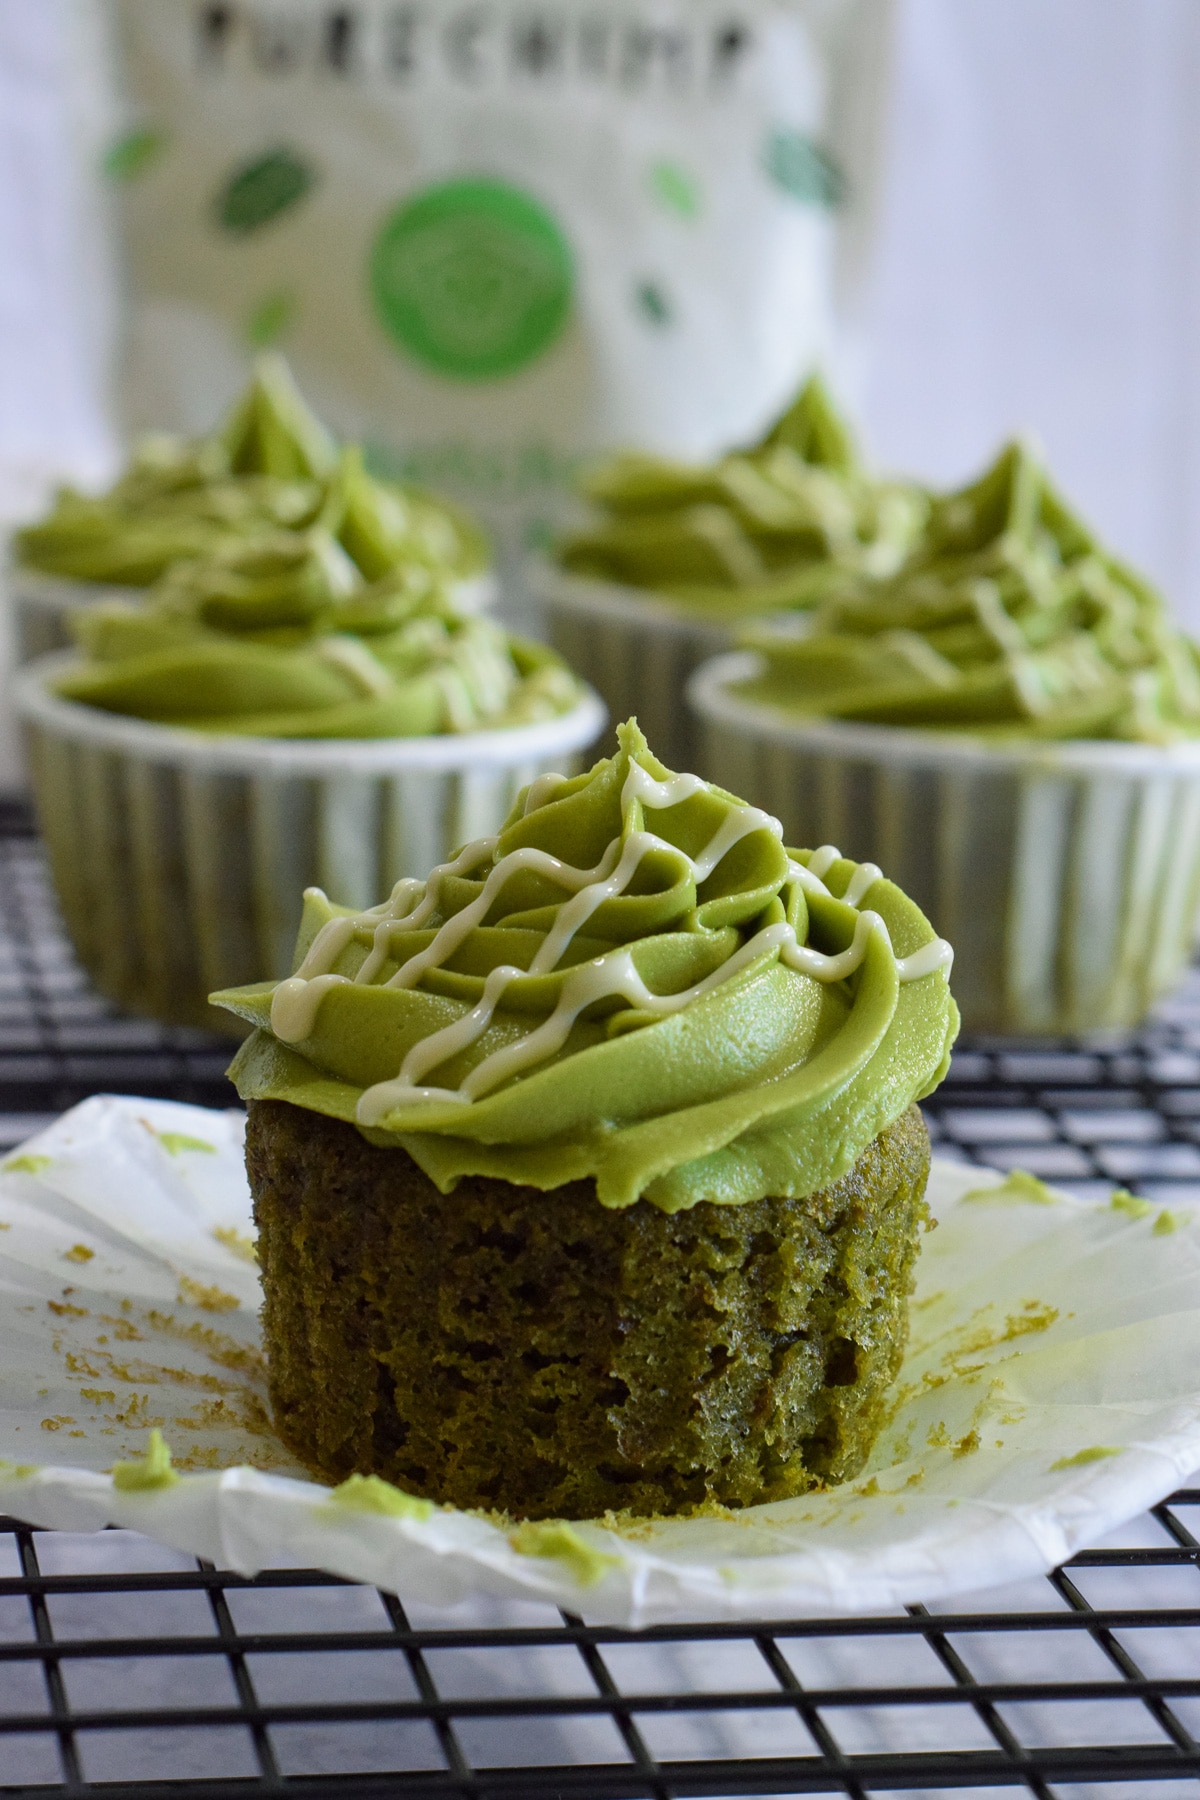
They remind me of matcha lattes in cupcake form. Perfect for all the matcha lovers out there.
If you’ve never tried matcha before, you’re going to fall in love after trying these cupcakes. They’re a great introduction to the rich green tea flavour but in a sweet and soft cupcake. These sweet snacks make great exotic gifts or something unique for your next party – especially if it’s St Patrick's Day!
Jump to:
🍵 What is matcha?
Matcha is a fine powder made from the same plant as green tea. It is specially grown and processed from green tea leaves. This is made differently from what you find in your standard green tea bags. There are also different quality grades of matcha powder.
Can you bake with matcha powder?
Yes! When baking with matcha powder, be sure to use food-grade at a minimum, or ceremonial-grade matcha powder for a more vibrant colour. Matcha powder adds a delicious green tea flavour to your baked goods and will add a lovely green too.
Matcha has a slightly bitter natural flavour, which makes it amazing when you have it in a matcha latte with some vanilla syrup (my personal Starbucks favourite). It’s even better used in desserts and sweet treats. The earthy green tea flavour is balanced beautifully by sweet flavours.
As it’s a very strong flavour, you don’t need much matcha green tea powder to flavour your baked goods.
✏️ Recipe creation
I’m 100% sure that I have a matcha obsession, (blame matcha green tea ice cream for getting me hooked) and these are the best matcha green tea cupcakes I’ve ever tried. It took me a few tries to get the right balance of matcha flavour without it becoming too bitter. Hopefully, I’ve nailed it with these green beauties though!
I wanted to make matcha cupcakes that were simple and easy, so this recipe uses minimal ingredients and is pretty quick to whip up. These green cupcakes turned out to be ready in less than 1hr!
I usually associate green with health and matcha powder actually has a lot of health benefits. In other words, this isn’t just your typical cupcake! Despite all the sugar, there’s actually a little bit of goodness in these sweeties too.
And yes, I did also make them for a green Paddys Day treat!
🥘 Ingredients notes
- It’s best to start this recipe with room temperature ingredients. Your ingredients will mix together better, reducing the chance you’ll overmix the batter and you'll have lovely fluffy cupcakes.
- I recommend sieving your flour, powdered sugar (also called icing sugar), baking powder and matcha powder for this recipe.
- When measuring your ingredients, using weights rather than cups will give you more accuracy. This is especially important for the amount of flour used.
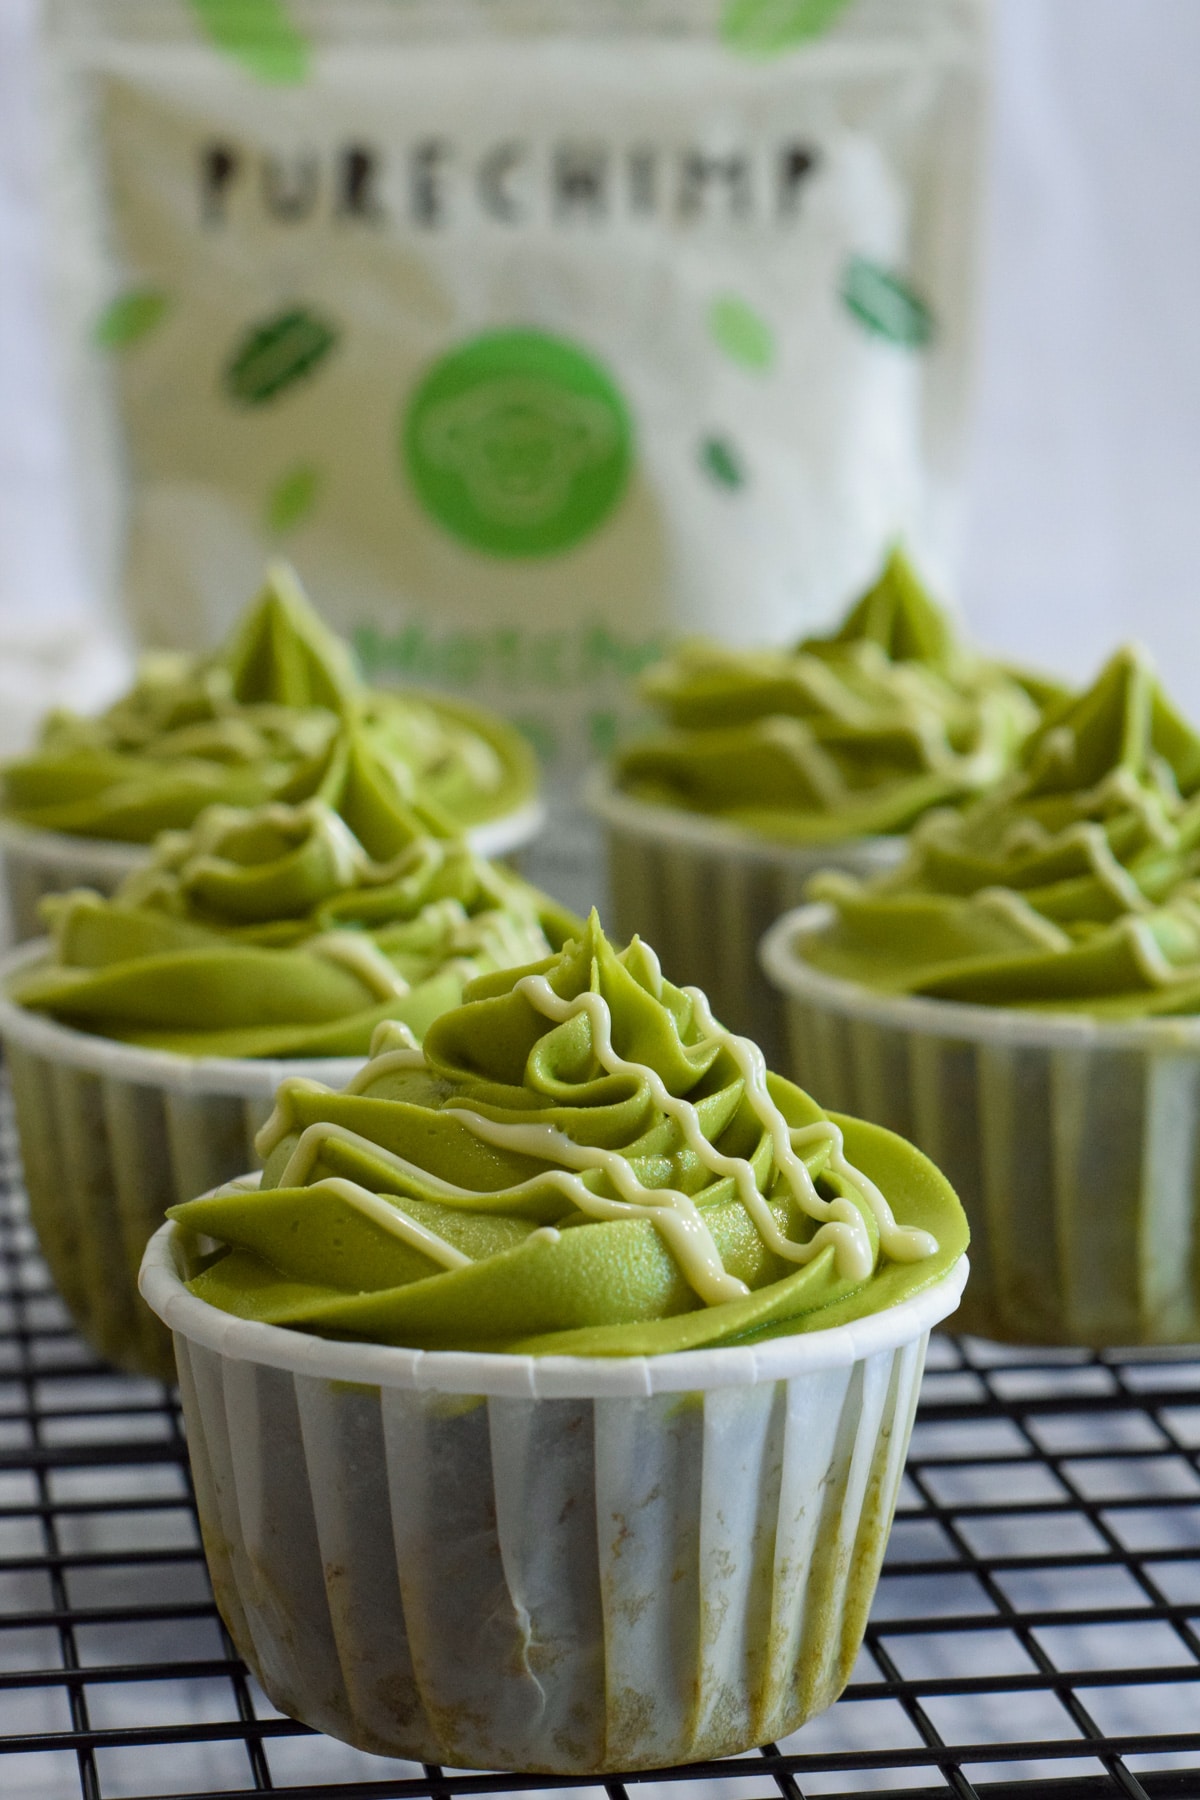
- Not all matcha powder is created equal. I recommend splashing out to get a ceremonial or baking (culinary) grade matcha powder, preferably from a good brand. If you get cheap matcha powder, your matcha cupcakes will be less vibrant green and won’t taste as nice. I like to use the Matchaeologist matcha powder or Pure Chimp matcha powder (affiliate links - both are great quality).
- I prefer to use vanilla extract rather than vanilla essence. It has a purer vanilla taste due to being less processed.
🔪 Equipment notes
- This is a slightly runny cupcake batter, so I’ve found that instead of regular paper cupcake liners, baking cups are usually better. Some of the weaker paper liners can peel away from your moist cupcakes after a few days, especially if it's a hot and humid day.
- If you are using baking cups instead of paper liners, you don’t actually need a muffin pan. Instead, you can just place the baking cups on a baking sheet.
- I like using digital scales for weighing my ingredients - it's really easy and accurate! I'm a fan of the KitchenAid or Salter scales.
- It’s good to use measuring spoons for your teaspoon and tablespoon amounts, as your standard teaspoons and tablespoons for eating with won't actually be the right volume. It;s also good to level off any heaped scoops before adding your ingredients.
- If you're planning to use a stand mixer, I recommend using the paddle attachment to make your cupcake batter and buttercream frosting.
- When using a stand mixer, I usually use a low speed for this cupcake batter to reduce the chance of overmixing. For the buttercream frosting, I use a medium speed.
- For both your cupcake batter and buttercream frosting, I'd recommend that you scrape down the sides of the stand mixer bowl and the bottom of the bowl to ensure a more even mix.
- You can also get great results by using a medium bowl and an electric hand mixer or even by hand using a wooden spoon, whisk or a fork if you don’t have an electric mixer.
🍱 Storage
It’s best to store your cupcakes in an airtight container. These matcha green tea cupcakes should keep for up to 3 days stored at room temperature.
If it’s hot where you live (I’m very jealous!), you might prefer to store your cupcakes in an airtight container in the fridge. These should also keep for up to 3 days stored this way. However, they will start to dry out over time, so it’s best to eat them fresh where possible!
If you want to freeze your cupcakes, you can wrap the unfrosted cupcakes in plastic wrap / cling film and freeze them.
Your buttercream frosting can also be frozen in an airtight container.
Both should keep for up to 2 months in the freezer. Defrost and use as normal per recipe. The buttercream may need to be beaten again to whip up to nice and fluffy before use.
💭 Top tips
- I find that the best way to mix your ingredients is to slowly add the wet ingredients to the dry ingredients. This helps to reduce the lumps in your mixture giving you a smooth batter as it’s beaten together gradually.
- When pouring your cupcake batter into the cupcake liners in the muffin tin (I quite like the Wilton muffin pans!) you only need to fill each of your cupcake cases to roughly ⅔ full. Any more than this and you might have your cupcakes looking a bit more like muffins as they could spill over!
- I always position my cupcake pan in the centre of the oven on the middle shelf when possible. This usually gives a more even bake and my baking temperatures specified in the recipe are based on using this part of the oven.
- Don’t open the oven mid-bake. You may have heard this before, but it’s such an important factor that it bears repeating. We’ve all been there and nobody likes their cupcakes with a sinkhole!
- You’ll know your matcha cupcakes are cooked once they’re risen, springy to touch and an inserted toothpick or skewer comes out clean from the center.
- Once your cupcakes have baked, it's best to remove them from the muffin tin and move them to a wire rack to cool. Using a cooling rack prevents moisture from gathering on the outside of your cupcake cases, which I've found can cause them to peel away from the cupcakes as they cool.
- For a gorgeously creamy green tea buttercream frosting, start by beating your butter until it’s light and fluffy. It could just be me, but this always seems to take longer than I think. It should be several minutes of beating the butter if using a stand/electric mixer. This will go a long way in giving you creamy and light frosting.
🎂 Decorating ideas
Frosting
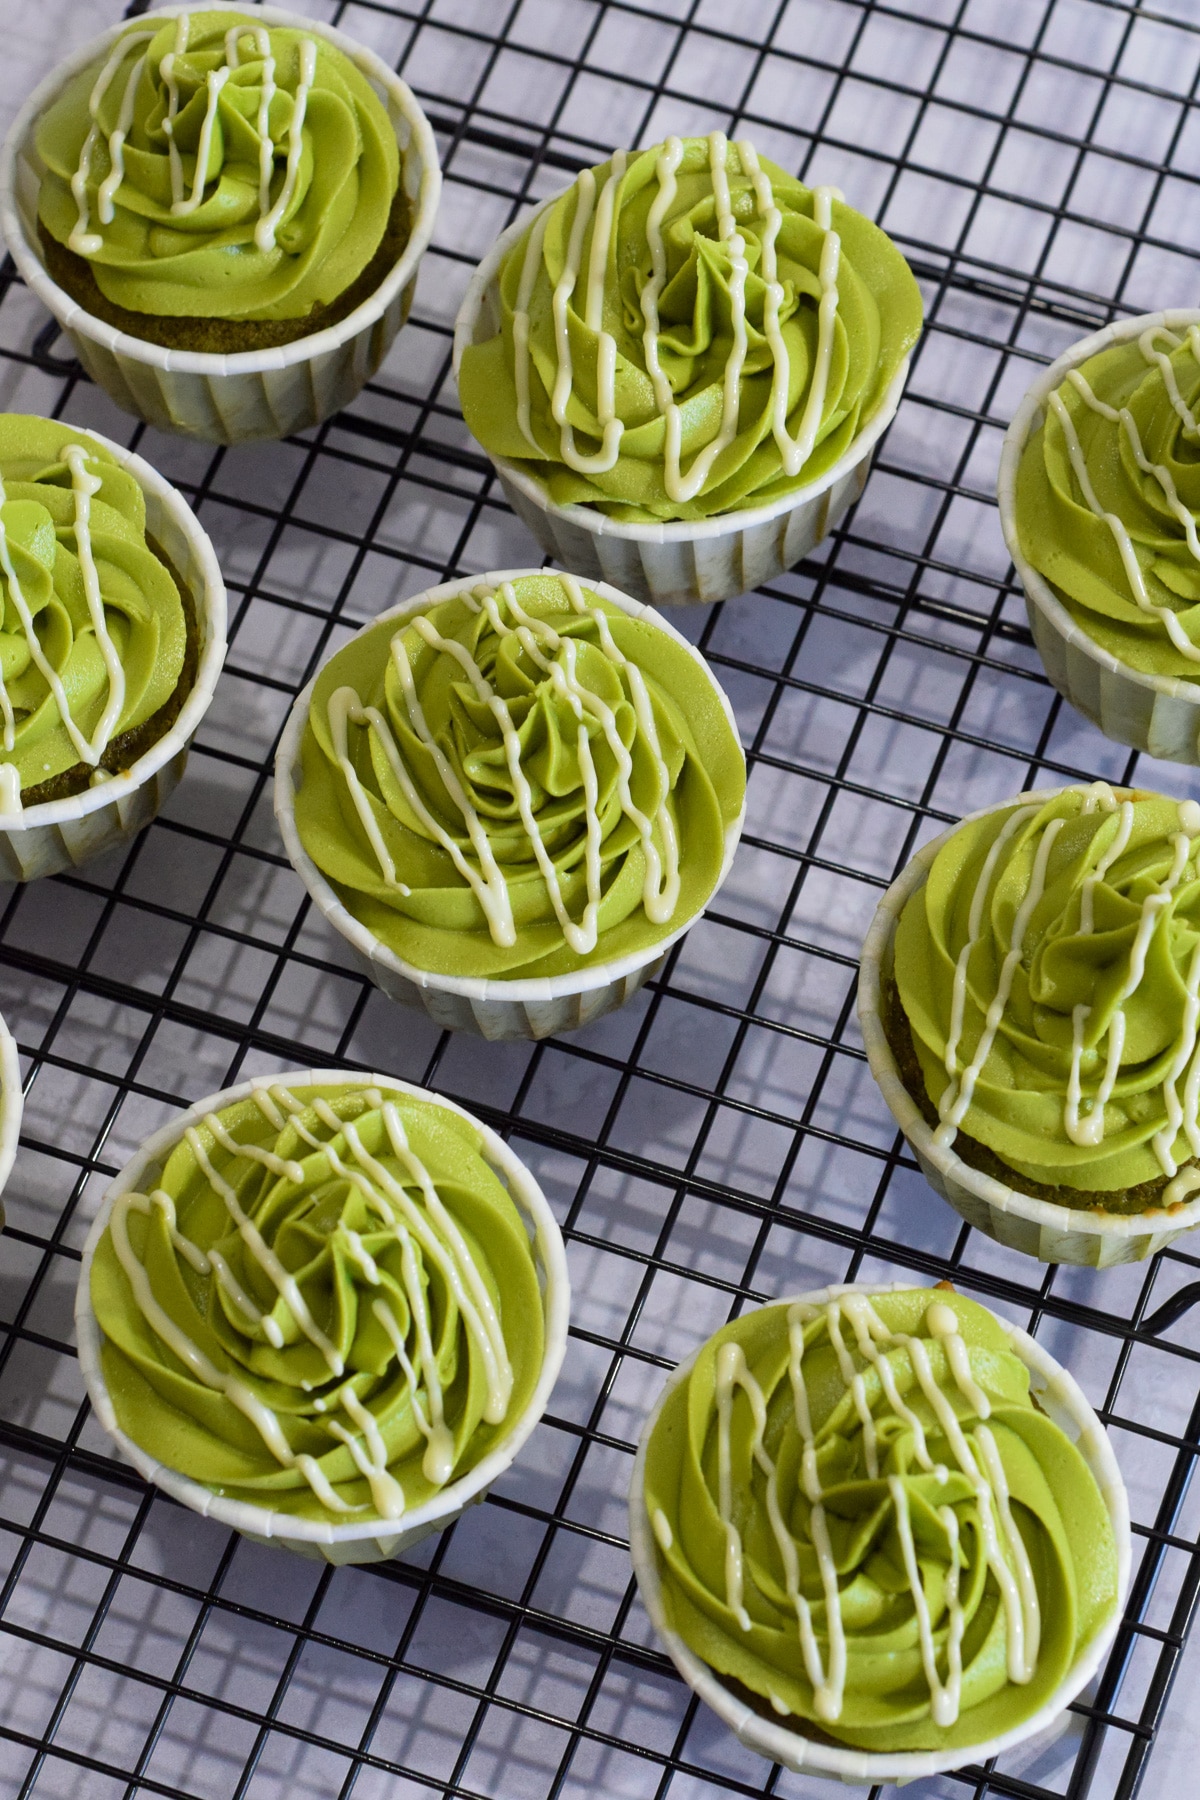
I think these green tea cupcakes look delicious just with a big helping of matcha buttercream on top. In the photos here I’ve used a Wilton 1M piping tip and piping bag to pipe a large swirl of matcha buttercream to top my cupcakes.
There are lots of great ways you can frost your cupcakes for cute and classic effects. This 3-piece set from Wilton has the piping nozzles I use most often to ice my cupcakes. For more cupcake buttercream piping ideas, check out this great tutorial by Cupcake Jemma - she's amazing!
Or, if you don't have a piping bag / pastry bag, you can use a plastic sandwich bag / freezer bag, with the corner cut off, to pipe big round buttercream swirls on top of your cupcakes. I usually find this looks like a big ice cream top!
Alternatively, you can go back to basics and use a spatula, spoon or knife to spread a generous portion of frosting on your cupcakes.
Toppings
On top of the matcha frosting, I like to drizzle melted white chocolate. Similar to the frosting, if you don’t have a pastry bag and a small round piping nozzle to drizzle your melted chocolate, you can instead fill a freezer bag with the melted chocolate and cut off the corner to make a tiny hole.
Another way to decorate your cupcakes is by adding a dusting of matcha powder or even cocoa powder. Alternatively, you can sprinkle over some pretty sprinkles, or even some demerara or cane sugar for added sweetness.
♻️ Alternatives and substitutions
Buttercream frosting
I love adding vanilla extract to the matcha buttercream frosting in this recipe, but if you’re a fan of almonds, then adding ½ teaspoon of almond extract instead is also super tasty! You can also swap the milk in the buttercream for almond milk for more almond flavor.
For extra decadence, why not swap the milk in the buttercream for 4tbsp heavy cream instead? Your matcha buttercream will be even more creamy and delicious!
You can also switch up the flavour of your buttercream. For example, you can try switching to a chocolate buttercream (like in this chocolate cupcake recipe), a cream cheese frosting (like in this banana walnut cake recipe) or even just whipped cream instead.
Self-raising flour option
I usually use a plain (all-purpose) flour in this recipe, but alternatively you can swap this for self-raising flour. Use the same quantity (120g for 10 cupcakes) of flour and reduce the baking powder by 1 tsp.
Gluten-free option
To make your matcha cupcakes gluten-free, you can do an equal swap of the plain / all-purpose flour for a gluten-free 1:1 all-purpose flour. I usually recommend a pre-mixed blend such as King Arthur's measure for measure flour or Freee from Doves Farm.
The other ingredients in this cupcake recipe should be gluten-free, but please be sure to check the label on your ingredients just in case.
🧁 Other goodies
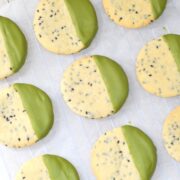
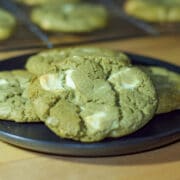
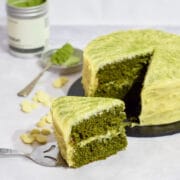
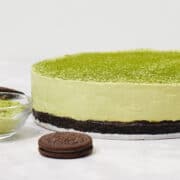
If you love all things matcha tea flavor, why not take a look at my easy recipes for matcha white chocolate cake, matcha cheesecake, matcha white chocolate cookies, matcha white chocolate fudge or the insanely addictive black sesame shortbread with a matcha chocolate dip.
If you're a fan of Asian inspired desserts, check out my best easy ube cheesecake too!
If you’re a big fan of yummy fluffy cupcakes, you might also love these chocolate orange cupcakes or these salted rum dulce de leche cupcakes with a mermaid beach!
Other Related Recipes:
Looking forward to some new recipes? Check out my Facebook, Instagram and Pinterest pages for a few sneak peeks and some sweet inspiration!
Or if you’d like to hear about our latest recipes, why not subscribe to our newsletter?
📖 Recipe
Matcha Green Tea Cupcakes
Rate this recipe here:
Equipment
Ingredients
Matcha cupcakes:
- 100 g (½ cups) unsalted butter room temp.
- 120 g (⅔ cups) white sugar finely granulated e.g. caster
- 2 eggs large
- 120 g (1 cups) plain all-purpose flour
- 2 teaspoon baking powder
- 13 g (5 teaspoon) matcha green tea powder
- 45 ml (3 tablespoon) milk whole or semi-skimmed
- 2 teaspoon vegetable oil or canola or sunflower oil
Matcha buttercream:
- 125 g (⅔ cups) unsalted butter room temp.
- 300 g (2 ½ cups) powdered icing sugar
- 4 teaspoon matcha green tea powder
- 1-2 tablespoon milk whole or semi-skimmed
- ½ teaspoon vanilla extract
- ⅛ teaspoon salt optional
White chocolate drizzle (optional):
- 40 g (⅓ cups) white chocolate
Instructions
Matcha cupcakes:
- Preheat oven: 180°C / 160°C (fan) / Gas Mark 4 / 350°F
- For the sponges, cream together the butter and sugar, either using a spatula, electric hand mixer or stand mixer, until light and pale.
- In a separate bowl, beat the eggs, milk, oil and vanilla extract until whisked up nice and fluffy.
- Gradually add the egg mixture to the creamed butter and sugar, mixing together until fully combined.
- In a separate bowl, sieve together the flour, baking powder and matcha powder, whisking them together until fully combined.
- Gently fold the flour mixture into the wet ingredients until only just combined.
- Divide the mix evenly between the cupcake cases in the cupcake pan and bake in the oven for 15-20mins or until the cupcakes are springy to the touch and skewer comes out clean from the centre.
- Transfer the cupcakes to cool on a wire rack while you make the frosting.
Matcha buttercream:
- Beat the butter (either by hand, using an electric mixer or stand mixer) until pale, light and fluffy. This could take several minutes.
- Sieve half of the icing sugar into the butter and beat until combined, then repeat this with the remaining half of icing sugar and the matcha powder.
- Add in the milk, vanilla extract and salt (if using), mixing until smooth.
Assembly and decoration:
- Once your cupcakes have fully cooled, add your buttercream to a piping bag fitted with a large star nozzle and pipe large swirls onto each cupcake.
- If using a chocolate drizzle to decorate, melt your chocolate in the microwave (20 secs at a time, stirring between bouts) and add this to a piping bag with a small round nozzle (or a food bag and cut off the bottom corner). Drizzle this over your cupcakes then enjoy!
Notes
- You can swap the plain flour for self-raising flour of the same amount and reduce the baking powder by 1 tsp.
Nutrition
Nutritional information is an estimate based on an online nutritional calculator, actual values may vary.

Janai says
This recipe looks amazing I will definitely be making them! Is it okay to substitute the white sugar for organic brown sugar instead?
Kachina says
Hi Janai! Yes you can swap the white sugar for light brown sugar of the same amount instead. You'll have a slightly more caramel sweetness flavour but otherwise it'll be the same. Happy baking!
Sandra says
This looks sooooo good! Never even thought of making Green Matcha cupcakes!! Thank you sharing! 😁
Sweet Mouth Joy says
Thanks Sandra! Matcha is such a fun flavour, I want it in everything haha. Happy baking!
Mihaela | https://theworldisanoyster.com/ says
It sounds perfect for a cup of coffee! I have some matcha green tea bags I could use for a batch of cupcakes instead of tea.
Scout says
These matcha green tea cupcakes look so good!!!
Lisa says
These look delicious! My daughter is really into baking, so we may need to try out this recipe. Thanks for a fun, new idea! 🙂
Sweet Mouth Joy says
Thanks Lisa, happy baking!