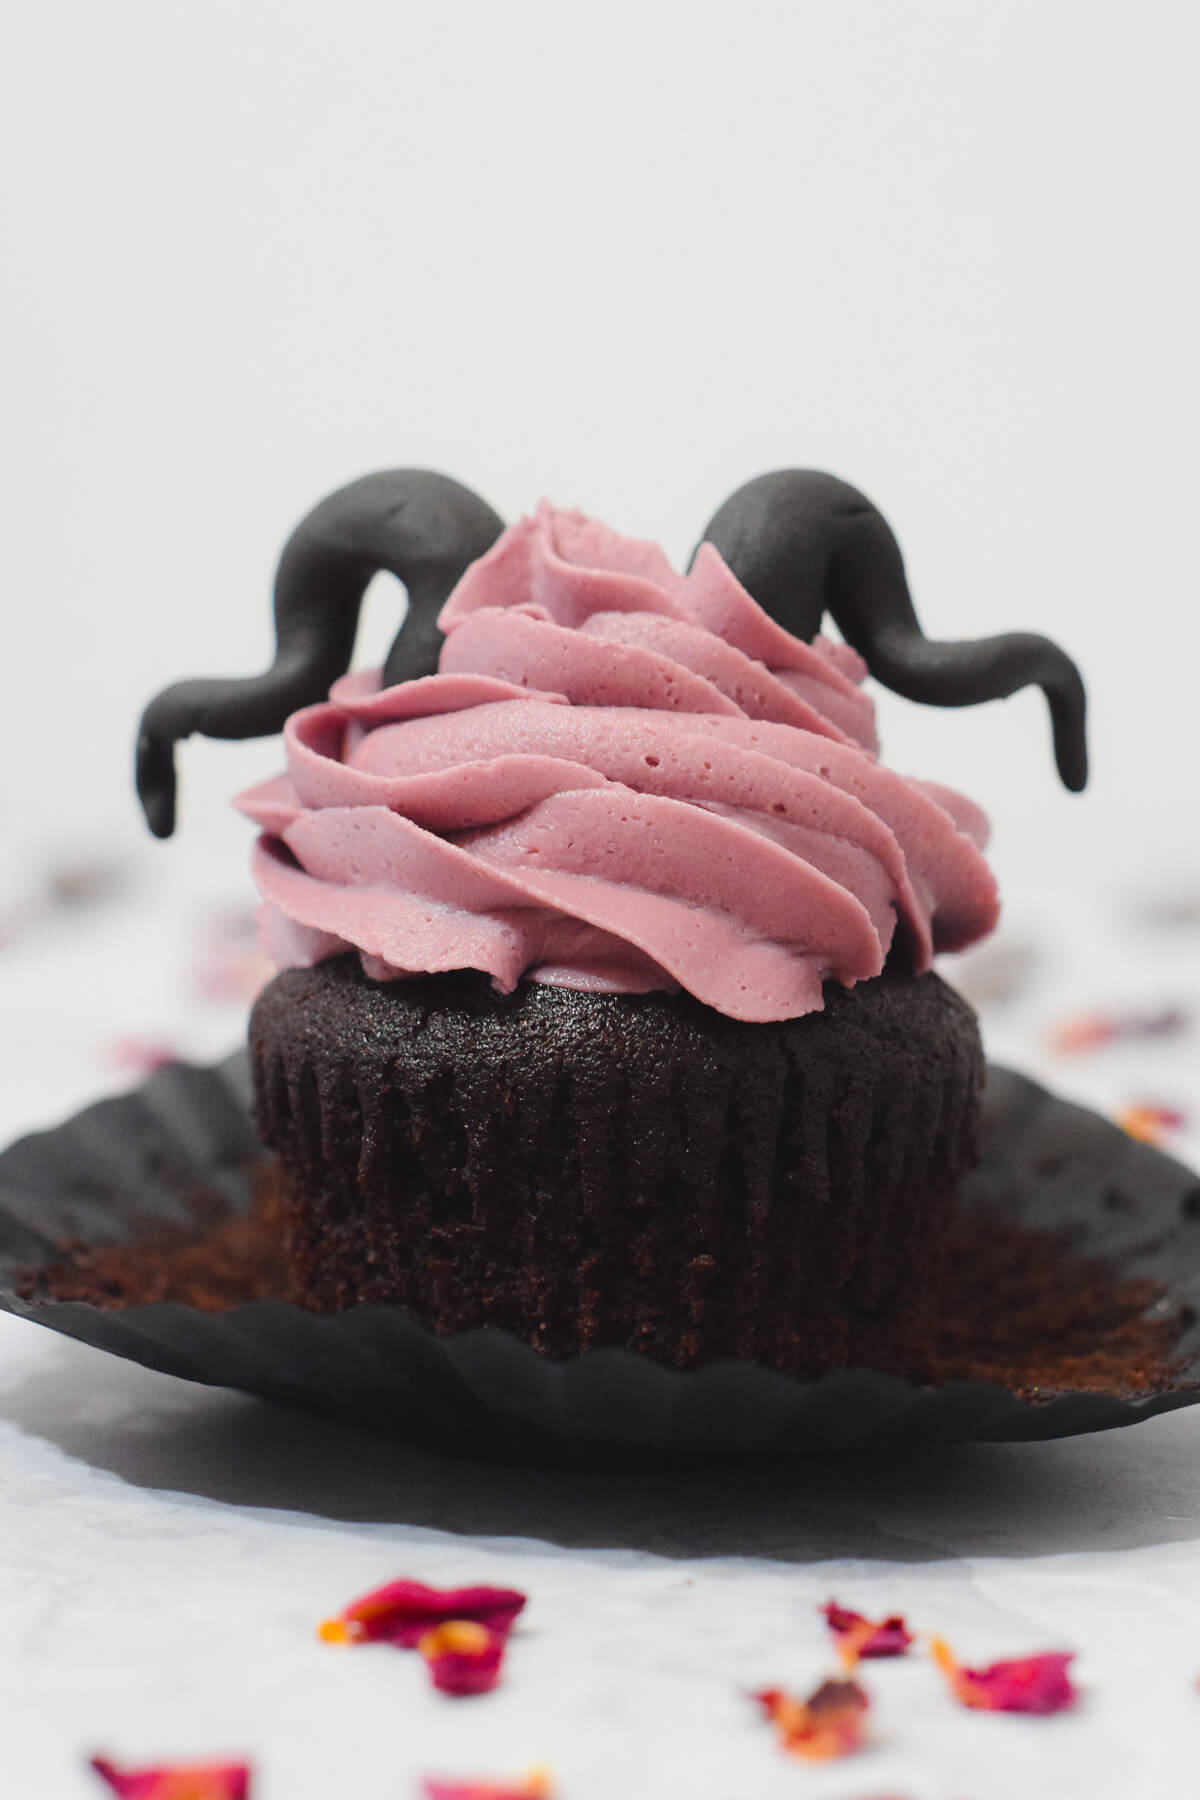
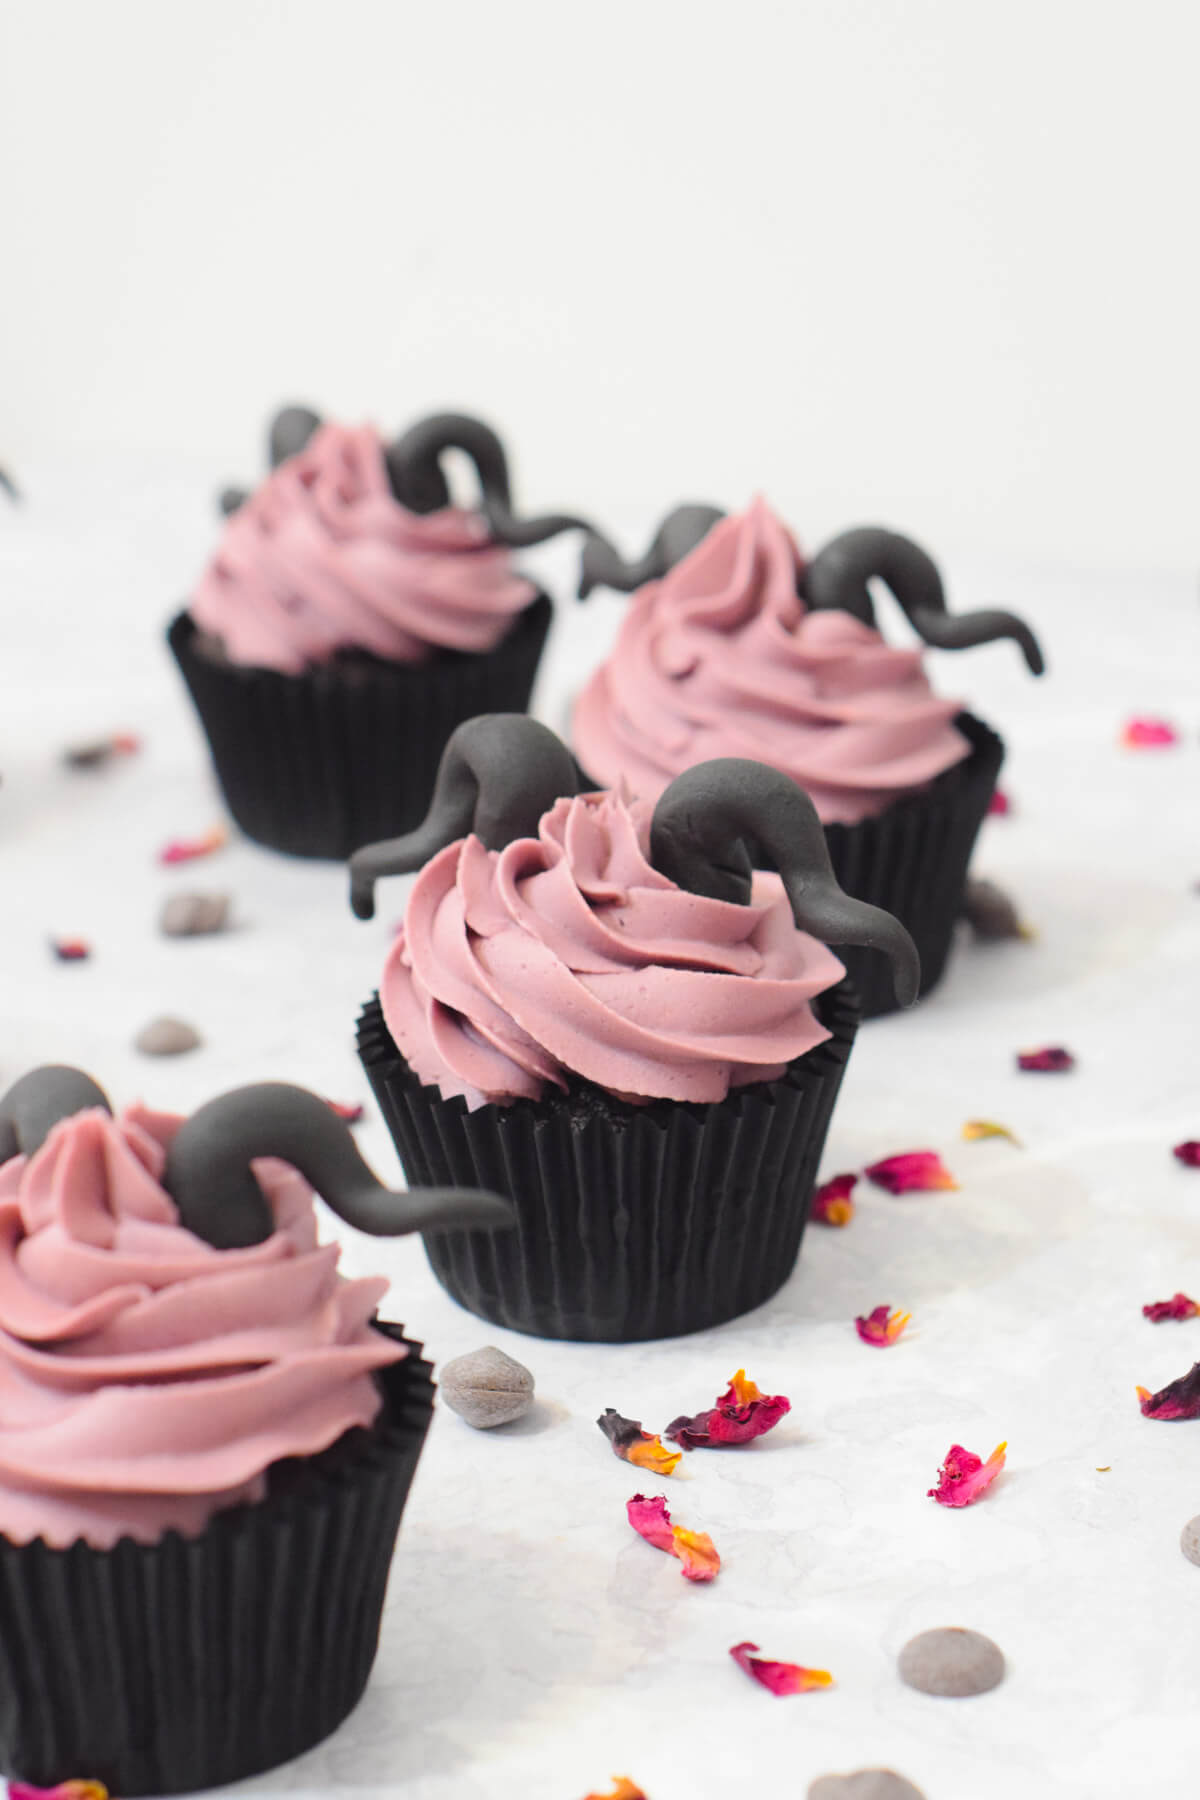
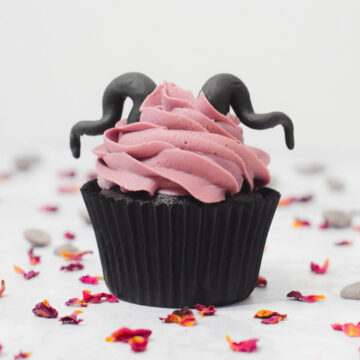
Maleficent cupcakes are the perfect mix of spooky and cute! With a dark dusky pink buttercream and edible black horns, they’re a fun Disney Maleficent cupcake idea.
✏️ Recipe creation
I wanted to create an easy Halloween cupcake with a Disney twist for kids and adults to enjoy. They’re now one of my favourite easy Disney cupcake ideas, perfect for both Disney-themed parties and Halloween celebrations!
They could also be used as a cute devil or demon cupcakes instead.
These simple chocolate Maleficent cupcakes have a vanilla-flavoured gothic pink-purple frosting topped with edible horns to decorate.
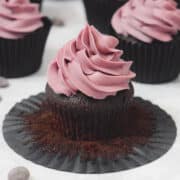
They're based on my best chocolate cupcakes with pink frosting recipe, but the cute dusty pink shade used here makes them a girly Halloween cupcake that will definitely be popular with the little ones!
Use a black cupcake case for the full spooky effect.
🥘 Ingredients
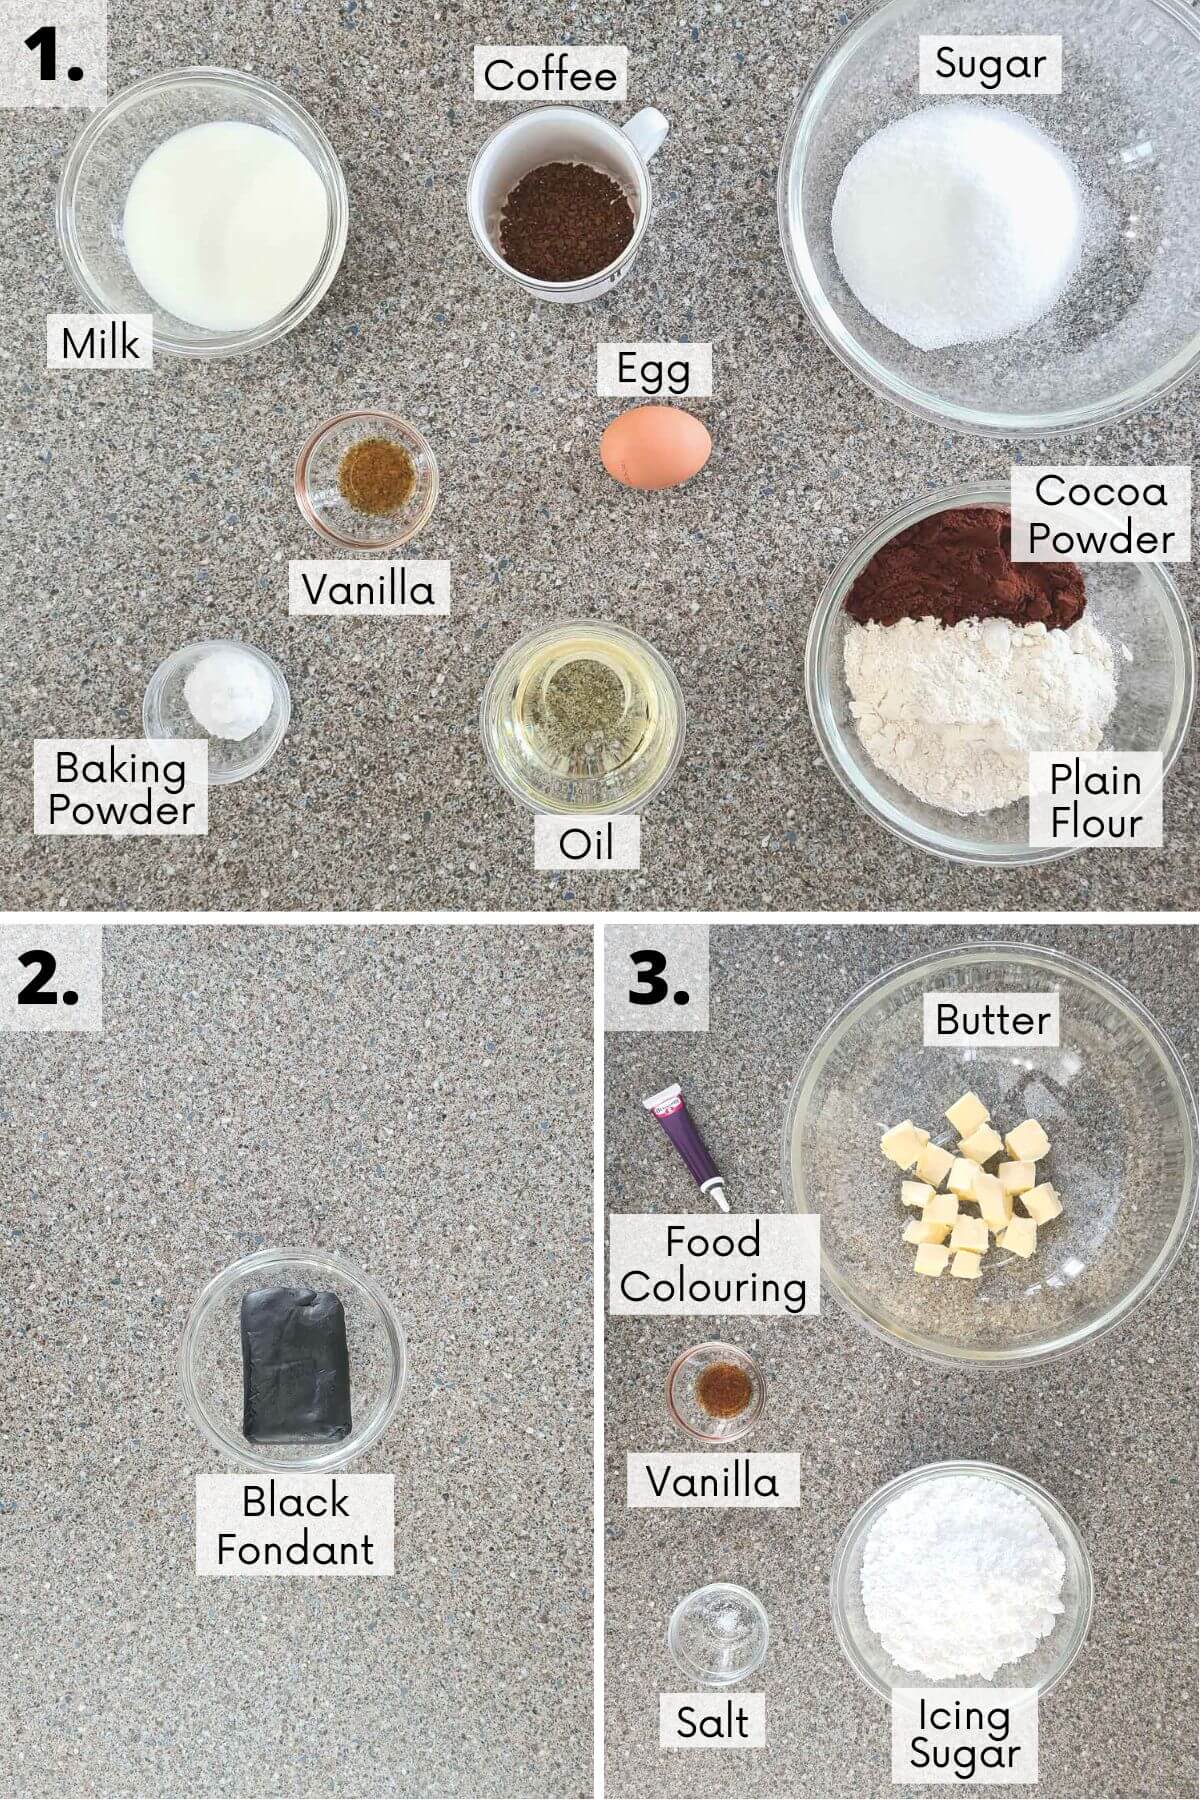
This Disney Maleficent Halloween cupcake recipe calls for the following ingredients:
1. Chocolate cupcakes
- Egg
- Vegetable oil (or other neutral-flavoured oil)
- Milk
- Vanilla extract (or vanilla bean paste)
- White sugar (finely granulated or caster sugar)
- All-purpose flour (plain flour)
- Unsweetened cocoa powder (e.g. dutch-processed)
- Baking powder
- Hot coffee (or instant coffee dissolved in hot water)
2. Horns topper
- Black fondant icing (modelling icing)
3. Dusky pink buttercream
- Unsalted butter
- Icing sugar (powdered confectioners’ sugar)
- Vanilla extract (or vanilla bean paste)
- Milk
- Salt (optional)
- Dark pink food colouring (or purple and red)
See the recipe card for quantities.
Top tip: For accuracy, it’s best to weigh your ingredients rather than using cups.
Ingredient substitutions
You can swap the plain flour in this recipe for self-raising flour of the same quantity. If doing this, exclude the baking powder too.
You can use whole, semi-skimmed or non-diary milk in the cupcake batter and buttercream. For the buttercream, this gives it a thinner, creamier consistency, so only add as much as needed, 1 tablespoon at a time.
You can swap white sugar for light brown soft sugar instead. This gives it a more caramel flavour.
Using coffee gives your cake a deeper chocolate flavour. You can swap the freshly brewed coffee for 2 teaspoons of instant coffee dissolved in 75ml (⅓ cup) of hot water. Caffeinated or decaf works.
Alternatively, you can omit the coffee and just use hot water alone instead.
For the food colouring in the buttercream, I like to use dark pink or a small amount of purple and red. You can also use a mix of red and blue instead.
Ingredient tips
- Take your butter out of the fridge to soften before you start making your frosting.
- Using unsalted butter lets you control the amount of salt in your buttercream.
- Sieve your flour, baking powder and powdered sugar (a.k.a icing sugar or confectioners’ sugar) for a smooth cupcake batter and icing.
- I prefer using vanilla extract to vanilla essence. It has a purer vanilla flavour as it’s less processed.
- Using oil or gel food colouring is best as it adds less liquid than other types.
- I use a black soft fondant that's "ready to roll" - this makes it super easy to work with and shape.
📖 Method
Chocolate cupcakes
First, preheat the oven to 180°C / 160°C (fan) / Gas Mark 4 / 350°F.
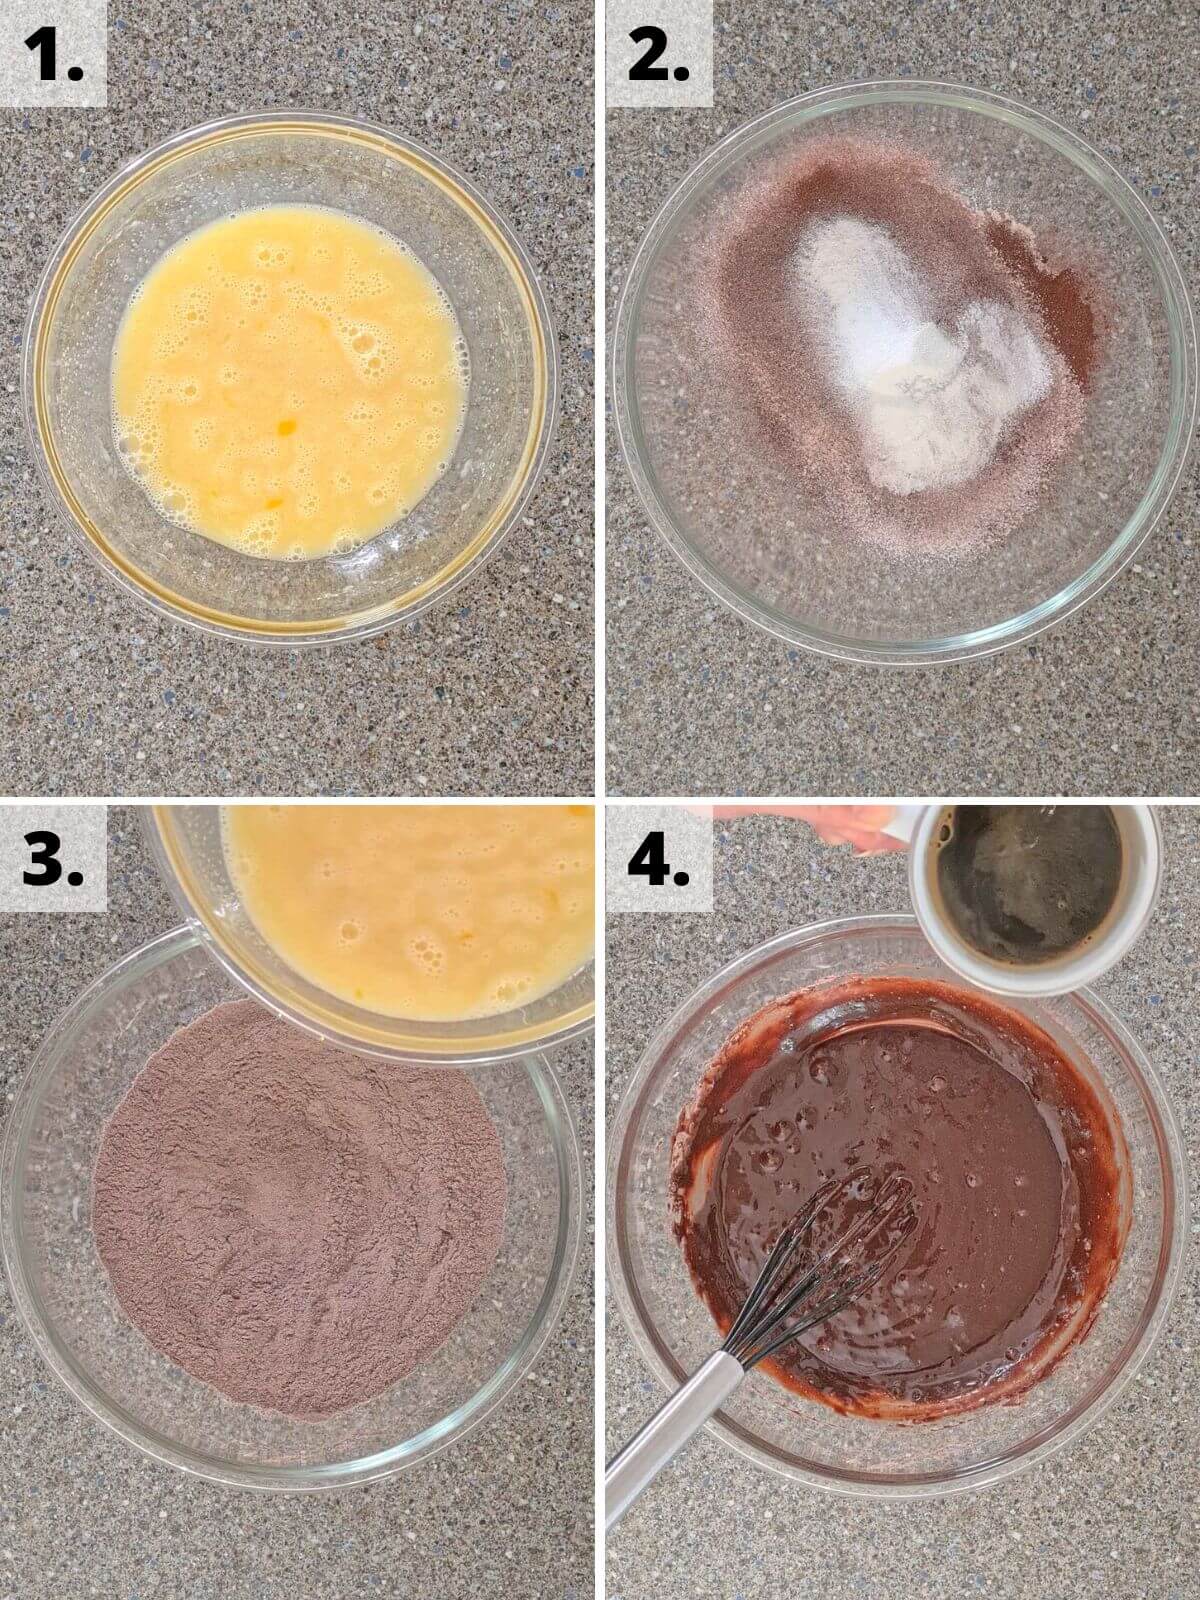
Step 1: In a mixing bowl, beat the egg, oil, vanilla, sugar and milk together until fully combined.
Step 2: In a separate bowl, sieve in the cocoa powder, flour and baking powder and whisk them together.
Step 3: Gradually pour the wet ingredients into the dry, stirring together as you pour until just combined. There may be a few small lumps left, but that’s ok.
Step 4: Slowly add in the hot coffee (fresh or instant), mixing as you pour until the liquid has only just combined.
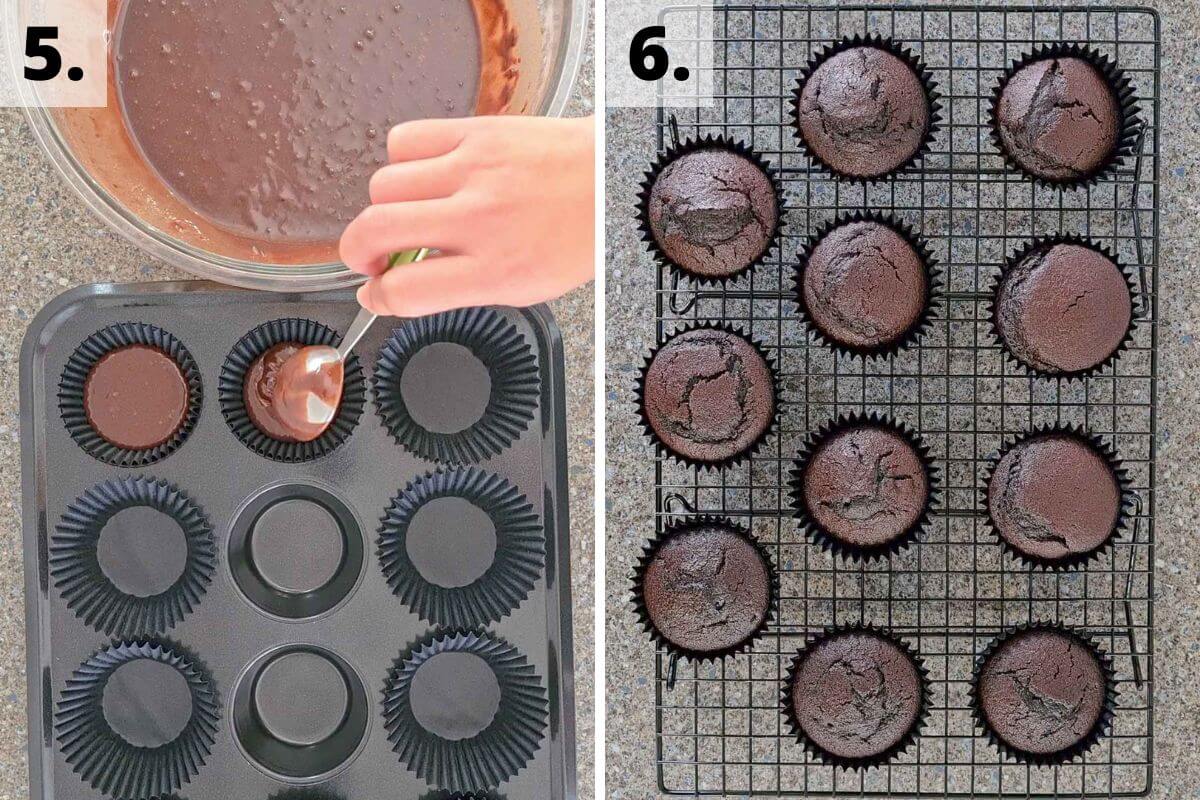
Step 5: Divide the mixture evenly between the cupcake cases in the muffin tin.
Step 6: Bake for 15-20mins until risen and springy to the touch. Allow the cupcakes to cool on a wire rack.
Horns toppers
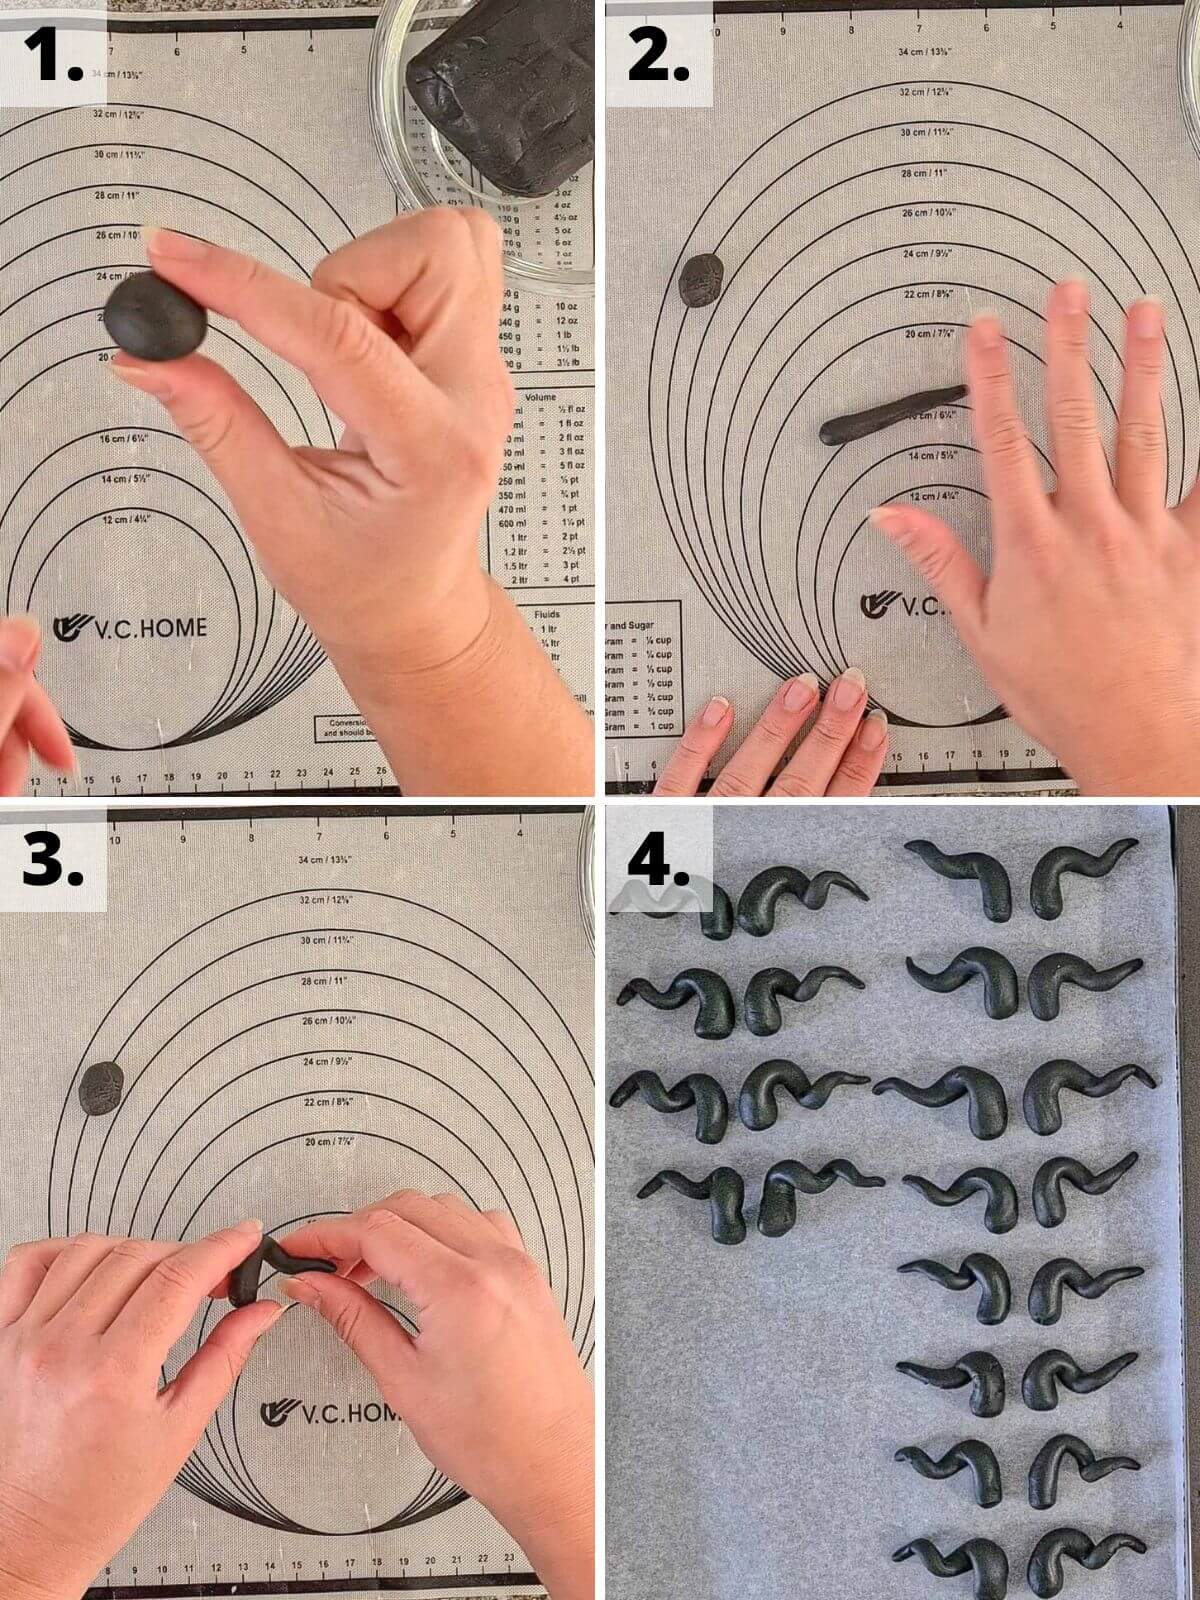
Step 1: While your cupcakes bake and cool, make your horn decorations. Pinch off a grape-sized piece of black fondant and split it into two.
Step 2: Roll one half into a log on a flat surface using your fingers. It should be roughly 2 inches long and thicker at one end than the other.
Step 3: Pinch the thinner end to make a sharp point then bend and twist the log into a wavy shape.
Repeat with the other half, twisting into an opposite wave to make a matching pair. Place the horns on a lined plate or tray.
Step 4: Repeat the above two steps until you have enough pairs of horns for your cupcakes. Leave the tray of horns uncovered at room temperature to dry out slightly while you make the buttercream.
Dusky pink buttercream and assembly
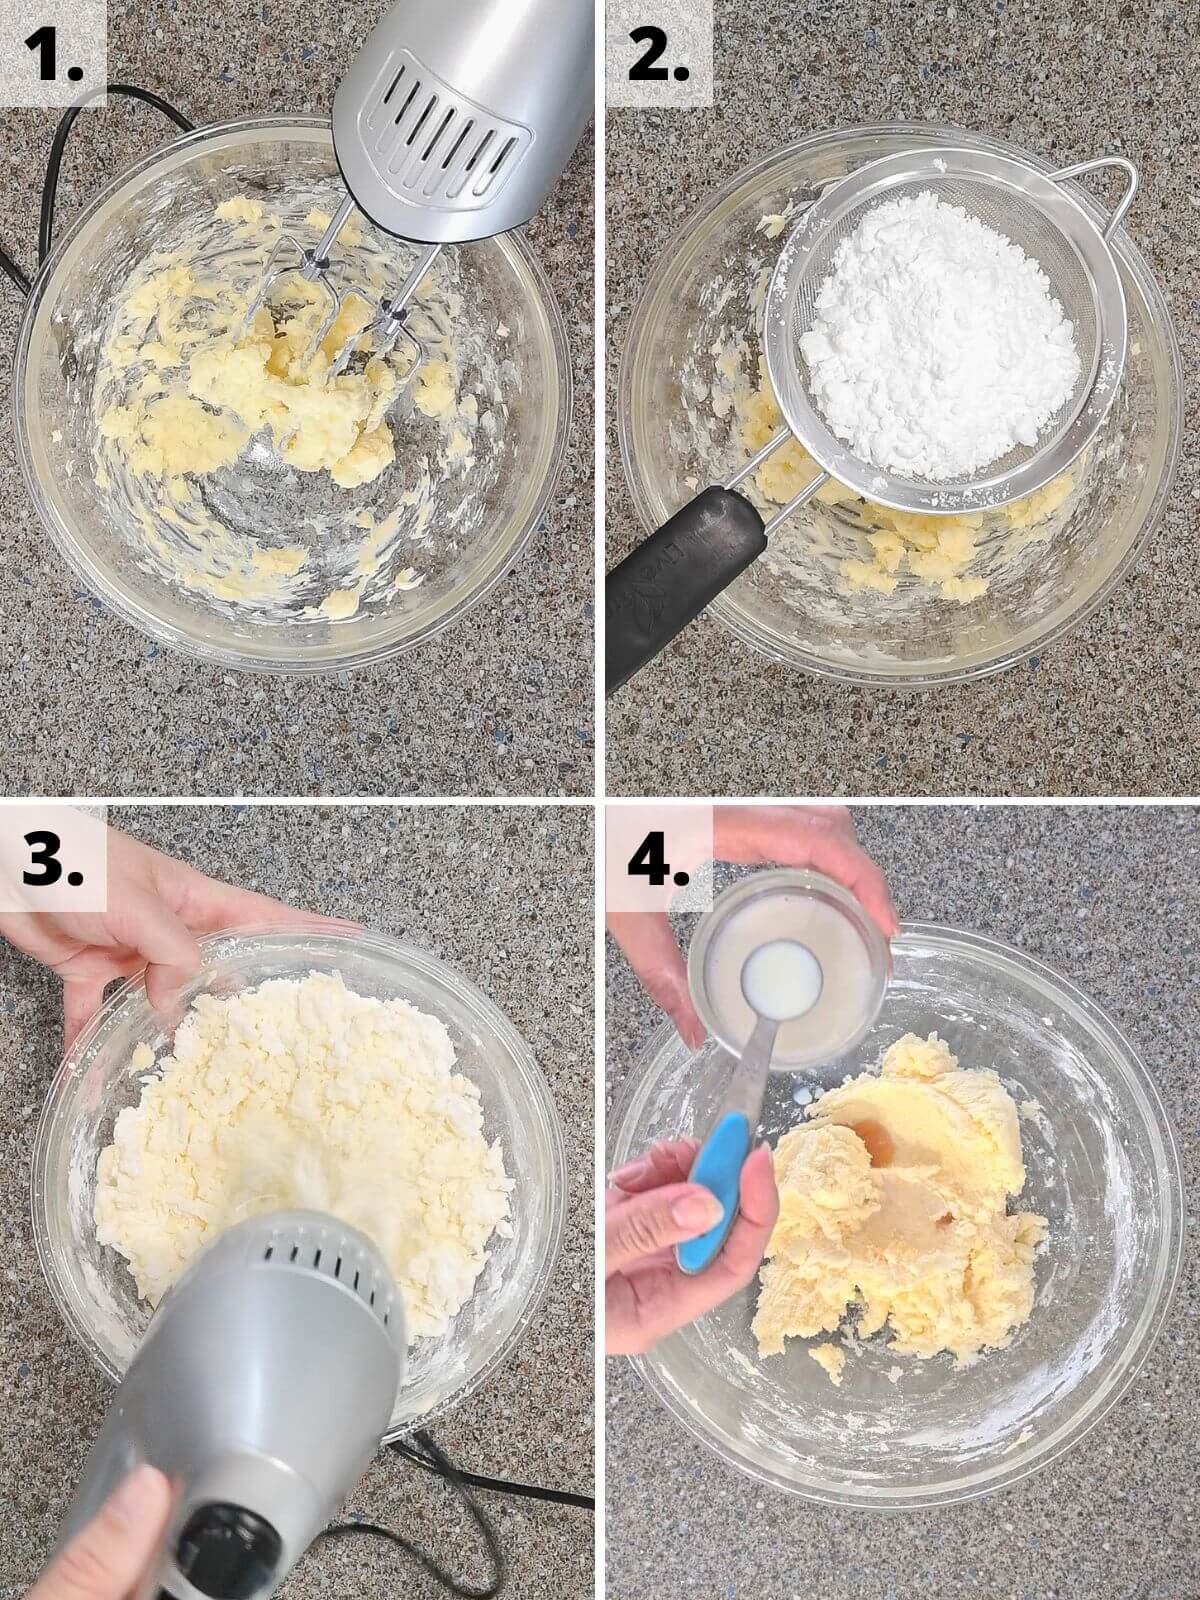
Step 1: Beat the butter (either by hand, using an electric mixer or stand mixer) until pale, light and fluffy. This could take several minutes.
Steps 2 - 3: Sieve half of the icing sugar into the butter and beat until combined, then repeat this with the remaining half of the icing sugar.
Step 4: Add in the vanilla extract, salt and milk, then mix until smooth.
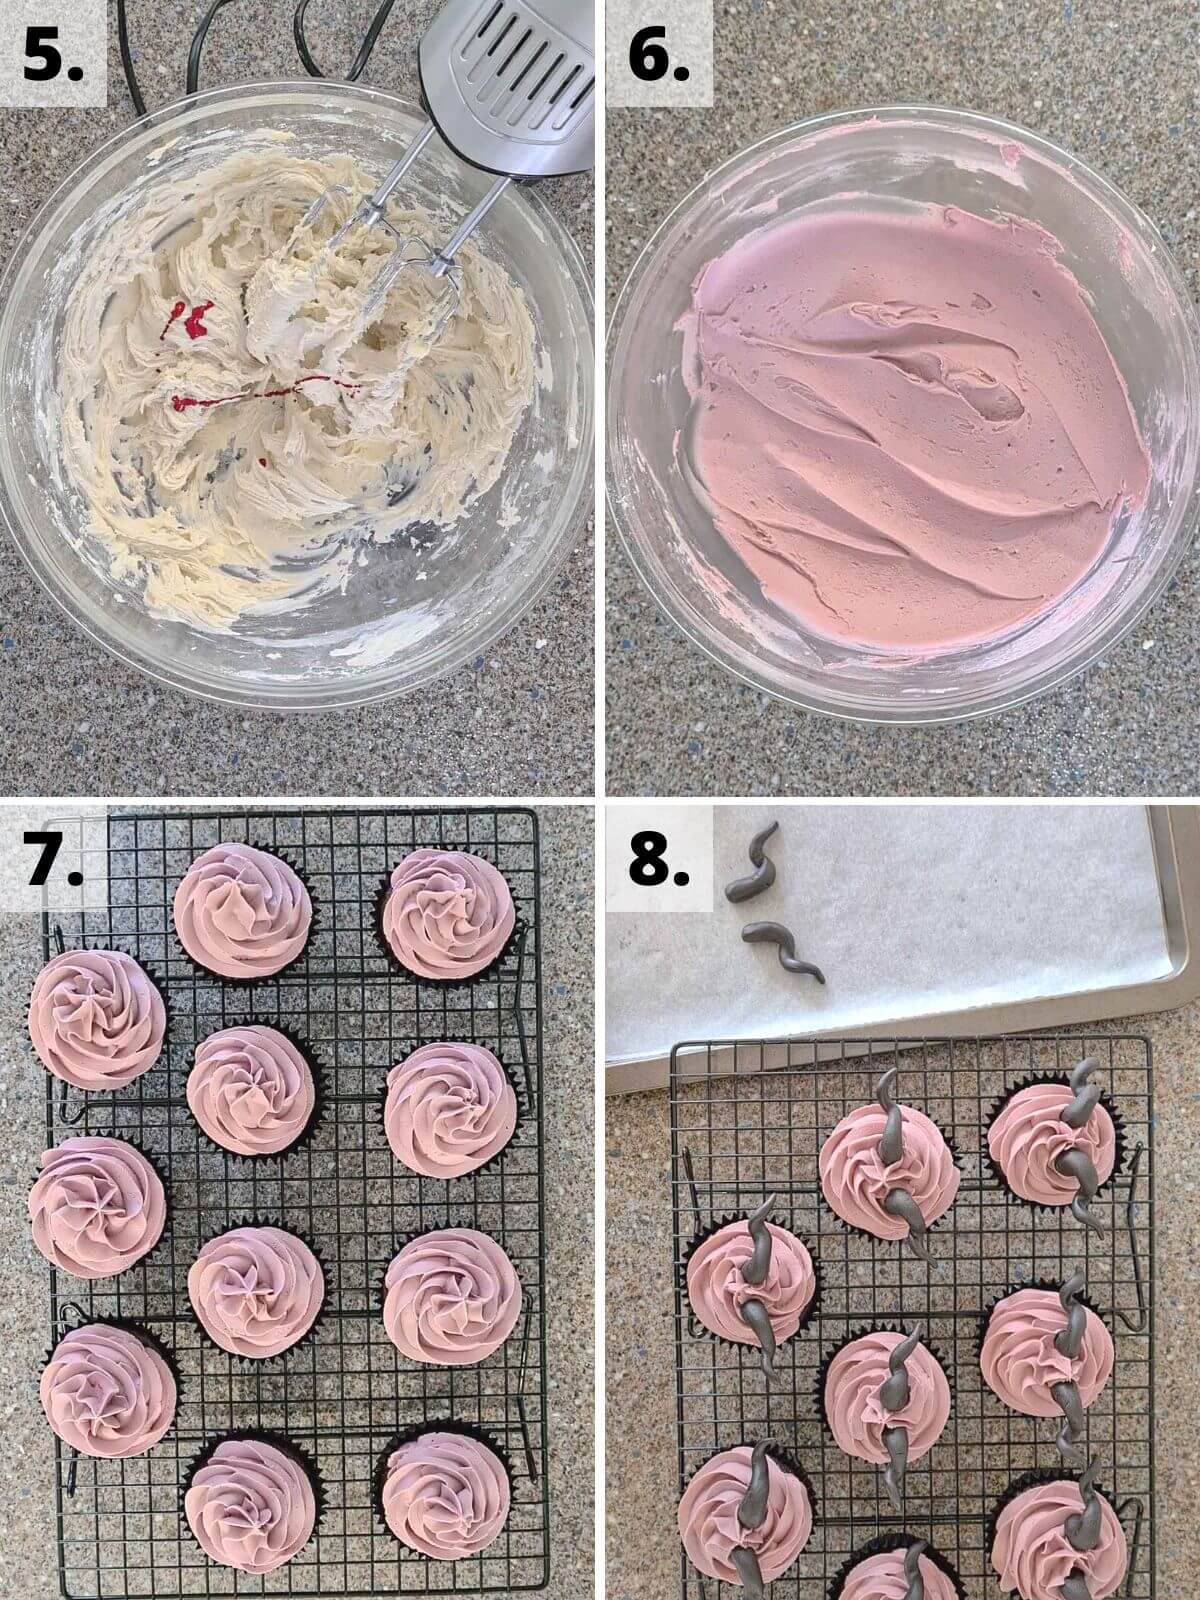
Steps 5 - 6: Stir in the dusky pink (or purple and red) food colouring, a few drops at a time, until you get the desired colour.
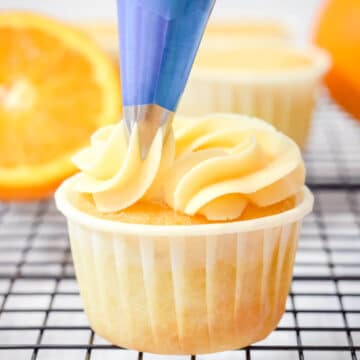
Step 7: Once your cupcakes have fully cooled, add your buttercream to a piping bag fitted with a nozzle of your choice (e.g. large open star) and pipe large swirls onto each cupcake.
Step 8: Push a pair of horns into each of your cupcakes and enjoy!
🎥 Recipe video
Check out the recipe video below for how to make the best Halloween Disney Maleficent cupcakes!
💭 Top tips
Chocolate cupcakes
- I position my cupcake pan in the middle of the oven when possible. This usually gives a more even bake and my baking temperatures specified in the recipe are based on using this part of the oven.
- For a super smooth sponge batter, cream together you butter and sugar thoroughly to start with. You’ll get such soft and fluffy cupcakes from this, like little lemon clouds of yum!
- Try to fill each cupcake case with your batter to just over the halfway point but not more than ⅔ full. Too much and you’ll get muffin tops, but too little and you’ll have mini cupcakes!
- You’ll know your chocolate cupcakes are cooked when they’ve risen and an inserted skewer or toothpick comes out clean from the centre.
Horn toppers
- For your set of horns, it’s best to twist slightly as you bend them into a wave shape.
- For best results, twist one horn in one direction and the other horn for the pair in the opposite direction.
- Your horns will droop and soften over time or with heat and moisture, so it’s best to handle them as little as possible and allow them to dry out slightly to hold firm.
Dusky pink buttercream
- For creamy frosting, beat your butter until it’s pale, light and fluffy first. This could take several minutes with an electric mixer.
- To stop a cloud of sugar from an electric mixer, lightly stir your powdered sugar into the beaten butter a little before turning the mixer on.
- If your pink frosting is too thick to pipe, then you can add more milk to thin it (½ tablespoon at a time).
- If your frosting is too thin, you can try chilling it in the fridge for 10-20mins before use. Alternatively, you can beat in a few more tablespoons of butter to thicken it.
❔ Recipe FAQs
Your Maleficent cupcakes should last for up to 3 days stored in an airtight container at room temperature.
Yes! You can freeze your Maleficent cupcakes without the horns. Wrap them in a layer of cling film and a layer of foil for up to 3 months.
Yes, you can make your chocolate cupcake sponges ahead of time and freeze the unfrosted cupcakes. Defrost before you add your buttercream and enjoy.
Alternatively, you can make the cupcakes and/or dusky pink buttercream a few days in advance. Your cupcakes should be stored in an airtight container at room temperature. Your pink buttercream should be in an airtight container in the fridge.
This could be caused by a few things. You might have scooped in too much baking powder, e.g. instead of using a levelled scoop from a measuring spoon.
Another reason could be that you opened the oven partway through baking which caused your oven temp to drop rapidly and sinkhole your cupcakes.
To get rid of air bubbles in your frosting, beat it on a low speed using a paddle attachment before using it. The whisk attachment can sometimes add too much air.
Alternatively, you can stir it with a spatula or wooden spoon by hand for a few minutes.
No, cake flour is actually different to both plain flour and self-raising flour. It has a different composition and your cake will have a different consistency if you use cake flour.

♻️ Variations
Filling ideas
Why not add a delicious surprise to your tasty Halloween cupcakes?
These chocolate and vanilla cupcakes are delicious as they are, but you can also cut a small hole in the center of a cupcake and add a filling of your choice before frosting them.
For fruit-flavoured goodness, add a teaspoon of lemon curd filling or strawberry cupcake filling.
You could also fill the inside with Halloween sprinkles for a pinata surprise.
Frosting flavours
You can swap the pink icing in this recipe for another flavour.
If you’d like a naturally pink frosting, give this raspberry buttercream a try – it uses real raspberries for a punchy flavour! You can then add shades of purple or blue food colouring for a more gothic dusky pink shade.
Shades of pink
I like to make these Halloween Disney cupcakes with a spooky dusky pink-purple shade for the frosting. It reminds me of a dark pink rose colour!
However, you can pick different shades, like hot pink or pastel pink instead.
To do this, alter how much pink, purple or red food coloring you add. Only use a few drops at a time until it’s the colour you want.
Also, colouring normally intensifies over time, so it will develop a brighter shade after a few minutes to hours.
Decorations and toppings
In addition to your devilish horns, you can top your Disney Halloween cupcake with Halloween sprinkles and dried rose petals for more spooky season fun.
Why not make two small flat disks with leftover black fondant to create mickey mouse ears. You can place them behind the horns for a more Disney-themed cupcake!
Or for a devil cupcake you can use red food colouring instead of pink/purple, and give it a more spooky demonic theme.
Gluten-free option
To make gluten-free Maleficent cupcakes, swap the plain flour for gluten-free flour. I recommend using a gluten-free plain flour blend, such as King Arthur's measure for measure flour or Freee from Doves Farm.
You should also add ½ teaspoon of xantham gum to the chocolate cupcake batter if your flour blend doesn’t already include this in the ingredients.
For the best-ever gluten-free cupcakes, add an extra 1 teaspoon milk and 1 teaspoon oil to the batter.
Beat your batter really well and let it stand for 20mins before pouring it into your cupcake cases and baking.
You might also need to bake your cupcakes for an extra 3-5mins too.
🧁 Other goodies
Looking for some other goodies to make?
For more fun Halloween-themed dessert ideas, check out these spooky Halloween treats:
- Pink Halloween drip cake
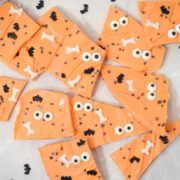
- Halloween boo bark
- Halloween graveyard dirt cake
- Pumpkin cake pops
- Spiderweb cakesicles
Looking forward to some new recipes? Check out my Youtube, Facebook, Instagram and Pinterest pages for a few sneak peeks and some sweet inspiration!
Or if you’d like to hear about our latest recipes, why not subscribe to our newsletter?
Other Related Recipes:
📋 Recipe
Maleficent Cupcakes
Rate this recipe here:
Equipment
- Piping bag* optional
Ingredients
Chocolate cupcakes
- 1 egg
- 65 ml (¼ cups) vegetable oil or other neutral oil e.g. sunflower
- 125 ml (½ cups) milk
- 1 teaspoon vanilla extract
- 165 g (¾ cups) white sugar finely granulated e.g. caster
- 140 g (1 cups) plain all-purpose flour
- 45 g (4 tablespoon) unsweetened cocoa powder
- 2 teaspoon baking powder
- 75 ml (⅓ cups) hot coffee or 2tsp instant coffee dissolved in 75ml hot water
Horns topper
- 70 g (2 ½ oz) black fondant icing
Dusky pink buttercream
- 150 g (⅔ cups) unsalted butter
- 350 g (3 cups) powdered icing sugar
- 1 teaspoon vanilla extract
- 2 tablespoon milk
- ⅛ teaspoon salt optional
- Dusky pink food colouring or purple/blue plus red/pink
Instructions
Chocolate cupcakes
- Pre-heat oven: 180°C / 160°C (fan) / Gas Mark 4 / 350°F
- In a mixing bowl, beat the egg, oil, vanilla, sugar and milk together until fully combined.
- In a separate bowl, sieve in the cocoa powder, flour and baking powder and whisk them together.
- Gradually pour the wet ingredients into the dry, stirring together as you pour until just combined. There may be a few small lumps left, but that’s ok.
- Slowly add in the hot coffee (fresh or instant), mixing as you pour until the liquid has only just combined.
- Divide the mixture evenly between the cupcake cases in the muffin tin and bake for 15-20mins until risen and springy to the touch. Allow the cupcakes to cool on a wire rack.
Horns toppers
- While your cupcakes bake and cool, make your horn decorations. Pinch off a grape-sized piece of black fondant and split it into two.
- Roll one half into a log on a flat surface using your fingers. It should be roughly 2 inches long and thicker at one end than the other.
- Pinch the thinner end to make a sharp point then bend and twist the log into a wavy shape.
- Repeat with the other half, twisting into an opposite wave to make a matching pair. Place the horns on a lined plate or tray.
- Repeat the above two steps until you have enough pairs of horns for your cupcakes. Leave the tray of horns uncovered at room temperature to dry out slightly while you make the buttercream.
Dusky pink buttercream
- Beat the butter (either by hand, using an electric mixer or stand mixer) until pale, light and fluffy. This could take several minutes.
- Sieve half of the icing sugar into the butter and beat until combined, then repeat this with the remaining half of icing sugar.
- Add in the vanilla extract, salt and milk, then mix until smooth.
- Stir in the food colouring, a few drops at a time, until you get the desired colour.
Assembly
- Once your cupcakes have fully cooled, add your buttercream to a piping bag fitted with a nozzle of your choice (e.g. large open star) and pipe large swirls onto each cupcake.
- Push two horns into your cupcakes and enjoy!
Video
Notes
- I use a mix of purple and red food colouring to get the dusky pink-purple shade. You can use a mix of red and blue, or a dusky pink food colouring.
- You can swap the plain flour for self-raising flour of the same amount and exclude the baking powder.
- I like to use a piping bag fitted with a Wilton 1M tip, but you can use any tip of your choice
Nutrition
Nutritional information is an estimate based on an online nutritional calculator, actual values may vary.





Comments
No Comments