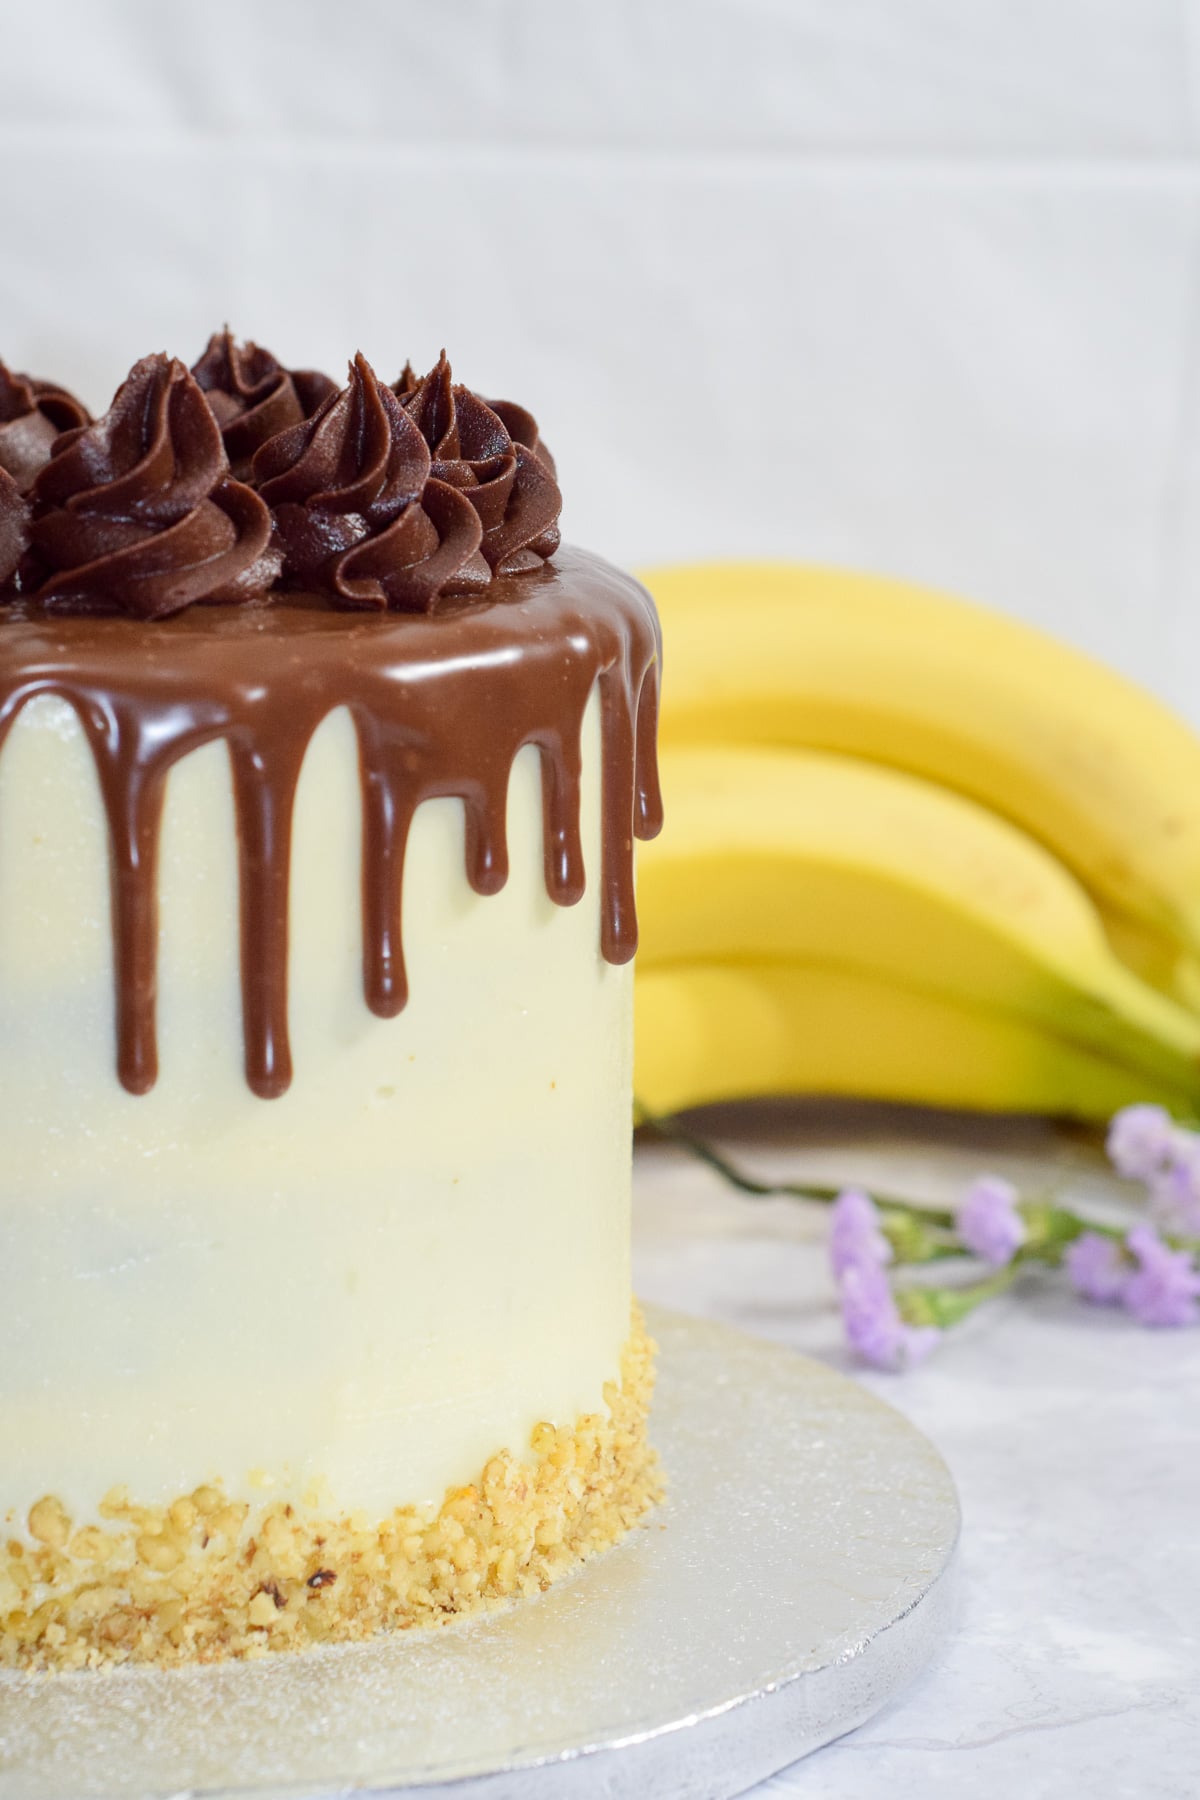
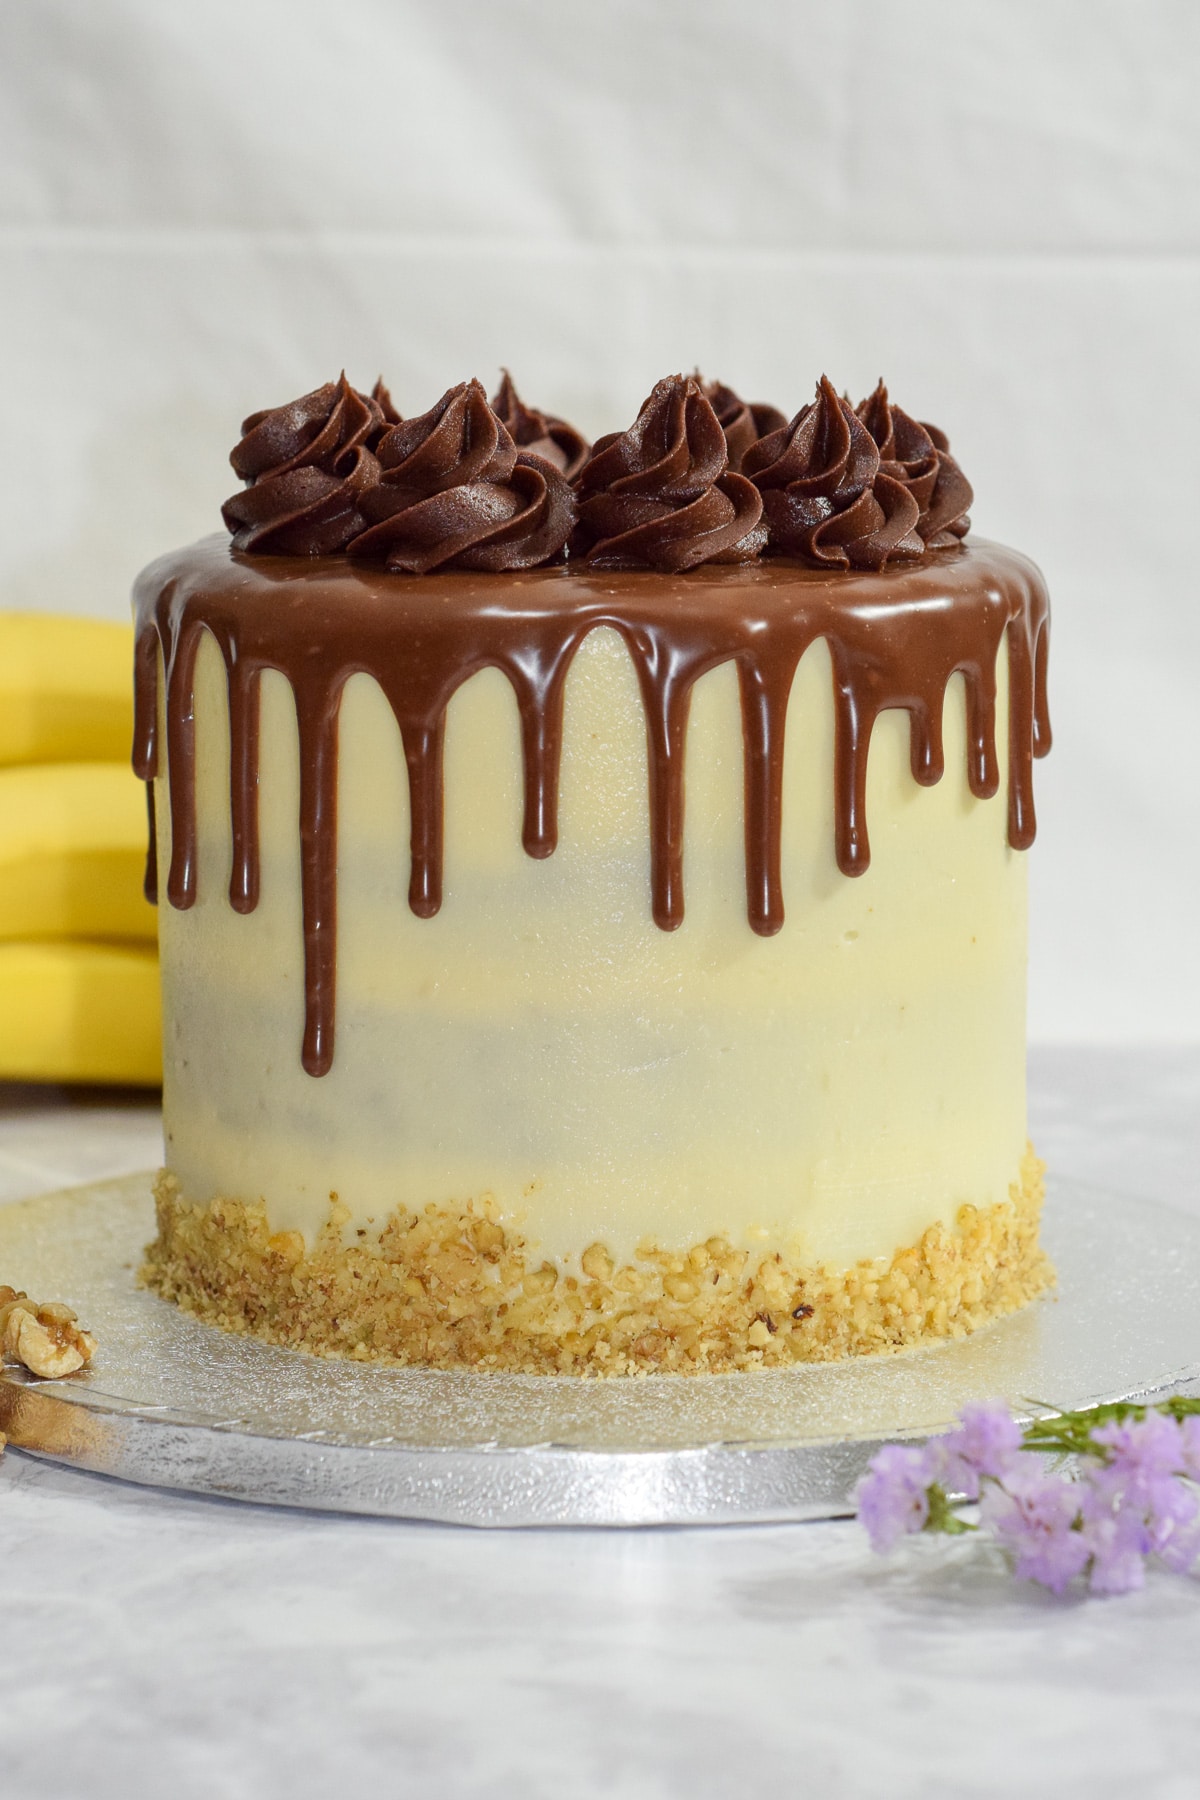
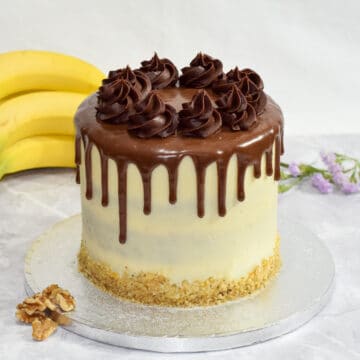
Let's celebrate with this deliciously decadent banana birthday cake with cream cheese frosting! Top with an optional chocolate ganache drip for even more birthday goodness!
Jump to:
✏️ Why you'll love this recipe
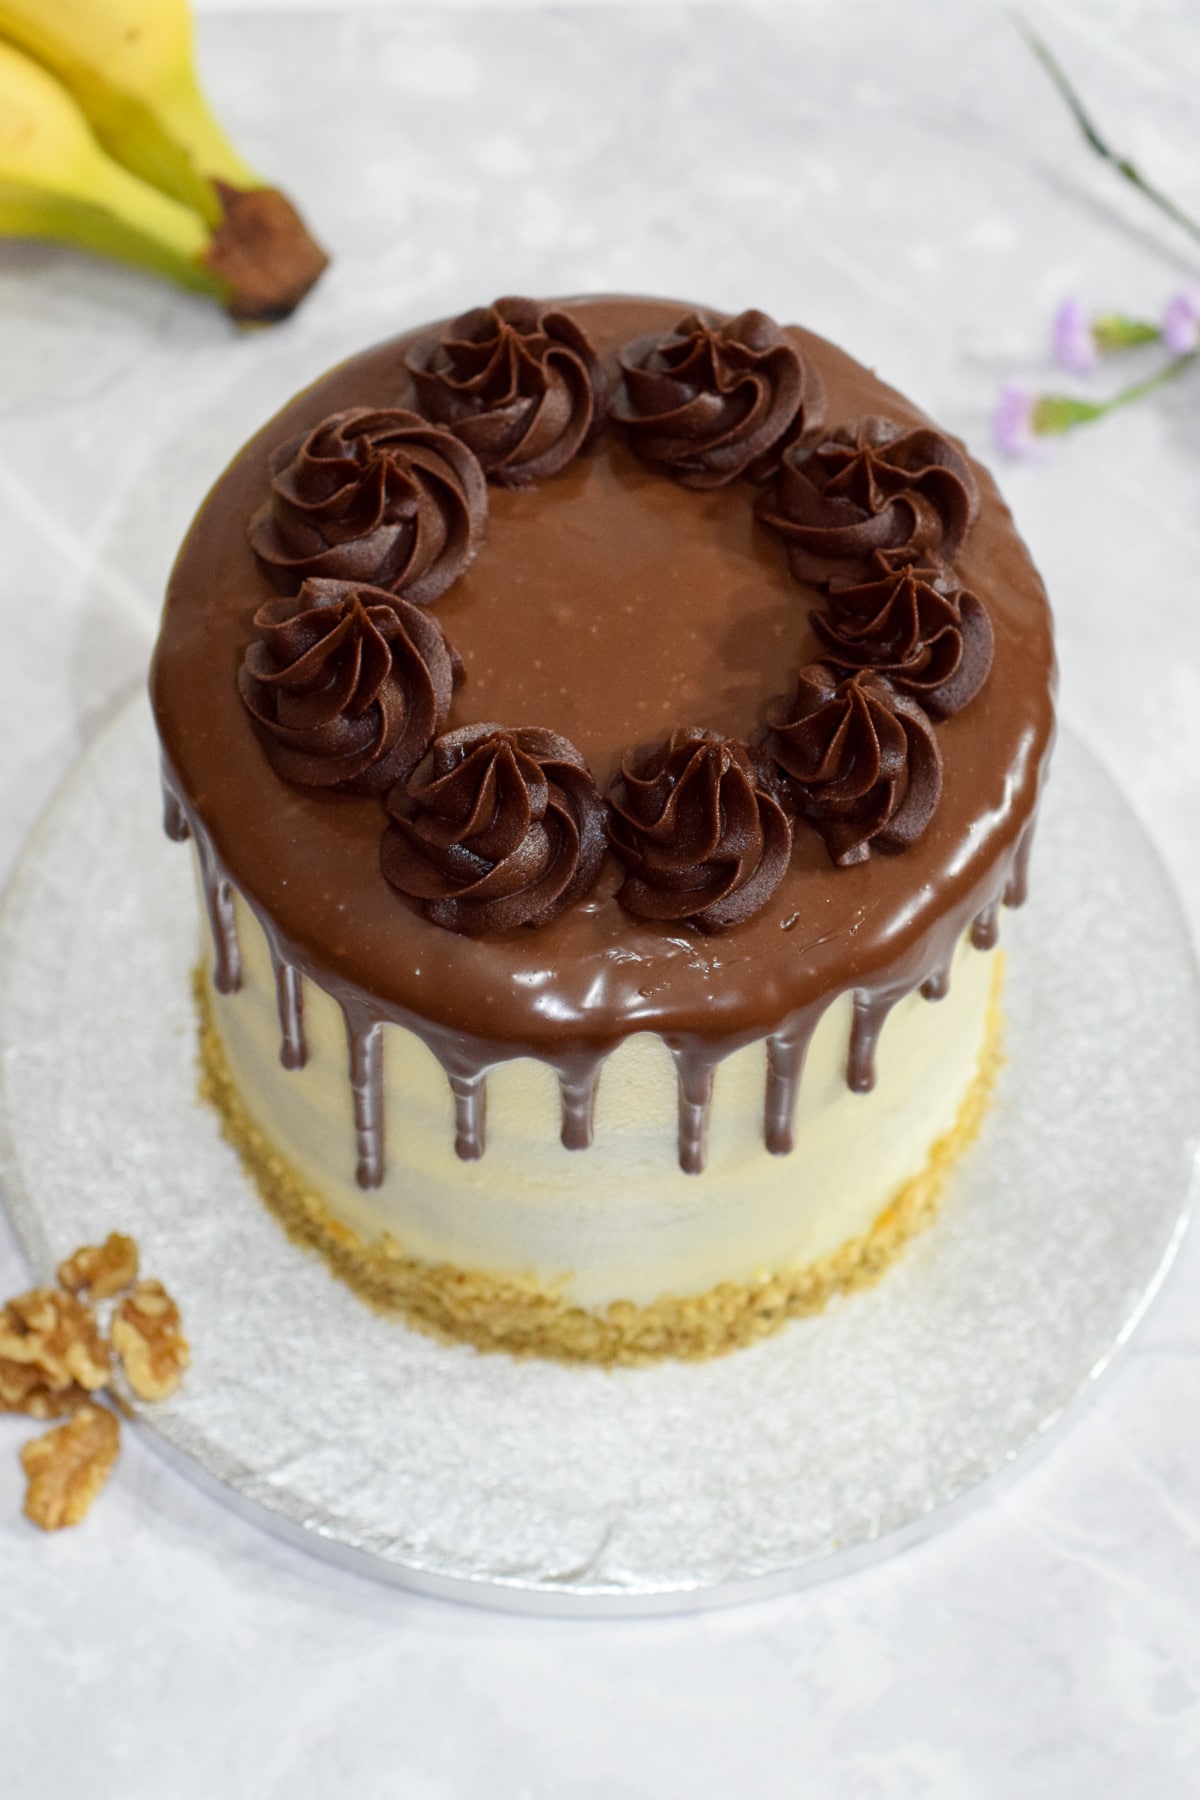
This banana round cake has four layers of moist banana walnut cake frosted with vanilla cream cheese buttercream and topped with an optional chocolate ganache drip.
Decorate with more crunchy walnuts for an easy cake design that looks classy! This banana walnut birthday cake is sure to be a show-stopper but is actually easier than it looks.
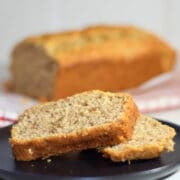
This best ever banana birthday cake recipe is adapted from my favourite banana bread recipe (like a banana bread birthday cake!). It uses oil and no buttermilk for a simple soft banana cake with added texture from the nuts.
🥘 Ingredients
This banana birthday cake recipe calls for the following ingredients:
1. Banana walnut cake:
- Bananas: medium, peeled, very ripe (see banana ripening tips).
- Eggs
- Light brown soft sugar
- Vegetable oil: or other neutral flavoured oil e.g. canola, sunflower.
- All-purpose plain flour: sieve for a smooth cake batter.
- Baking powder: always check the expiry date before use or the cake won't rise.
- Bicarbonate soda
- Ground mixed spice: or pumpkin spice.
- Salt
- Vanilla extract: use extract or paste for the best flavour.
- Walnuts: chopped (plus extra for decorating).
2. Cream cheese frosting:
- Unsalted butter: room temperature for a softened butter that's easier to beat.
- Powdered icing sugar: sieve your confectioners' sugar for a smooth frosting.
- Full-fat cream cheese: room temperature for ease of beating.
- Vanilla extract
- Salt
3. Chocolate ganache drip (optional):
- Heavy cream: e.g. double or whipping cream.
- Milk chocolate: from the baking aisle.
See the recipe card for quantities.
Top tip: For accuracy, it's best to weigh your ingredients rather than using cups.
♻️ Substitutions / Variations
Ingredient substitutions
For the best banana cake flavour, use overripe bananas. If you don't have any, you can bake unripe bananas on a low heat in the oven for 15mins.
Alternatively, you can put your unripe bananas in a paper bag with other ripe ethylene gas producing fruit, such as ripe apples or other ripe bananas, for 1-2 days to ripen them. Check out my blog post on how to ripen bananas quickly for more info.
You can use any neutral-flavoured oil for this banana layer cake recipe.
You can swap the plain all-purpose flour for same quantity of self-raising flour. Exclude the bicarbonate of soda and reduce the baking powder by ½ teaspoon (i.e. use only 1 ½ teaspoon baking powder).
You can swap the milk chocolate ganache drip for a dark chocolate ganache by using 85 ml (5 ½ tbsp) heavy cream and 75g (½ cup) dark semi-sweet chocolate instead.
Flavours
I love the taste of this banana nut cake using walnuts, but you can also switch these for another nut such as pecans or brazil nuts.
For a more chocolate banana cake, add 150 g (1 cup) of chocolate chips to your cake batter.
Try drizzling over a tasty sauce, like salted rum dulce de leche - a delicious boozy treat that goes really well with banana!
Frosting options
Instead of a vanilla cream cheese icing, try this easy vanilla buttercream or caramel buttercream instead.
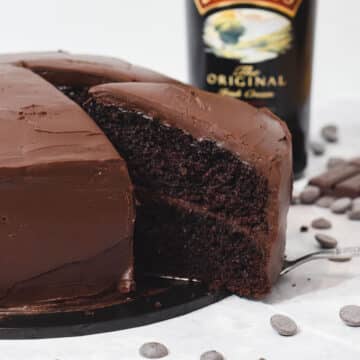
Alternatively, give this Bailey's chocolate ganache frosting a go for a truly decadent adult birthday cake idea!
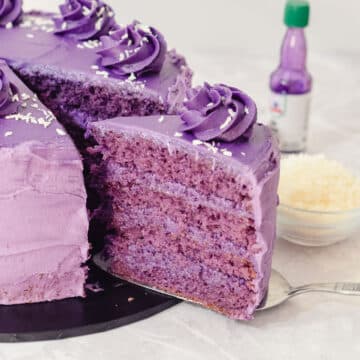
In the photos here, I've used chocolate buttercream to decorate the top (like the one in this recipe for chocolate cupcakes), but this optional and you can use the cream cheese frosting for these swirls instead for ease.
Equipment alternatives
When I make this drip cake as a four-layer cake, I usually bake all the cake batter in two 6-inch round pans. I then cut the two sponges in half to give four layers.
If you have three round 6-inch cake pans, you can instead spit your batter evenly between the three and bake for 5-10mins less time. This will give you a three-layer cake without the need to cut you sponges in half.
I usually use a teaspoon to make the ganache drip on this cake. However, you can also use a squeeze bottle (like the ones they use for sauces and condiments), a piping bag with a small round piping tip or the corner cut off of a plastic sandwich / freezer bag.
📖 Method
Banana walnut cakes:
- Pre-heat oven: 180°C / 160°C (fan) / Gas Mark 4 / 350°F
- In a mixing bowl, peel and mash your bananas with a fork.
- Beat in the eggs, sugar and oil until fully combined.
- Sieve in the baking powder, bicarb of soda and flour, folding in gently until only just combined.
- Finally, stir in the mixed spice, vanilla, salt and chopped walnuts until spread evenly throughout.
- Divide your cake batter evenly between the two greased and lined cake pans and bake for 45-50mins until risen, golden on top and a skewer comes out clean.
- Allow your cakes to cool in the pans for 10mins before transferring out of the pans onto a wire rack to finish cool. While the cakes cool, make the frosting.
Cream cheese frosting:
- Beat the butter (either by hand, using an electric mixer or stand mixer) until pale, light and fluffy. This could take several minutes.
- Sieve the icing sugar into the butter and beat until combined.
- Add the cream cheese and vanilla, beating until you get a smooth frosting.
Assembly:
- Set aside for later roughly ⅕ of the frosting into a piping bag for the swirls on top if decorating in this style.
- Once the sponges have cooled completely, cut off any peaks to give smooth flat tops on your layers.
- Cut both cake layers horizontally through the middle to give you four even layers.
- Spread a thick layer of the frosting onto one sponge and sandwich a second sponge layer on top. Repeat this for the next layer.
- Add another thick even layer of frosting on top of the third sponge, and then place the fourth sponge upside-down on top of this.
- Smooth a thick layer of frosting on top of the cake and around the edges, smoothing and scraping until your cake has a relatively thin and neat outside coating. Refrigerate for 30mins.
- Add the remaining frosting to the top and outside of the cake, then smooth using a spatula and cake scraper.
- Add the crushed walnut around the bottom of the cake and press in gently with the back of a spoon or your hands. Put the cake back into the fridge while you make the ganache.
Chocolate ganache and decorations (optional):
- Heat the cream over a double-boiler or in the microwave (15-30 secs at a time), until hot but not boiling.
- Break the chocolate up into pieces and pour the hot cream over it. Let it sit for 10mins and then stir until smooth.
- Allow the ganache to cool at room temperature for 10-20mins, until the ganache is still runny but has cooled and thickened slightly.
- Remove your cake from the fridge. Dip a teaspoon in your ganache and test a drip at the top edge of your cake. If this creates a thick line and only runs partway down the side, you're good to go. If it hits the bottom, allow your ganache to cool for another 5mins and try another test drip. Repeat until your test drips are to your liking.
- Drip ganache from your spoon at the edges of your cake until you have enough drips. Then fill in the top of your cake, smoothing gently with an offset spatula until you get an even layer connecting the top of the drips together at the edges.
- Using the frosting set aside previously (or another one of your choice), and your 1M tip and piping bag, pipe big swirls onto the top of the cake in a ring.
💭 Top tips
- Mix your banana cake ingredients slowly, adding the wet ingredients to the dry ingredients. This helps to reduce lumps.
- Thoroughly mash your bananas before adding them to your cake batter. You won't be able to get rid of the banana lumps completely, but this will give you a smoother batter.
- Your banana walnut cake sponges are cooked once they're risen, springy to touch and an inserted toothpick or skewer comes out clean from the center of the cake.
- After baking, leave your banana cake layers in the tins to cool for at least 15mins before removing them from the cake pan onto a wire rack to cool. This speeds up the cooling process and stops your cake from baking further trapped in the hot tin.
- To get smooth tops on your cake layers, I recommend using cake baking belts, sometimes called cake strips, when baking your cakes. You may need to bake for an extra 5-10mins if using these.
- Alternatively, cut off any peaks that may form.
- To decorate your banana layer cake, it's easier with a cake turntable, a tall cake scraper and an offset spatula. That way you can create smooth sides to your cake much easier.
- For the ganache drip, do a test drip first to see if the temperature and consistency are right. Your test drip should run down the cake sides but not hit the bottom.
- Give your banana birthday cake a crushed walnut border around the frosted cake base for a cute finish.
❔ Recipe FAQs
Your banana cake should last for up to 4 days stored in an airtight container in the fridge.
Yes! You can freeze your frosted or unfrosted banana cake cut into pieces and wrapped in two layers of cling film and a layer of foil for up to 3 months. Defrost in the fridge and enjoy!
No, cake flour is actually different to both plain flour and self-raising flour. It has a different composition and your cake will have a different consistency if you use it.
If your bananas aren't ripe, you can place them unpeeled on a lined baking tray in the oven for 15mins at low temperature.
Swap your all-purpose flour for a gluten-free 1:1 plain flour blend. Add ½ teaspoon xanthan gum if not already included in your flour blend.
Beat your cake batter thoroughly and let it stand for 30mins before pouring into tins and baking.
🧁 Other goodies
Looking for more banana recipes? Why not check out my recipe for a vegan moist banana bread - it's a delicious and simple crowd-pleaser!
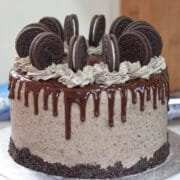
Or if you're looking for some tasty cake recipes, why not check out my Oreo drip cake or Biscoff drip cake? Both make great party birthday cakes!
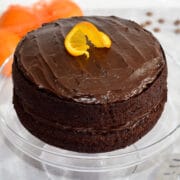
You'll also love this chocolate orange cake - a really simple and easy cake, perfect for a more low-key cake joy.
Other Related Recipes:

Looking forward to some new recipes? Check out my Youtube, Facebook, Instagram and Pinterest pages for a few sneak peeks and some sweet inspiration!
Or if you'd like to hear about our latest recipes, why not subscribe to our newsletter?
📖 Recipe
Banana Walnut Layer Cake
Rate this recipe here:
Equipment
Ingredients
Banana walnut cake:
- 4 medium bananas (roughly 400g peeled, very ripe)
- 4 eggs
- 140 g (⅔ cups) soft light brown sugar
- 200 ml (1 cups) oil (canola, sunflower or vegetable)
- 370 g (3 cups) plain / all-purpose flour (see notes for self-raising flour swap)
- 2 teaspoon baking powder
- 1 teaspoon bicarbonate soda
- ½ teaspoon ground mixed spice
- ¼ teaspoon salt (optional)
- 2 teaspoon vanilla extract
- 200 g (1 ¾ cups) walnuts (chopped)
Cream cheese frosting:
- 300 g (1 ⅓ cups) unsalted butter (room temp.)
- 300 g (2 ½ cups) icing sugar
- 480 g (2 cups) full-fat cream cheese
- 1 ½ teaspoon vanilla extract
Milk chocolate ganache drip (optional):
- 50 ml (¼ cups) heavy cream (e.g. double cream)
- 100 g (⅔ cups) milk chocolate
Decorations (optional):
- 15 g (2 tablespoon) walnuts (chopped, for border)
Instructions
Banana walnut cakes:
- Pre-heat oven: 180°C / 160°C (fan) / Gas Mark 4 / 350°F
- In a mixing bowl, peel and mash your bananas with a fork.
- Beat in the eggs, sugar and oil until fully combined.
- Sieve in the baking powder, bicarb of soda and flour, folding in gently until only just combined.
- Finally, stir in the mixed spice, vanilla, salt and chopped walnuts until spread evenly throughout.
- Divide your cake batter evenly between the two greased and lined cake pans and bake for 45-50mins until risen, golden on top and a skewer comes out clean.
- Allow you cakes to cool in the pans for 10mins before transferring out of the pans onto a wire rack to finish cool. While the cakes cool, make the frosting.
Cream cheese frosting:
- Beat the butter (either by hand, using an electric mixer or stand mixer) until pale, light and fluffy. This could take several minutes.
- Sieve the icing sugar into the butter and beat until combined.
- Add the cream cheese and vanilla, beating until you get a smooth frosting.
Assembly:
- Set aside for later roughly ⅕ of the frosting into a piping bag for the swirls on top if decorating in this style.
- Once the sponges have cooled completely, cut off any peaks to give smooth flat tops on your layers.
- Cut both cake layers horizontally through the middle to give you four even layers.
- Spread a thick layer of the frosting onto one sponge and sandwich a second sponge layer on top. Repeat this for the next layer.
- Add another thick even layer of frosting on top of the third sponge, and then place the fourth sponge upside-down on top of this.
- Smooth a thick layer of frosting on top of the cake and around the edges, smoothing and scraping until your cake has a relatively thin and neat outside coating. Refrigerate for 30mins.
- Add the remaining frosting to the top and outside of the cake, then smooth using a spatula and cake scraper.
- Add the crushed walnut around the bottom of the cake and press in gently with the back of a spoon or your hands. Put the cake back into the fridge while you make the ganache.
Chocolate ganache and decorations (optional):
- Heat the cream over a double-boiler or in the microwave (15-30 secs at a time), until hot but not boiling.
- Break the chocolate up into pieces and pour the hot cream over it. Let it sit for 10mins and then stir until smooth.
- Allow the ganache to cool at room temperature for 10-20mins, until the ganache is still runny but has cooled and thickened slightly.
- Remove your cake from the fridge. Dip a teaspoon in your ganache and test a drip at the top edge of your cake. If this creates a thick line and only runs partway down the side, you're good to go. If it hits the bottom, allow your ganache to cool for another 5mins and try another test drip. Repeat until your test drips are to your liking.
- Drip ganache from your spoon at the edges of your cake until you have enough drips. Then fill in the top of your cake, smoothing gently with an offset spatula until you get an even layer connecting the top of the drips together at the edges.
- Using the frosting set aside previously (or another one of your choice), and your 1M tip and piping bag, pipe big swirls onto the top of the cake in a ring.
Notes
- Your sponges are cooked once they're risen and springy to the touch. An inserted toothpick or skewer should also come out clean from the middle.
- For the ganache drip, do a test drip first to see if the temperature and consistency are right. Your test drip should run down the cake sides but not hit the bottom.
-
- Swap your plain flour for self-raising flour, exclude the bicarb of soda and reduce the baking powder to only 1½ tsp.
- You can use any neutral-flavoured oil for the cake batter.
Nutrition
Nutritional information is an estimate based on an online nutritional calculator, actual values may vary.

Alexa says
Did I miss the part where you said to cut each layer in half, horizontally? Otherwise there would only be two layers.
Kachina says
Hiya, good spot, thank you for pointing this out! This step comes when you cut any peaks off your cooled sponges. I've updated the recipe card to include this step now. Happy baking!
Jessica says
Hi! Instead of using oil, can we use butter at the equivalent weight (200g) instead? Thank you!
Kachina says
Hiya! Using a 1:1 swap is best. Oil will improve the moisture of the cake, but if you cream the butter well before incorporating it should work. Happy baking!
Daniela Angeli says
Hi, question from US, what is ground mixed spice?
Thank you.
Sweet Mouth Joy says
Hiya! Good question. It's a mix of a lot of different spices incl. cinnamon, ginger, nutmeg and more. It's similar to pumpkin spice mix in the US, which makes a great substitute.
Fawn says
I couldn't resist commenting. Perfectly written!
Luca says
This looks stunning! You have done an amazing job, keep up!
Sweet Mouth Joy says
Thanks Luca!