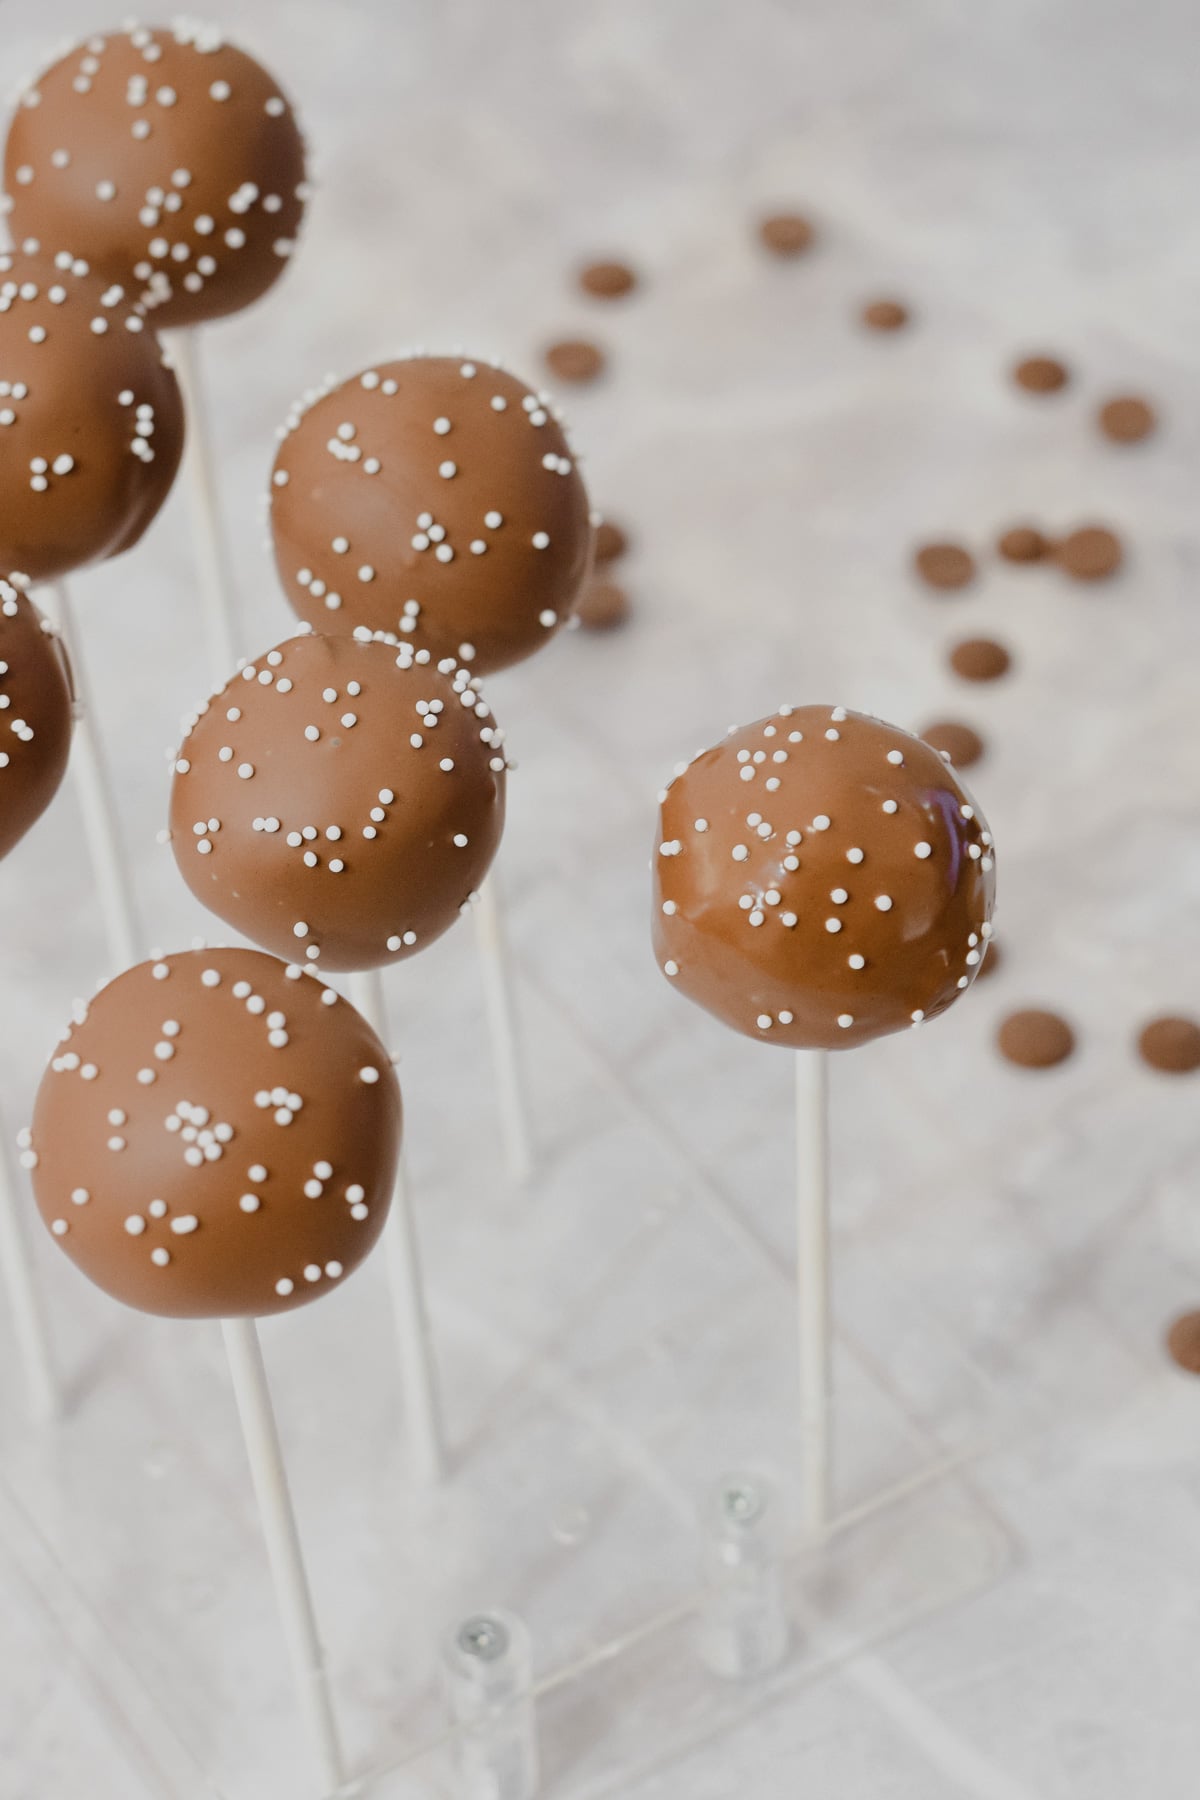
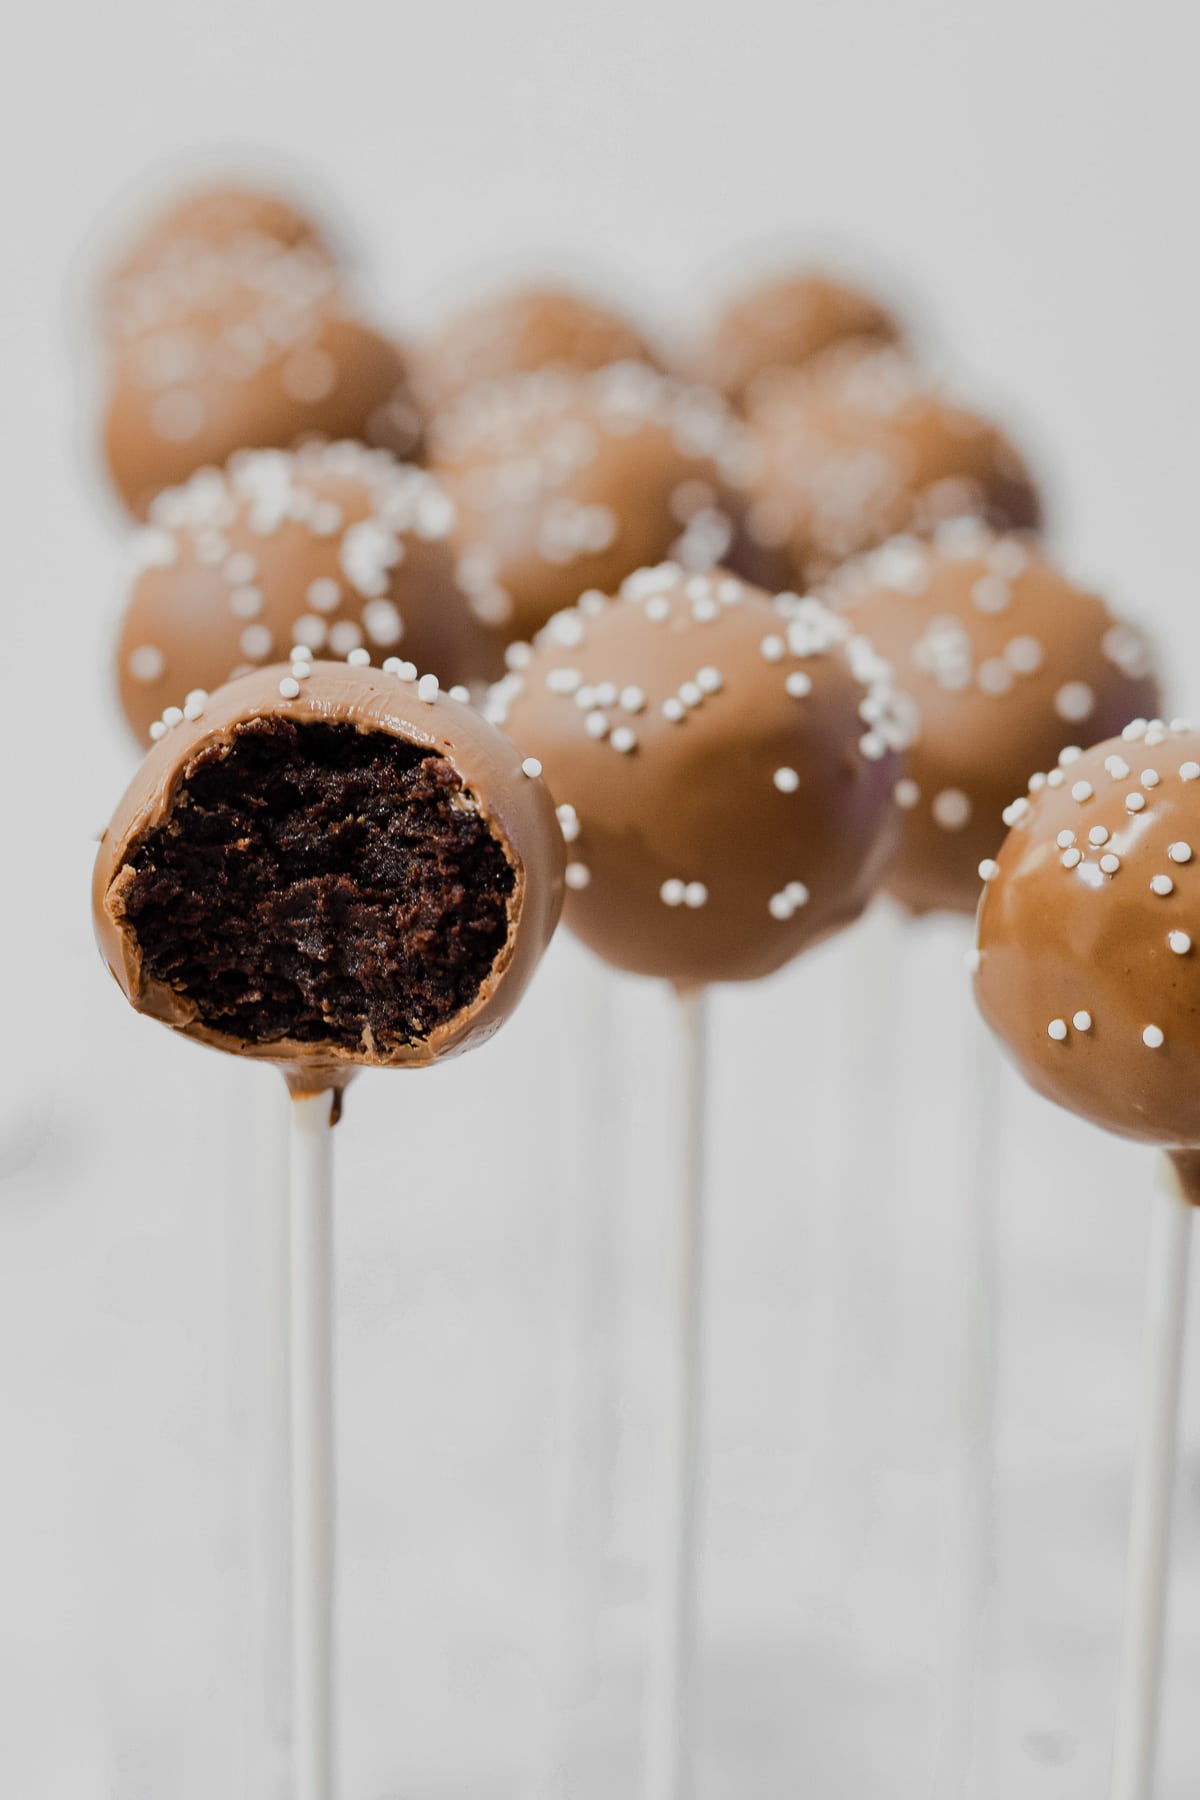
These easy Starbucks copycat chocolate cake pops from scratch are the perfect treat for all those chocolate lovers out there. They taste like little bites of chocolate heaven on a stick!
They’re also great for birthday parties, dessert tables and special occasions as they’re the perfect bite-sized sharing treat.
A simple chocolate cake made from scratch is mixed with an easy chocolate buttercream frosting and then covered with real milk chocolate (or chocolate candy coating if you’d prefer!).
No cake pop maker or boxed cake mix is needed!
Jump to:
✏️ Recipe creation
I’m a huge fan of Starbucks, and after making copycat recipes for their iced lemon loaf and vanilla birthday cake pops, I was excited to make more easy Starbucks copycat desserts to enjoy at home. One of their biggest hits is their chocolate cake pop and being a chocolate lover, I just had to give it a try!
I wanted to use simple ingredients for a homemade chocolate cake and chocolate frosting from scratch. It makes the best chocolate cake pops! This recipe uses unsweetened cocoa powder and tastes delicious.
This recipe also doesn’t use a cake pop maker, so no need to buy anything extra for them except the lolly sticks.
🥘 Ingredients
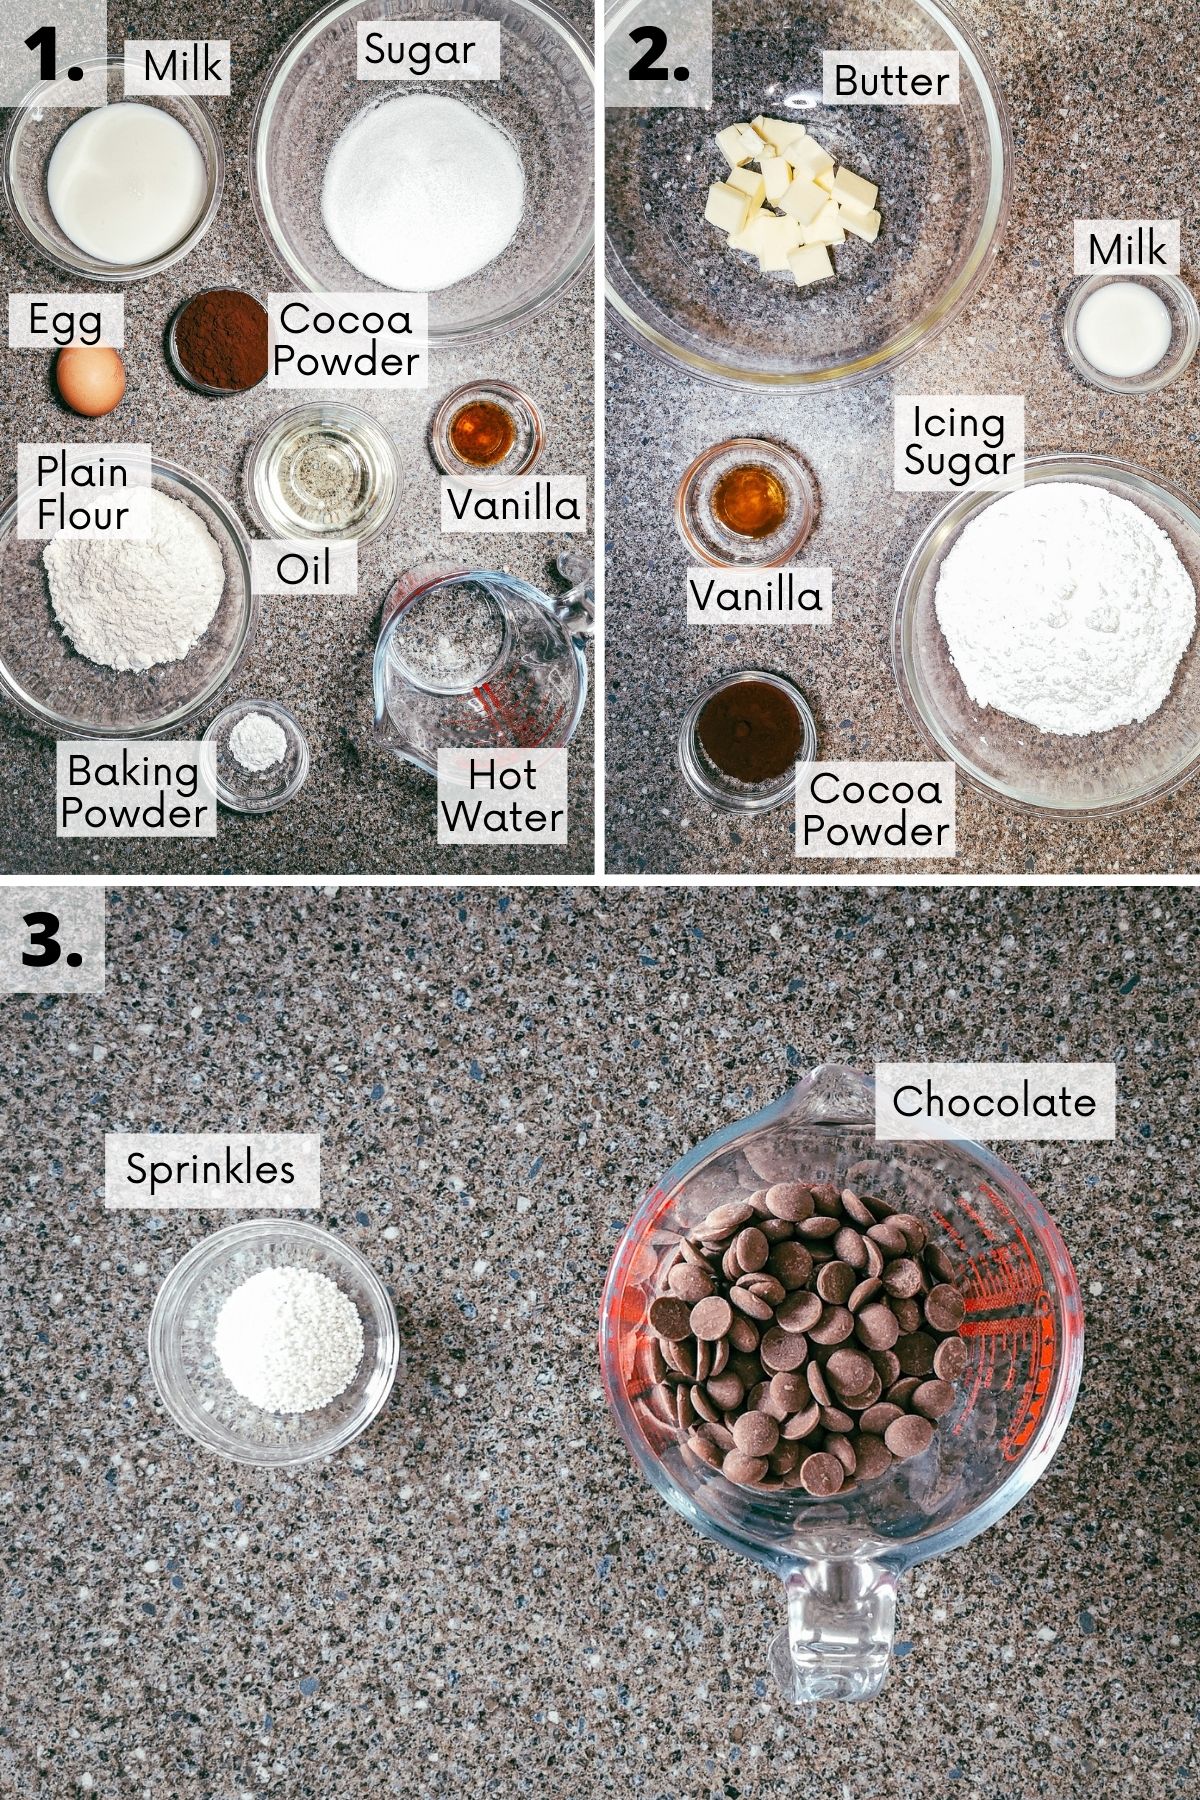
This cake pop recipe calls for the following ingredients:
(1) Cake:
- Egg
- Vegetable oil
- Milk (whole or semi-skimmed)
- Vanilla extract
- Caster sugar (white finely granulated sugar)
- Plain flour (all-purpose flour)
- Unsweetened cocoa powder
- Baking powder
- Hot water
(2) Buttercream:
- Unsalted butter
- Icing sugar (powdered confectioners’ sugar)
- Unsweetened cocoa powder
- Vanilla extract
- Milk
(3) Coating:
- Milk chocolate (or cooking chocolate / chocolate candy melts)
See the recipe card for quantities.
Ingredient substitutions
This recipe is for chocolate cake pops from scratch, but you can also swap the cake for a boxed cake mix of your choice.
Alternatively, you can use leftover cake and offcuts to make your cake pops. You want roughly a 3:1 ratio of cake sponge to buttercream, but this varies depending on how moist your cake is and how runny your frosting is. I usually mix frosting into crumbled cake 1 tablespoon at a time and stop when it holds together as a soft dough.
Another cheat is using a store-bought tub of frosting in place of the buttercream recipe here. No judgement, you do you! It also means you can pick some fun flavours to mix it up if you fancy.
You can swap the plain flour in the cake recipe for self-raising flour of the same quantity. If doing this, exclude the baking powder too.
Cake pop coating
Ok so, if I’m being honest, milk chocolate is the tastiest cake pop coating. It’s also the hardest to work with, because you have to melt it slowly and gently or you’ll end up with white streaks.
However, chocolate candy coating (i.e. chocolate candy melts / melting chocolate wafers / dipping chocolate) or cooking chocolate will still give you a delicious cake pop chocolate coating! If you’re using candy melts, add a few teaspoons of vegetable oil to help thin it.
Ingredient tips
- Room temperature ingredients mix together better than cold ones. Take your eggs and butter out of the fridge to come up to room temperature before you start baking. For me, this takes about 30mins to warm up.
- Using unsalted butter lets you control the amount of salt in your frosting. I like mine to be low salt so I don’t add much, but you can add an optional ⅛ teaspoon or a pinch of salt to taste.
- For a smooth cake mixture and frosting, sieve your flour, baking powder, cocoa powder and powdered sugar (a.k.a icing sugar or confectioners’ sugar).
- I prefer using vanilla extract to vanilla essence. As it’s less processed, it has a purer vanilla flavour.
- Be sure to use an unsweetened cocoa powder (e.g. dutch-process cocoa powder) for baking purposes in this recipe. The ones you’d use for a hot chocolate drink isn’t as good for this recipe.
- The best chocolate to use for your cake pop coating is couverture chocolate (the fancy stuff pro’s use that is pre-tempered and melts like a dream). I use Callebaut milk chocolate chips to melt and cover my cake pops and it’s delicious!
🔪 Equipment
I use the following equipment for this recipe:
- 8inch / 20cm round cake pan
- Parchment paper (greaseproof paper)
- Electric hand mixer or stand mixer (or whisk / fork)
- Large and medium mixing bowl
- Sieve
- Rubber spatula or wooden spoon
- Weighing scales (or measuring cups)
- Measuring spoons
- Wire cooling rack
- Flat plate, tray or baking sheet
- Lollipop sticks
- Cake pop stand (or Styrofoam block)
- Microwaveable jug, cup or bowl
Equipment alternatives
I usually use an 8-inch round cake tin for the cake. Instead, you can swap this for a 6-inch tin and bake for an extra 5-10mins.
I usually melt chocolate for cake pop covering in the microwave (at 20-second intervals), but you can use a double boiler or bain-marie if you prefer.
You can get different sizes and materials for your cake pop sticks. I like to use either the 4inch or 6inch length sticks. I also prefer using recyclable paper sticks so they’re more environmentally friendly.
If I’m feeling lazy, I usually just eyeball the amount of cake pop mix I grab to roll into walnut-sized balls. For more consistency, use a tablespoon, small cookie scoop or mini ice cream scoop instead.
Standing up your cake pops can be difficult because they’re top-heavy. If you don’t have a cake pop stand, you can use a block of Styrofoam or a short cardboard box. Simply stab the bottom of your cake pop sticks into the Styrofoam or cardboard to hold them.
If you don’t have access to a stand, Styrofoam block or cardboard box, place cake pops stick-side-up on a sheet of greaseproof paper on a plate or tray to set. They’ll have a flat side, but they’ll still look cute!
You can even set them in mini cupcake cases instead - perfect for gifting!
Equipment tips
- Before I start baking, I like to prepare my cake tin first. Grease your pan with butter or cooking oil spray, then line it with greaseproof paper (baking parchment).
- To measure your ingredients, it’s best to use weights rather than cups for better accuracy.
- I like using digital scales for weighing my ingredients as it's easy and accurate. I quite like KitchenAid or Salter scales.
- It’s best to use actual measuring spoons. Cutlery teaspoons and tablespoons aren’t actually the correct volume - I never knew it before! I’d also recommend levelling off any heaped scoops for a more accurate measurement.
- When using a stand mixer, I use the paddle attachment and low speed for the cake batter but a medium speed for the buttercream. Scrape down the sides and bottom of the bowl for a more even mix.
- Melting your candy melts into a tall and narrow heat-proof jug or cup is best for dipping cake pops. That way you don’t need to use as much candy to fully coat your cake pop.
- If you’re running low on melted chocolate, you can use a spoon to help fully coat your cake pop. Scoop up the melted chocolate and pour it over the base of your upside-down cake ball.
📖 Method
Cake
Preheat the oven to 180°C / 160°C (fan) / Gas Mark 4 / 350°F.
Steps 1-2 - In a mixing bowl, beat the eggs, oil, vanilla, sugar and milk together until fully combined.
Step 3 - In a separate bowl, sieve in the cocoa powder, flour and baking powder and whisk them together.
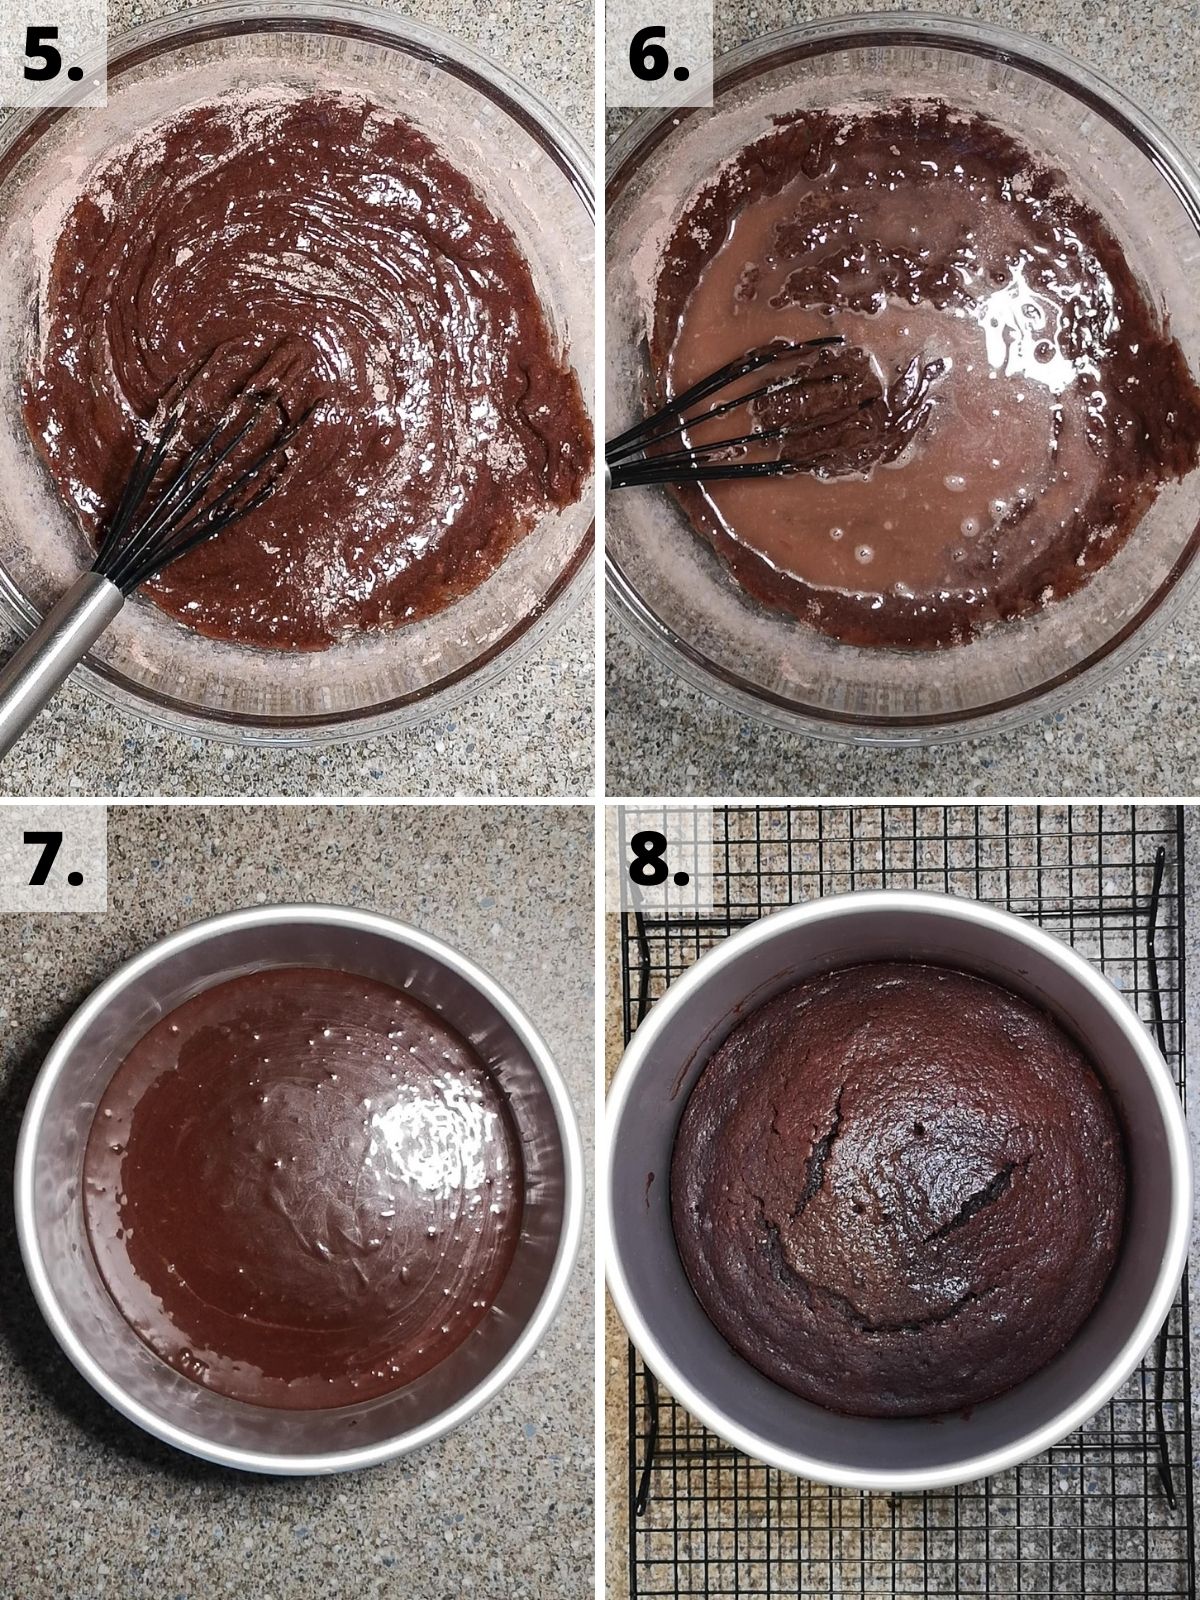
Steps 4-5 - Gradually pour the wet ingredients into the dry, stirring together as you pour until just combined.
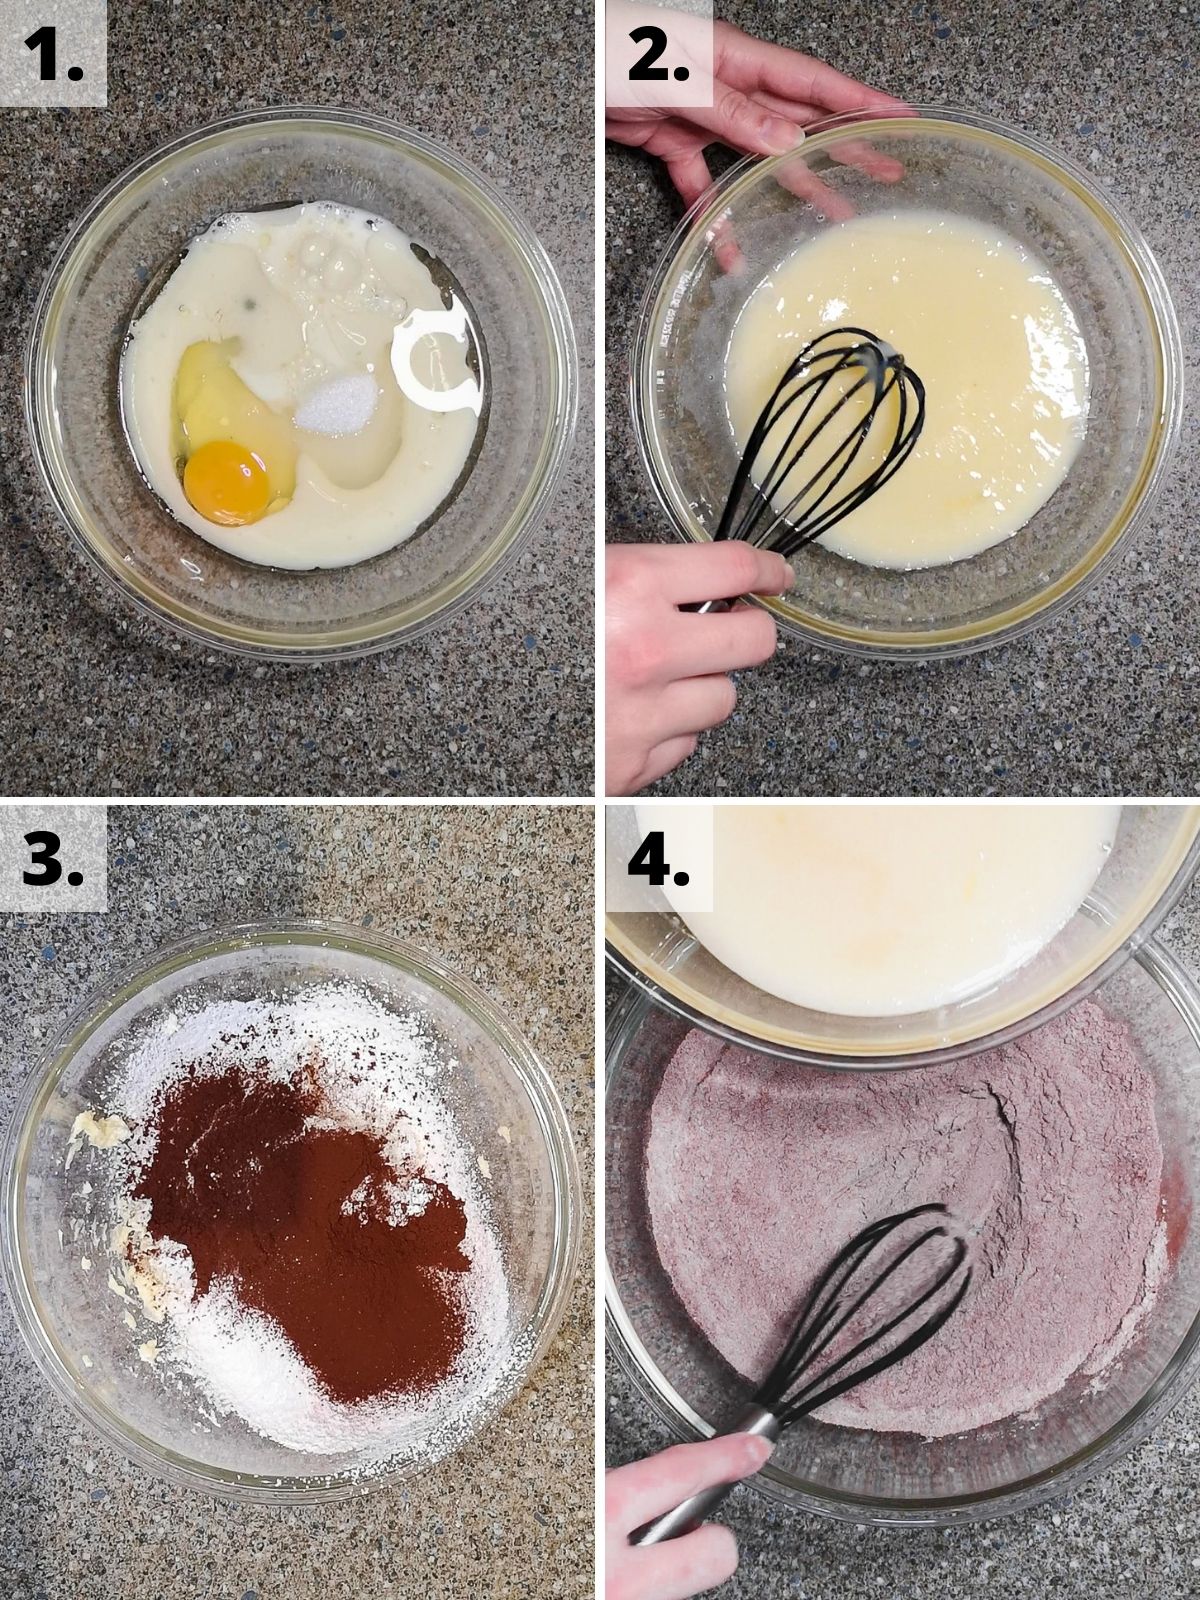
Step 6 - Slowly stir in the hot water until the liquid has only just combined.
Steps 7-8 - Pour your batter into a greased and lined 8-inch round cake tin and bake for 25-30mins until risen, springy and a skewer comes out clean. Allow to cool for 20mins before transferring to a wire rack.
Buttercream
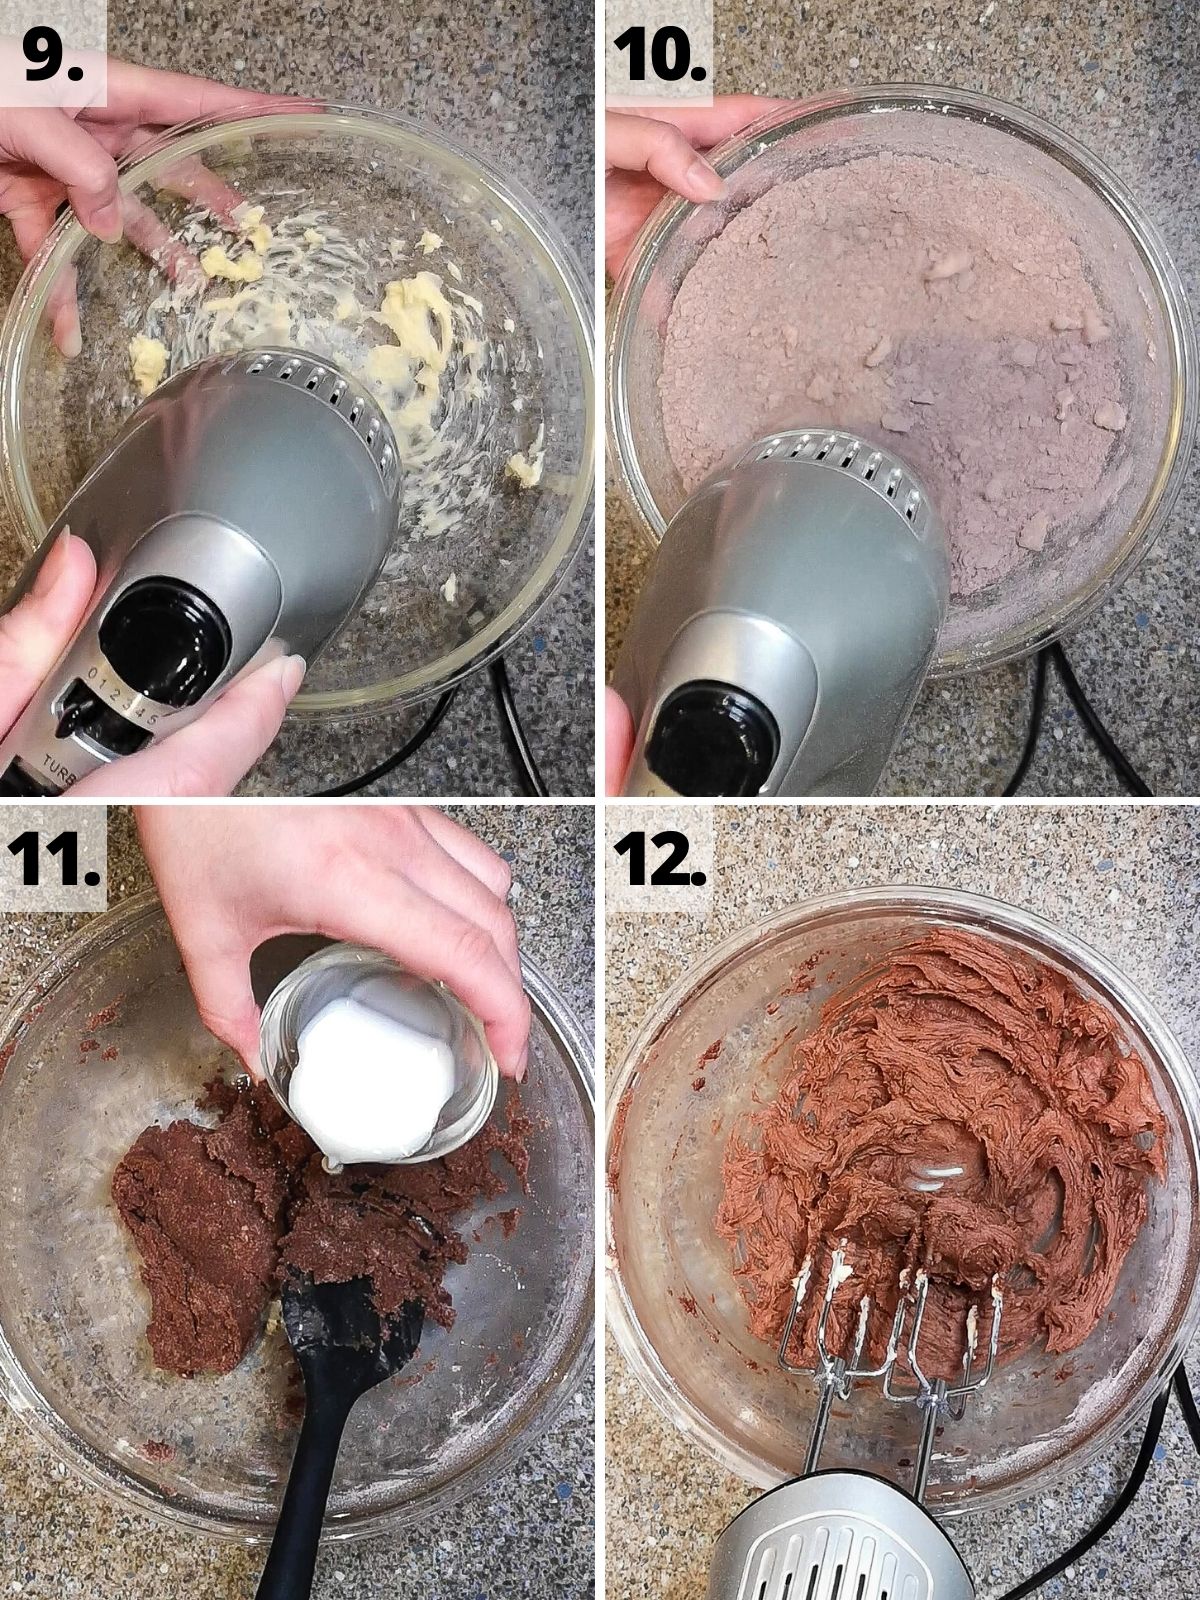
Step 9 - While the cake cools, beat the butter, by hand or hand mixer in a medium bowl (or using a stand mixer), for several minutes until pale and fluffy.
Step 10 - Sieve in half of your powdered sugar and beat until smooth. Repeat with the other half of your powdered sugar and the cocoa powder.
Steps 11-12 - Beat in the vanilla and milk until smooth.
Cake pop filling
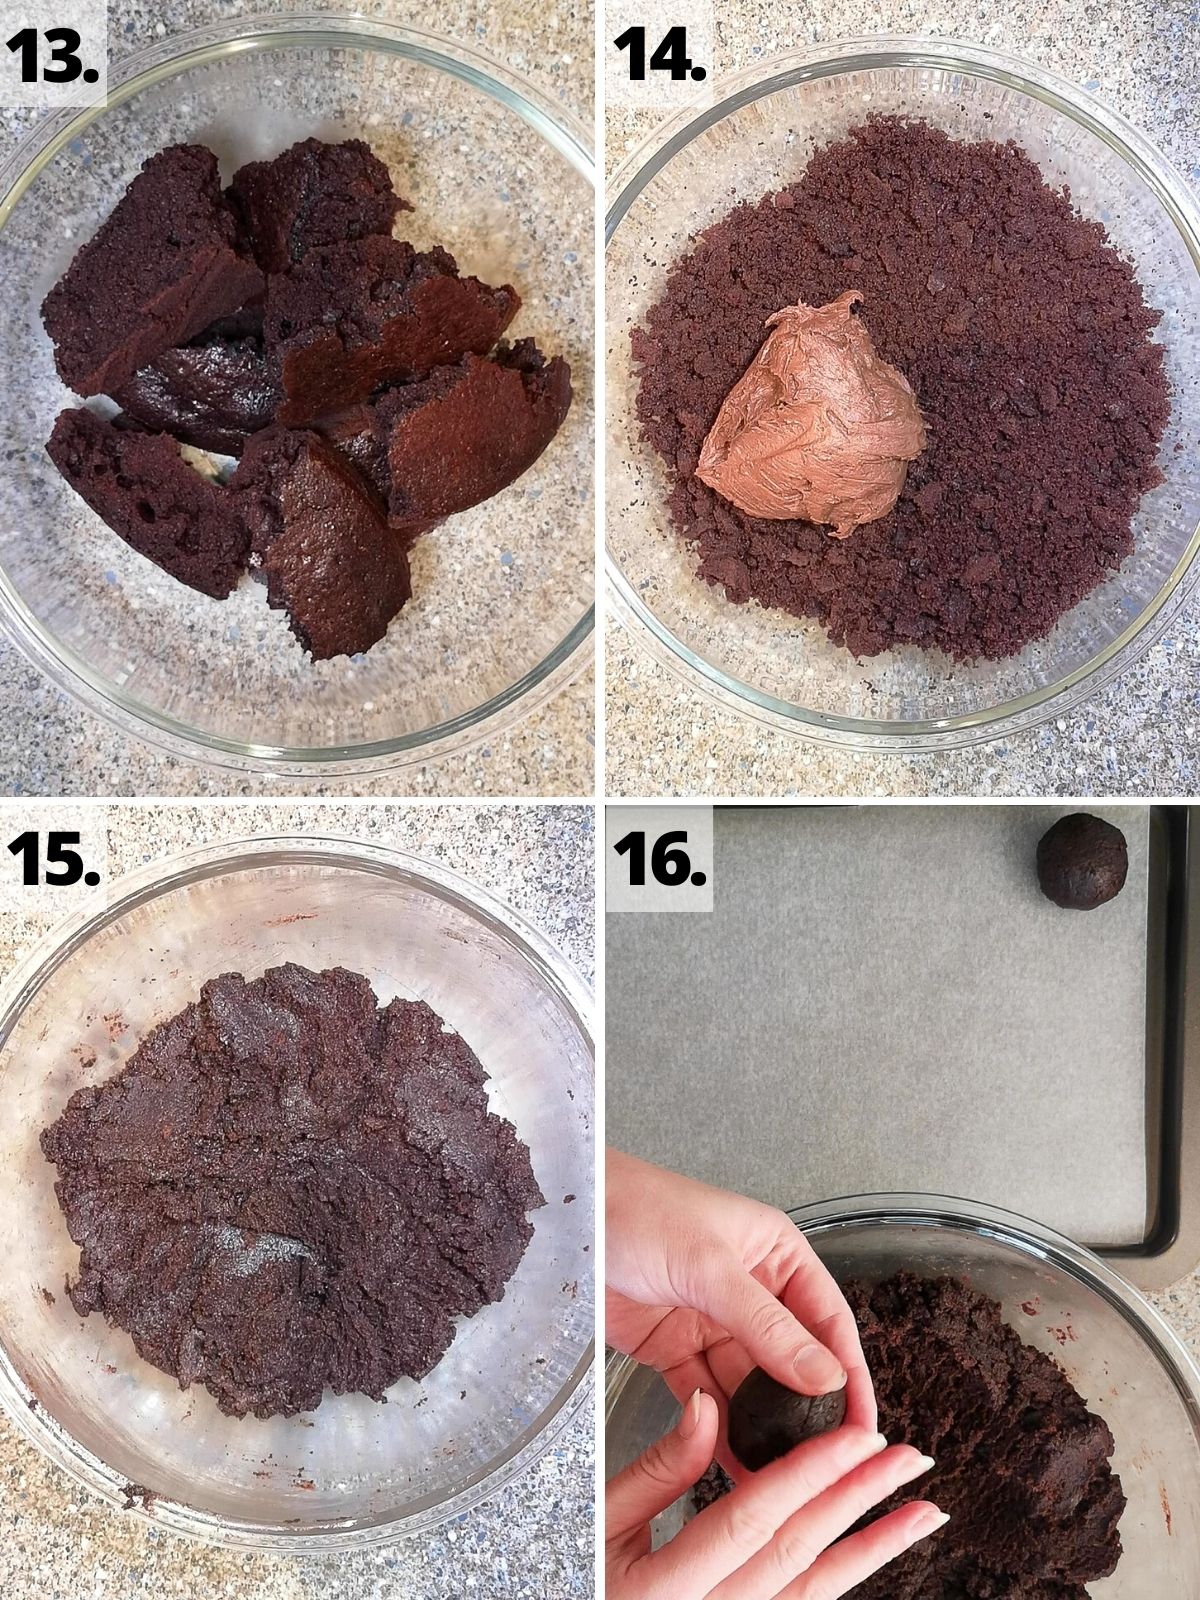
Step 13 - Once the cake has cooled, break it up into large chunks and blend it using short bursts in a food processor. Or crumble your cake by hand or using a fork in a large bowl.
Steps 14-15 - Mix in your buttercream using a wooden spoon or fork until it comes together like a soft dough.
Step 16 - Scoop a walnut-sized amount of the filling (using your hands, a tablespoon or cookie scoop), roll it into a ball in your hands and place it on a plate or tray lined with greaseproof paper. Repeat until you’ve used all the filling and then refrigerate the balls for 1hr.
Cake pop assembly
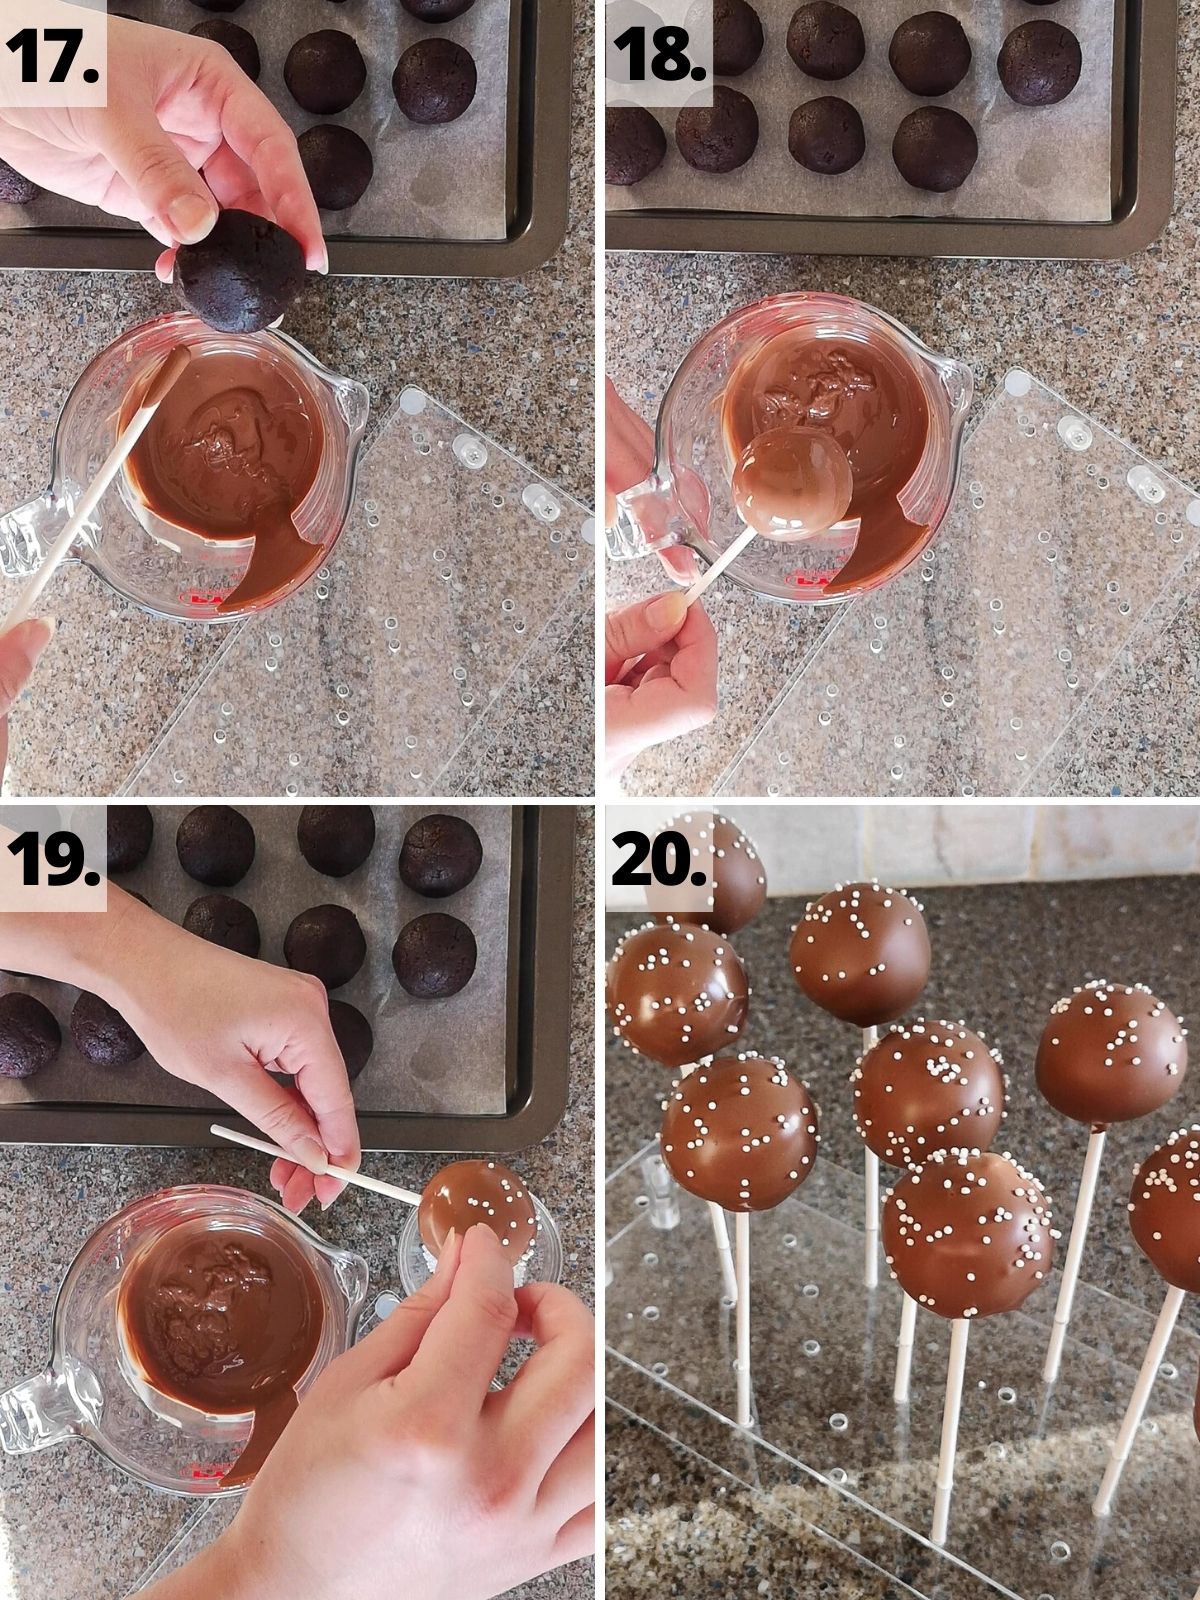
Step 17 - In a narrow heatproof jug, melt the chocolate in the microwave, 20secs at a time, stirring in-between until smooth.
Take 4 cake balls from the fridge. Dip one end of a lollipop stick into the melted chocolate before pushing it halfway into the middle of the flatter side of a cake ball. Repeat for all 4 cake balls.
Steps 18-19 - Dip a cake ball into the melted chocolate, covering it completely. Gently tap off any excess back into the container before topping with sprinkles.
Step 20 - Place the cake pop into a stand or styrofoam block to set (roughly 5-10mins). Repeat until all 4 cake balls have been dipped and decorated.
Repeat this process until you've turned all the cake balls into chocolate-coated cake pops and enjoy!
🍱 Storage
You can store your finished cake pop at room temperature in an airtight container (such as a plastic storage box). They should keep fresh for up to 5 days.
If it’s quite hot where you live, it might be better to keep your cake pops in the fridge, as otherwise, the chocolate shell might melt! They should stay fresh for roughly one week in the fridge.
You can also freeze your cake pops, wrapped in plastic wrap or a freezer bag for up to 3 months. Defrost and enjoy as normal!
💭 Top tips
- It’s easier to dip cold cake balls into your melted chocolate. They’ll hold their shape better and are more likely to stay on your lollipop stick.
- Melt your chocolate slowly for best results. I’m lazy and use a microwave to melt mine, but heat the chocolate for 20secs at a time, stirring between bursts. Stop heating when there are only a few tiny lumps left and keep stirring until these are fully melted. This should avoid any white streaks or burning of the chocolate.
- It’s best to work with only a few cake balls at a time when coating and decorating them. Otherwise, the other cake balls might warm up while they’re waiting their turn. Take out only 4 cake balls at a time and leave the rest chilling in the fridge.
- Dip your lollipop stick in the melted chocolate first before pushing it into your cake ball. This helps stick your cake ball to your stick.
- Your chocolate can harden quite fast, so work quickly to tap off any excess from your cake pop so you can top with sprinkles before the chocolate sets.
- If it’s hot where you live, you might need to place your cake pops in the fridge to set the chocolate covering.
- Your chocolate might start to solidify before you get a chance to dip all of your cake balls. If so, pop the jug back into the microwave for another 10-15secs burst to melt the candy back to dunking consistency. If using real chocolate, it’s best to avoid this where possible.
❔ FAQs
Cake pops are basically small cake balls on lollipop sticks, coated in candy melts or chocolate. The cake balls usually consist of crumbled sponge cake mixed with frosting such as buttercream.
However, you can also use balls of cookie dough, brownie, or other great treats and fillings to make your cake pops.
Your cake pops should last for up to 5 days stored in an airtight container at room temperature or in the fridge (if it's hot where you live).
Yes! You can freeze your cake pops wrapped in a few layers of cling film or in a plastic freezer bag for up to 3 months.
Yes, you can make your cake pops ahead by either making the cake sponges and / or buttercream frosting in advance.
Wrap the cake in plastic wrap and foil then freeze. Store the frosting in an airtight container or freezer bag and freeze. Both will last for up to 3 months. Defrost and use per recipe.
You can also make the cake and/or buttercream 1-2 days in advance before you turn them into cake pops. Keep the cake at room temperature wrapped in plastic wrap. Store the buttercream in an airtight container in the fridge.
Yes, using your leftover and offcuts from cakes is a great way to make cake pops. I usually freeze my offcuts for future cake pop use!
You’ll need roughly a 3:1 ratio of cake to frosting to make cake pop filling. Mix in your frosting 1 tablespoon at a time to your crumbled cake and stop once it holds together like a soft dough.
The amount of frosting to sponge ratio that you need can vary quite a lot, depending on how moist your sponge is and the consistency of your frosting.
One thing I always do when I make a big layer cake is slice off the tops of the cakes. This gives them a nice level top and removes any peaks that may have formed. Don’t throw these away! These offcuts of cake are perfect to use in this cake pop recipe.
Store your cake offcuts or cake leftovers in an airtight container in the fridge for up 4 days before using them.
Alternatively, you can freeze the cake offcuts by wrapping them in plastic wrap (cling film) and a layer of foil for up to 2 months. Defrost them and use them in cake pop recipes such as this one.
No, cake flour is actually different to both plain flour and self-raising flour. It has a different composition and your cake will have a different consistency if you use cake flour.
Troubleshooting
If you’ve got any specific questions on making these easy Starbucks copycat chocolate cake pops, please feel free to leave a comment below and I’ll try my best to help out!
Alternatively, you can get in touch via my Facebook, Instagram or Pinterest – I’d love to hear from you!
♻️ Variations
Flavour options
One of the great things about cake pops is that you can easily mix and match your flavours.
I love using milk chocolate to make chocolate covered cake pops, but you can swap this for white chocolate or dark chocolate instead. They’re all real crowd-pleasers!
Another flavour option is to make them into chocolate vanilla cake pops. You can swap either the chocolate cake for vanilla cake or the chocolate buttercream for vanilla buttercream (or both!). Check out my recipe for vanilla cake pops for instructions on changing your filling to a vanilla one.
Alternatively, make these into chocolate orange cake pops! Add 1tsp orange extract to your cake mix. Or use half the cake recipe in my best ever chocolate orange cake recipe to use real orange zest and juice instead.
Decorating ideas
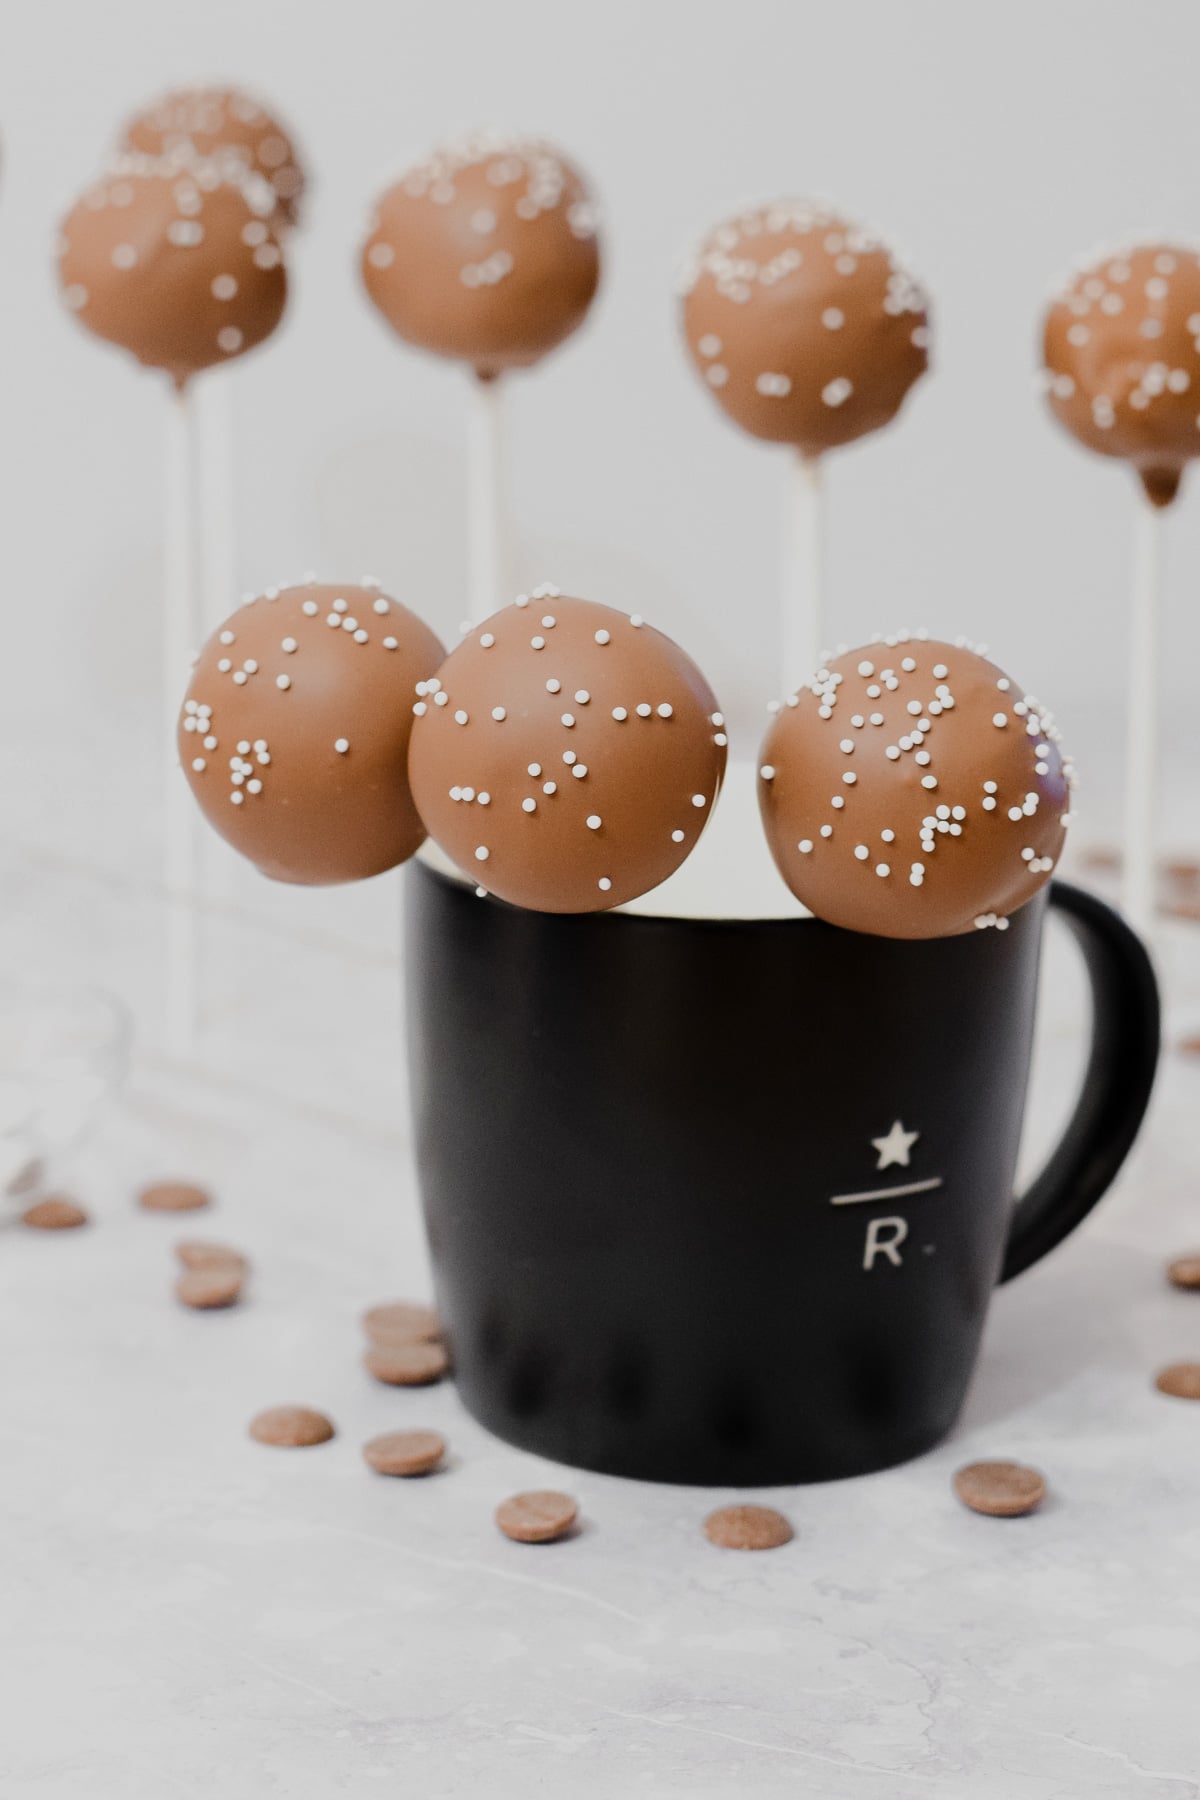
I usually keep these cake pops simple with just the white pearl sprinkles on top per the Starbucks version. However, you can also add more fun details for your cute cake pops if you’d like.
For example, you can crush Oreos or crumble chocolate cake on top to decorate. You can also use any sprinkles you like! Wilton has a whole range.
You can go for a simple yet elegant look and drizzle different types of melted chocolate on top.
Gluten-free option
To make gluten-free chocolate cake pops, swap the plain flour in the sponge cake for gluten-free flour.
I recommend using a gluten-free plain flour blend, such as King Arthur's measure for measure flour or Freee from Doves Farm.
You should also add ½ teaspoon of xantham gum to the cake batter if your flour blend doesn’t already include this in the ingredients.
For gluten-free cake success, add an extra 1 teaspoon oil and 1 tablespoon milk to the batter. Beat your batter really well before pouring it into your cake tin and baking. You might also need to bake your cake for an extra 5-10mins.
🧁 Other goodies
Looking for some other goodies to make?
Big fan of Starbucks copycat sweet snacks? Check out my Starbucks iced lemon loaf and birthday cake pops!
For more great cake pop ideas, take a look at these pumpkin-shaped cake pops or biscoff cakesicles (one of my best ever party snacks!)
If like me you’re a bit addicted to chocolate, you might also like this chocolate Oreo drip cake or triple chocolate brownies – both great to use any leftovers for making cake pops / brownie pops!
Looking forward to some new recipes? Check out my Facebook, Instagram and Pinterest pages for a few sneak peeks and some sweet inspiration!
Or if you’d like to hear about our latest recipes, why not subscribe to our newsletter?
You may also like:
📖 Recipe

Chocolate Cake Pops (Starbucks Copycat)
Rate this recipe here:
Equipment
- Cake pop stand or styrofoam block
Ingredients
Cake for filling:
- 1 egg
- 65 ml (¼ cups) vegetable oil or canola / sunflower
- 125 ml (0.53 cups) milk whole or semi-skimmed
- 1 teaspoon vanilla extract
- 165 g (¾ cups) caster sugar granulated sugar
- 140 g (1 cups) plain all-purpose flour **
- 45 g (3 tablespoon) unsweetened cocoa powder
- 2 teaspoon baking powder
- 75 ml (⅓ cups) hot water
Buttercream for filling:
- 60 g (¼ cups) unsalted butter room temp.
- 130 g (1 cups) icing sugar powdered sugar
- 10 g (2 teaspoon) unsweetened cocoa powder
- 2 teaspoon milk whole or semi-skimmed
- ½ teaspoon vanilla extract
Toppings and coating:
- 175 g (1 cups) milk chocolate for melting, or chocolate candy coating
- white mini pearl sprinkles optional
Instructions
Cake for filling:
- Pre-heat oven: 180°C / 160°C (fan) / Gas Mark 4 / 350°F
- In a mixing bowl, beat the eggs, oil, vanilla, sugar and milk together until fully combined.
- In a separate bowl, sieve in the cocoa powder, flour and baking powder and whisk them together.
- Gradually pour the wet ingredients into the dry, stirring together as you pour until just combined.
- Slowly stir in the hot water until just smooth.
- Pour the cake batter into a lined 8-inch round cake tin and bake for 25-30mins until springy to touch and a skewer comes out clean.
- Allow the cake to cool in the tin for 15mins before removing from the tin and transferring to a wire rack to finish cooling (roughly another 30mins). Whilst cooling, make the buttercream.
Buttercream for filling:
- Beat the butter (either by hand, using an electric mixer or stand mixer) until pale, light and fluffy.
- Sieve the icing sugar and cocoa powder into the butter and beat until combined.
- Add in the milk and vanilla extract, mixing until smooth.
Cake pop filling:
- Crumble up your cooled sponge into a large bowl, either using your hands or a fork.
- Using a fork or spatula, thoroughly mix in the buttercream to the crumbled cake until fully combined. Your cake pop filling should be able to hold together like a soft dough.
- Using a tablespoon scoop, make small walnut-sized balls of the filling and roll them into balls in your hands, repeating until you’ve used all the mix. Place these cake balls on a piece of parchment / greaseproof paper on a flat plate or cookie sheet and refrigerate for 1hr.
Cake pop assembly:
- In a narrow heatproof jug, mug or other container, slowly melt the chocolate in the microwave for 20secs at a time, stirring between bouts until smooth.
- Take 4 cake balls from the fridge and dip one end of the lollipop sticks into the melted chocolate before pushing it halfway into your cake ball.
- Holding the stick, dip your cake ball into the melted candy, covering it completely. Gently tap off any excess back into the container before topping with your sprinkles and then standing your cake pops in a stand or Styrofoam block.
- Repeat the above steps until all of your cake balls are on sticks and have been coated and decorated. Your coverings should only take 10-15mins to set at room temperature or in the fridge, then enjoy!
Notes
Nutrition
Nutritional information is an estimate based on an online nutritional calculator, actual values may vary.
Looking for some sweet inspiration? Subscribe to our newsletter for regular updates on tasty treats, tips and more!
Sharing is caring:


Comments
No Comments