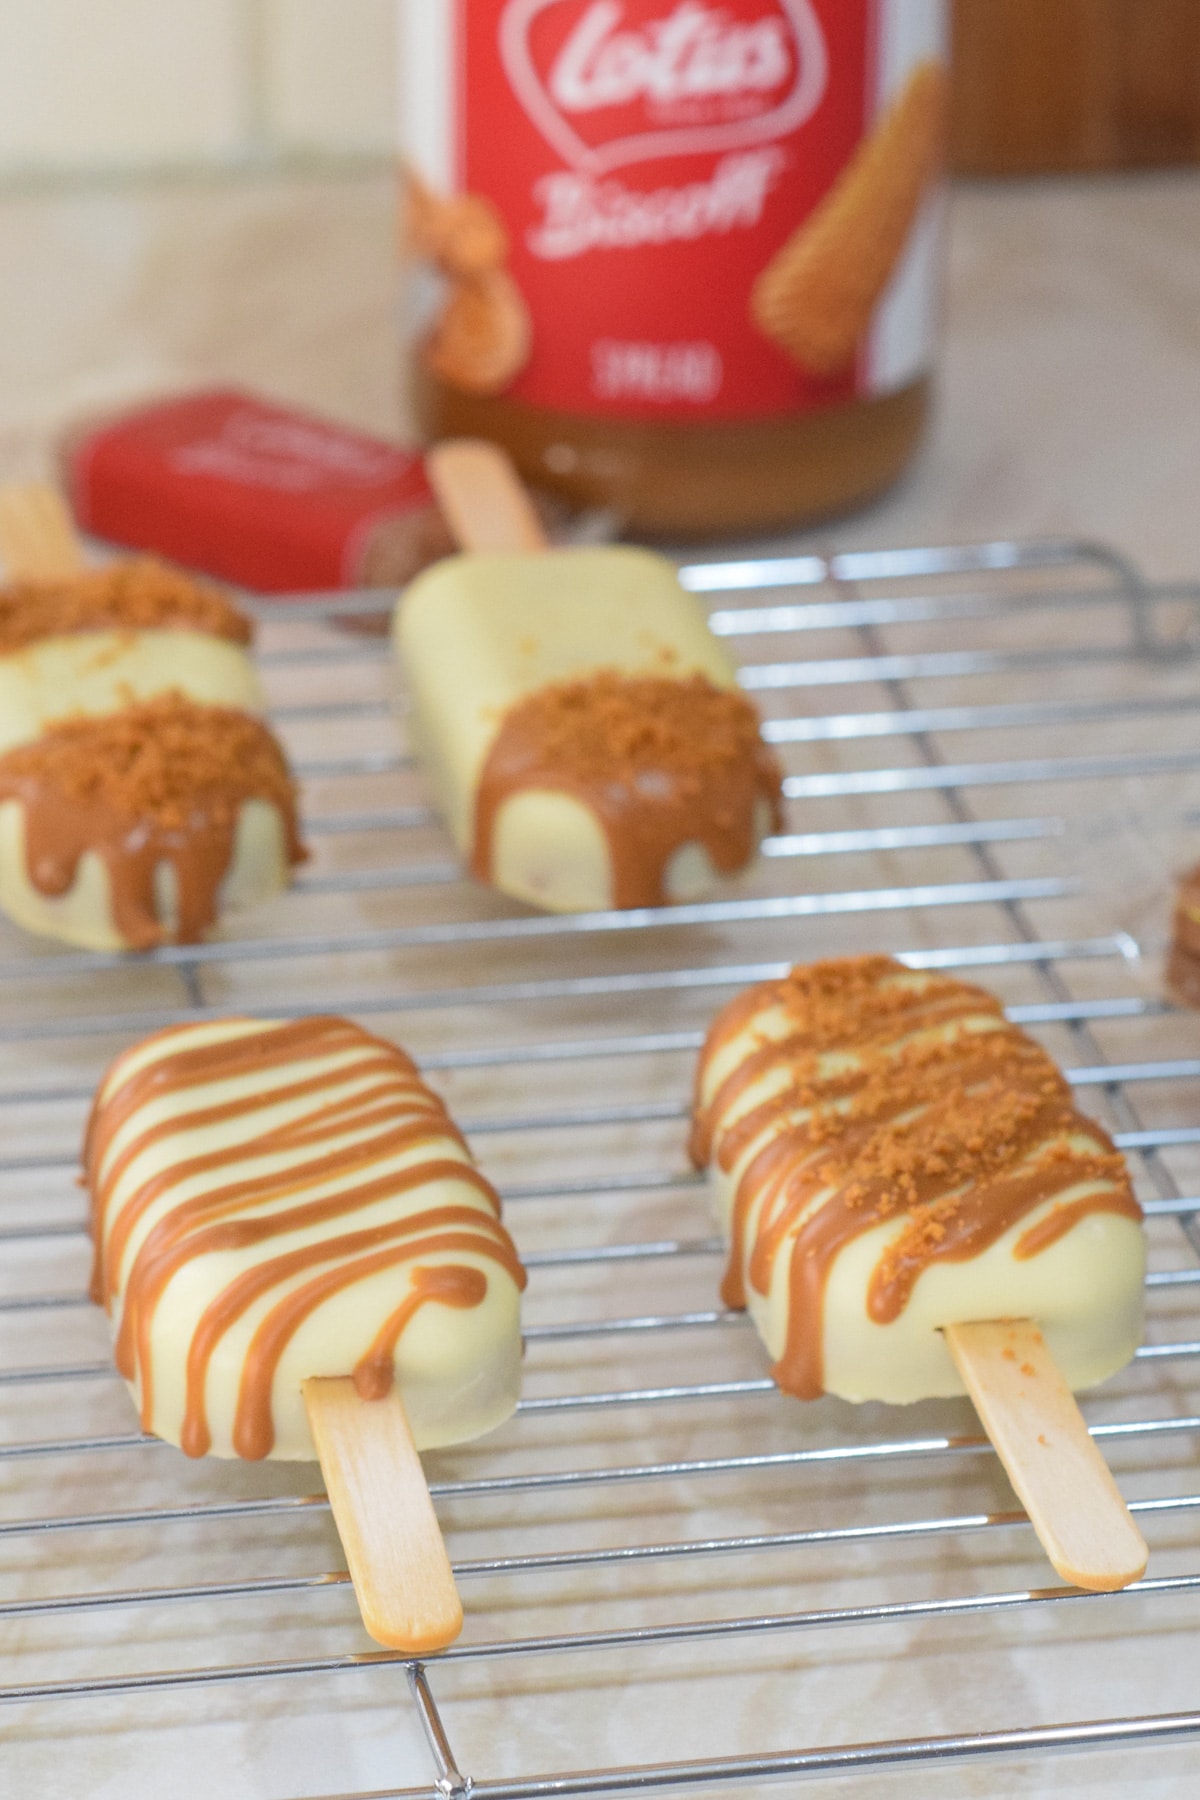
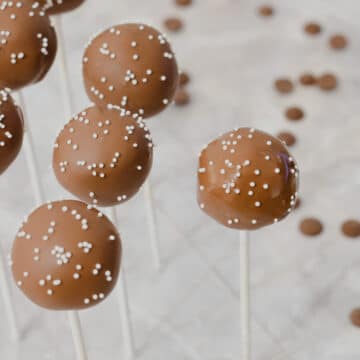
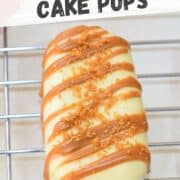
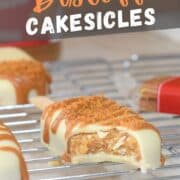
These Lotus Biscoff Cakesicles are party-perfect biscoff cake pops coated in white chocolate and shaped like mini popsicles!
Jump to:
✏️ Why you'll love this recipe
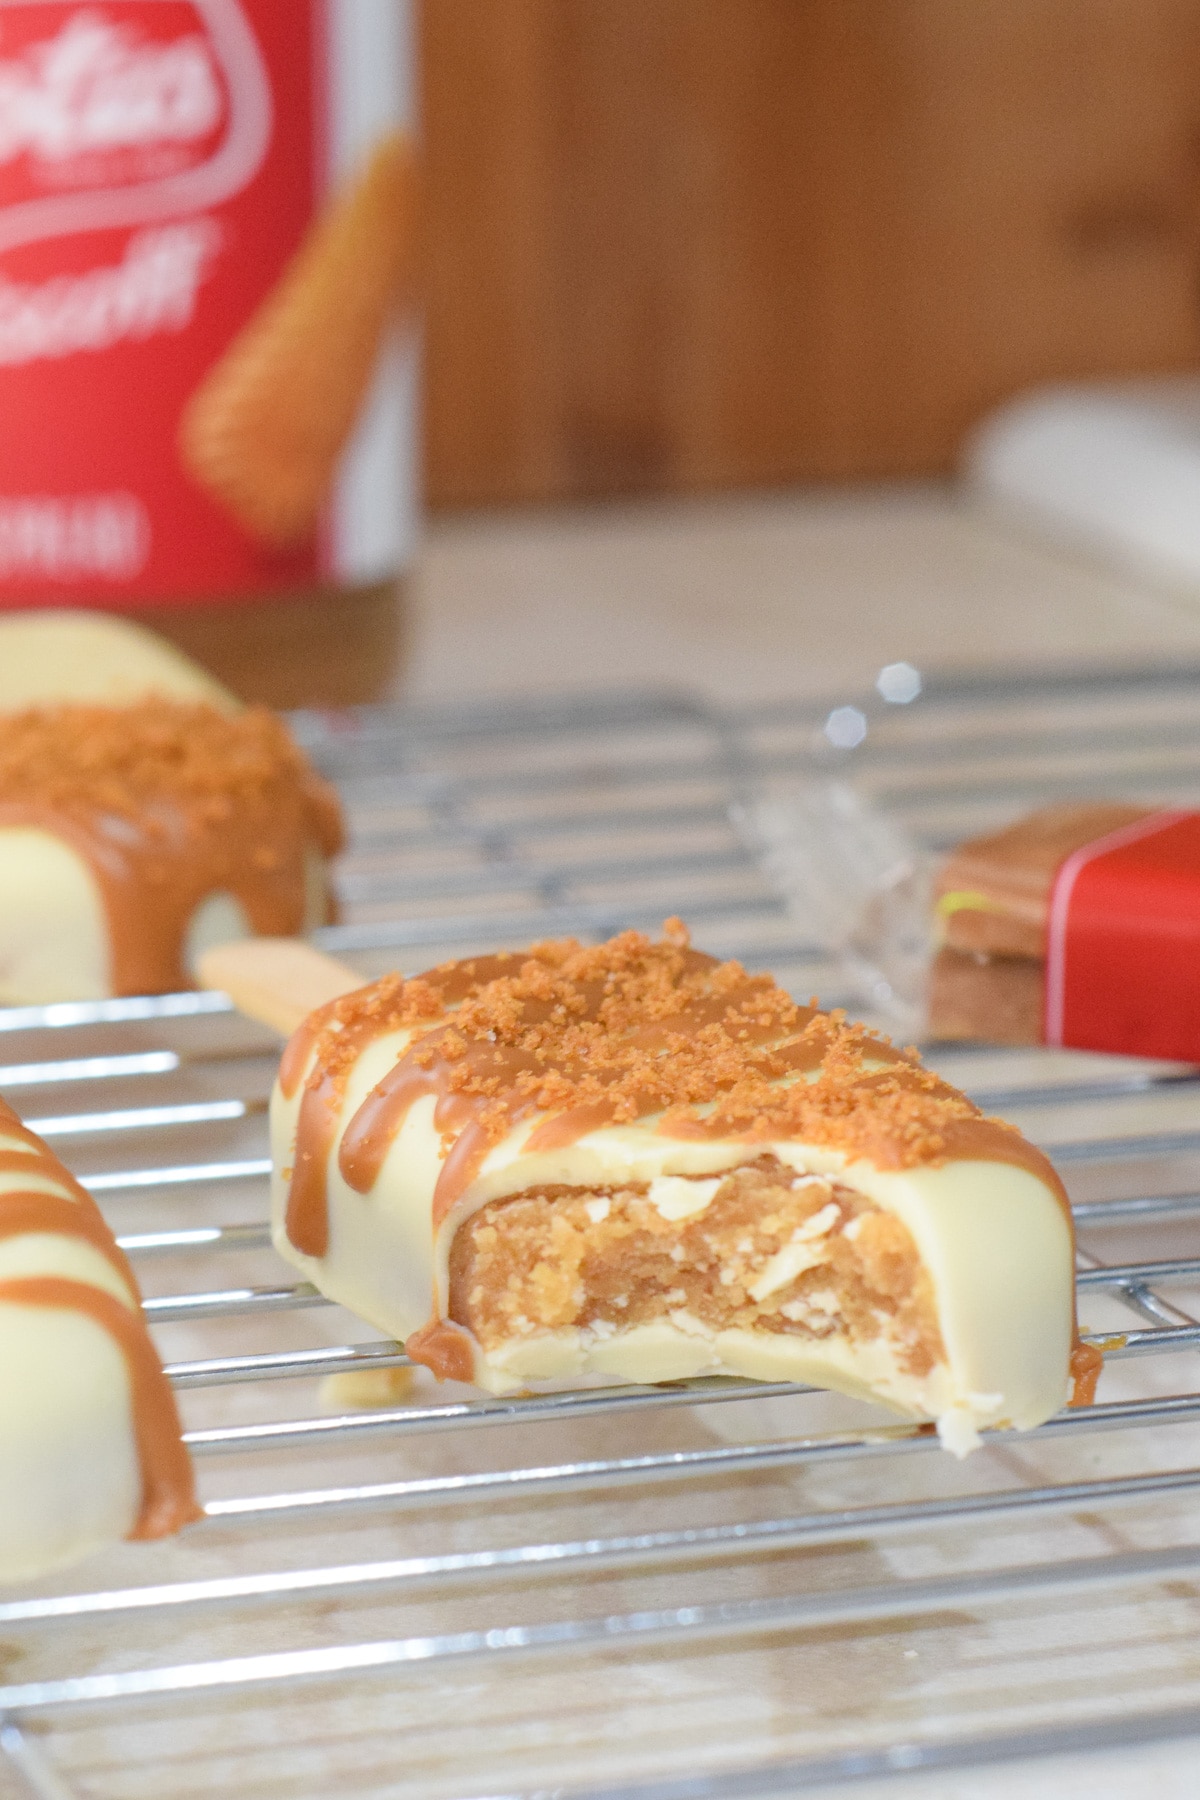
They may look like little ice lollies, but these best biscoff cake pops are actually Lotus Biscoff cakesicles! They have a creamy white chocolate shell and are filled with a sweet brown sugar sponge mixed with Biscoff spread.
Biscoff cakesicles are great gifts and the perfect single-serving size for dessert tables at birthday parties, potlucks, BBQs and picnics. They're a popular kid-friendly treat great for special occasions and entertaining.
This recipe is for making biscoff cakesicles from scratch. This means it includes the recipe for the sponge cake as well as the cakesicle assembly and decoration.
You can also use offcuts from my Lotus Biscoff Birthday cake to make them. Check out the FAQs for how to make biscoff cakesicles from leftover cake.
🥘 Ingredients
This lotus biscoff cakesicles recipe calls for the following ingredients:
Cake for cakesicle filling
- Unsalted butter: room temp. for ease of mixing.
- Light brown soft sugar
- Egg: large size, room temperature for ease of mixing.
- Plain all-purpose flour: sieve for a smooth cake batter.
- Baking powder: check the expiration date before use and sieve for a smooth cake batter.
- Vanilla extract: use extract or paste rather than essence for the best flavour.
- Milk: semi-skimmed or full-fat milk.
- Salt
Cakesicle filling
- Lotus Biscoff spread: smooth or crunchy variety.
Cakesicle coating
- White chocolate: from the baking aisle for ease of melting.
See the recipe card for quantities.
Top tip: For accuracy, it's best to weigh your ingredients rather than using cups.
♻️ Substitutions / Variations
Ingredient substitutions
This recipe calls for caramelised Lotus Biscoff cookie butter spread. I like to use the smooth biscoff spread but the crunchy variety would be just as delicious for your biscoff cake pop filling.
You can swap biscoff spread for any other cookie butter, speculoos spread or biscuit spread of your choice.
I usually use plain all-purpose flour in this recipe, but alternatively, you can swap this for self-raising flour of the same quantity and exclude the baking powder.
You can swap the white chocolate cakesicle coating for white candy melts (candy buttons). If you're using candy melts, add a 2-4 teaspoon of oil (e.g. canola or vegetable oil) to your melted candy buttons. This will help loosen them up to a consistency closer to melted chocolate for a smooth candy coating!
Alternatively, you can use milk or dark chocolate for your coating for a different flavour.
Flavour options
You can customise your biscoff cakesicles to have different flavours. This recipe calls for a brown sugar sponge cake mixed with Lotus Biscoff spread, but you can instead use a plain vanilla sponge from scratch or from a boxed cake mix.
For a flavour twist, try using a chocolate sponge (like from my Oreo drip cake recipe) or banana walnut sponge cake instead.
For these cake recipes, you can scale down the sponge to only 1 egg's worth specifically to make cake pop popsicles.
You can also increase the biscoff flavor by adding a few tablespoon of crushed biscoff biscuits to your cakesicle filling mix!
📖 Method
Cake for filling
- Pre-heat oven: 180°C / 160°C (fan) / Gas Mark 4 / 350°F
- Cream together the butter and sugar until pale and smooth, then beat in the egg until fully combined.
- Sieve in the flour and baking powder, folding in gently. Then stir in the vanilla extract and milk until only just combined.
- Pour the cake batter into a lined 6inch round cake tin and bake for 15-20mins until springy to touch and a skewer comes out clean.
- Allow the cake to cool in the tin for 10mins before removing from the tin and transferring to a wire rack to finish cooling (roughly another 30mins).
Cakesicle filling
- Crumble up your cooled sponge into a large bowl, either using your hands or a fork.
- Using a fork or spatula, thoroughly mix in the biscoff spread to the crumbled cake until fully combined. Your cakesicle filling should be able to hold together like a soft dough.
Cakesicle assembly
- In a heatproof bowl, slowly melt ⅔ of the white chocolate in the microwave for 20secs at a time, stirring between bouts until smooth.
- Using a teaspoon, spoon a small amount the melted chocolate into each of the popsicle moulds. Gently spread out the chocolate, with a small spoon or food-safe brush, ensuring you cover the sides up to the edges. Tap your mould on the surface a few times to remove any air bubbles.
- Push the popsicle sticks partway into the moulds (about ½ inch / 1-2 cm), then put in the fridge for 10mins to set.
- Optional step: brush any of the remaining ⅔ of melted white chocolate in the edges and up the sides of your popsicle mould to reinforce the chocolate shell. Let this set in the fridge for another 5mins.
- Take the moulds from the fridge and fill them with cakesicle mix to just below the edges, pressing in gently to smooth the top.
- Push the popsicle sticks in until they sit roughly ⅔ of the way into the mould, pressing the cakesicle mix down if needed. Put the moulds back in the fridge.
- In a heatproof bowl, melt the remaining ⅓ of white chocolate in the microwave, 20secs at a time, stirring until smooth.
- Remove the moulds from the fridge and spoon the melted chocolate over them, covering the cakesicle mix completely.
- Place your moulds back into the fridge for 10mins or until set, then carefully pop each cakesicle out of the mould. Run a sharp knife around the edges to clean up the sides if needed.
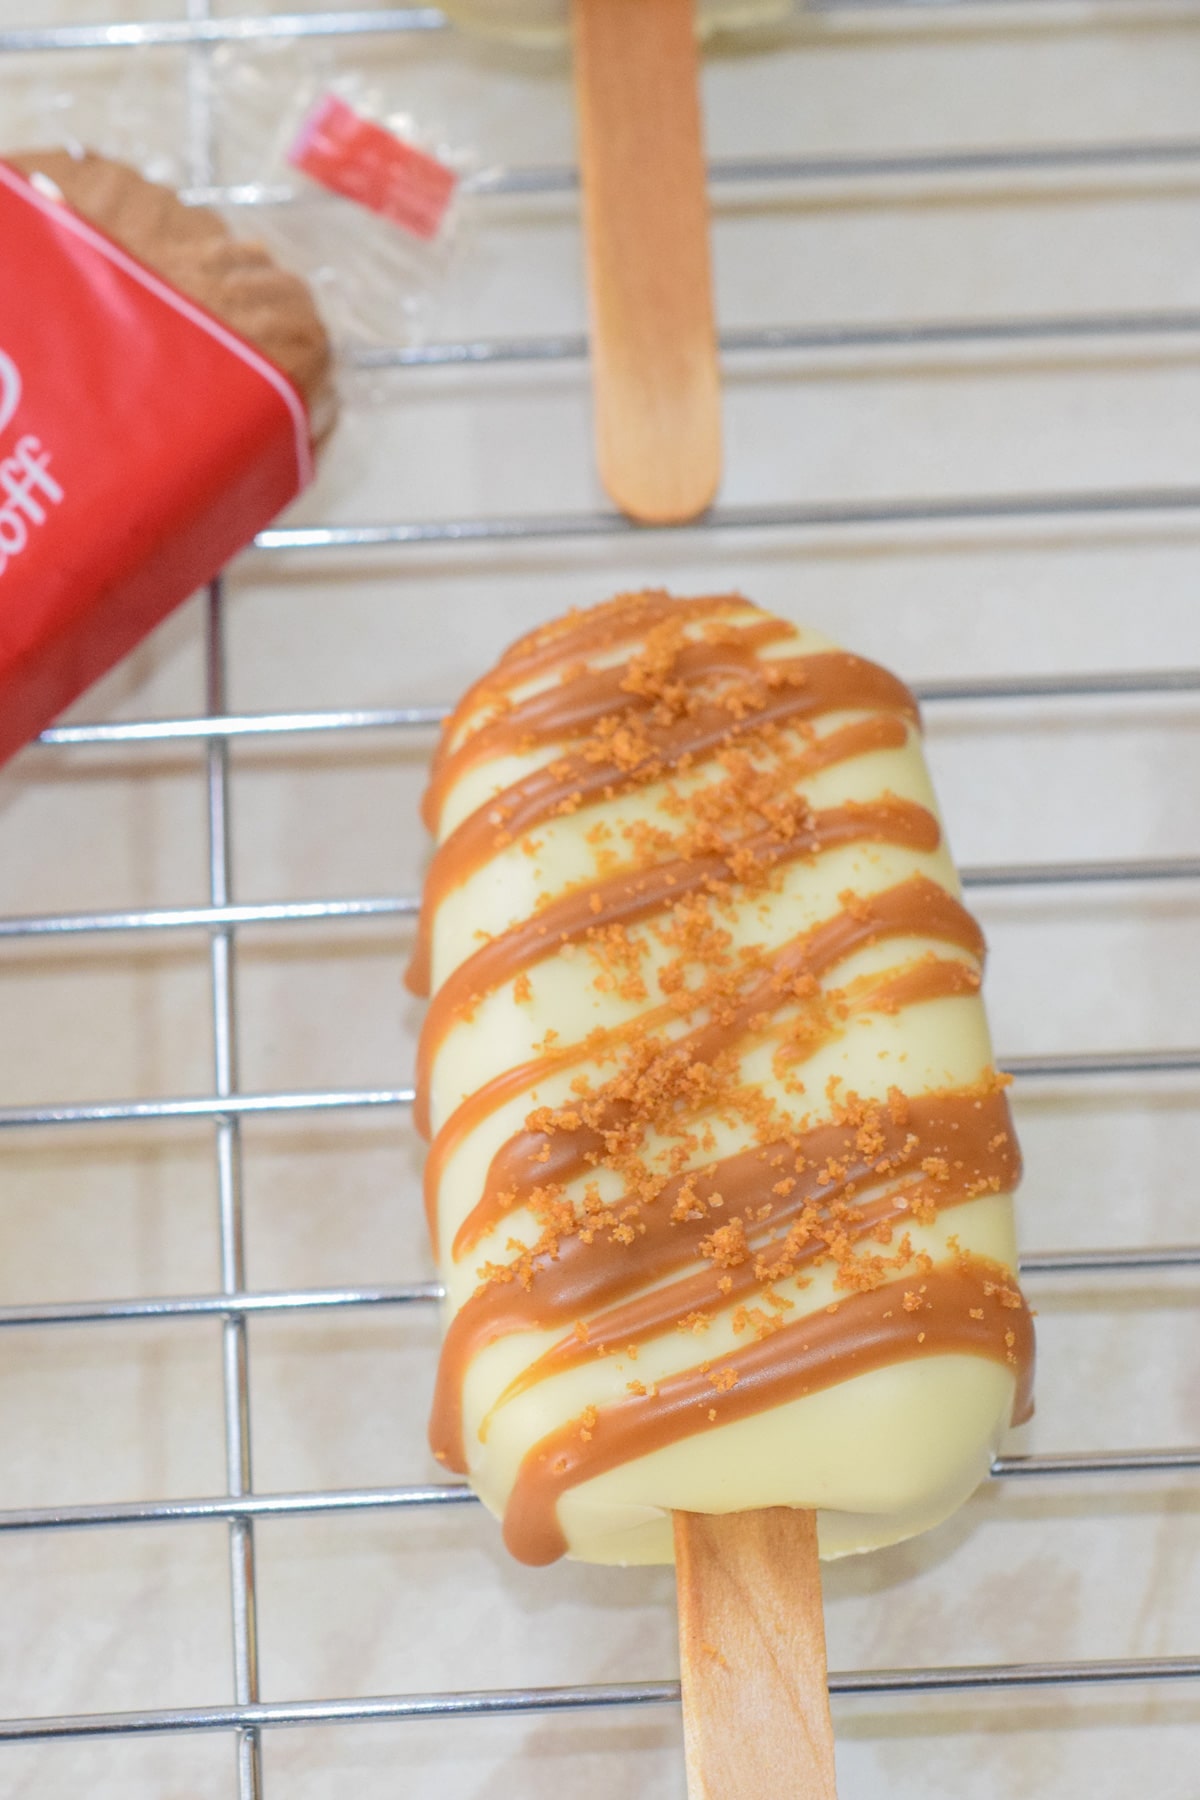
- Add any optional decorations to the top of your cakesicles, such as a drizzle of warmed biscoff spread (microwave for 10secs) and crushed biscoff cookies.
💭 Top tips
- Melt your chocolate slowly in 15-second bursts so it doesn't burn. It's better to melt your chocolate using a double boiler if you can, but I find the microwave method works well.
- Place your silicone cakesicle moulds on a cookie sheet or chopping board to keep them flat and steady.
- Having enough popsicle moulds makes it easier and quicker to make your biscoff cakesicles. Treat yourself to at least 2-3 moulds if they're the 4 cavity ones.
- Be generous with your chocolate shell coating in the cakesicle moulds. If it's too thin, then it could break easily (especially at the corners / edges) or come out with some see-through patches.
- When pushing your popsicle stick into the moulds after you've added the biscoff filling, lightly press the filling near the base as you wiggle the stick in. This will help stop the chocolate shell from breaking.
- Cakesicles can be delicate, so be careful when removing them from the moulds. It's best to slowly pop them out one at a time by holding the stick and peeling back the silicone from the other end.
- For a neater biscoff cakesicle, run a sharp knife around the edge after you've removed it from the mould. This will cut off any excess bits of chocolate.
🎂 Cakesicle decorating ideas
One of the best things about cakesicles is decorating them. It's great to get the kids involved! Go nuts with different shell colours, drizzles, toppings, sprinkles and more.
Cakesicle coating
You can use either candy melts or real chocolate for your cakesicle coatings. It's easier to work with candy melts as chocolate can be fussy and leave streaks if it's not melted slowly enough.
They come in a range of colours perfect for decorating and making your biscoff cakesicles fit a theme or holiday. Real chocolate does taste better though!
Cakesicle toppings
I like to decorate my biscoff cakesicles by drizzling warmed biscoff spread over the top before adding some crushed biscoff cookies to decorate.
Instead, you can try drizzle melted chocolate or caramel sauce over your biscoff cake popsicles. Try this salted rum dulce de leche sauce for an adult version of your biscoff cake pops!
Before your drizzles set, add toppings like colourful sprinkles or cookie crumbs. Press them in gently so they stay glued to your cake pops.
Popsicle sticks
I'm a big fan of using acrylic popsicle sticks for your biscoff cakesicles (or for cake pops too!). Unlike wooden popsicle sticks, they're reusable so great for saving money.
You can also get acrylic popsicle sticks in so many different colours and patterns. I'm a big fan of the glitter or mirrored sticks personally.
Once you've decorated your biscoff cakesicles, you can also finish them off by sticking on little satin bows to the sticks.
❔ Recipe FAQs
Your biscoff cakesicles should last for up to 5 days stored in an airtight container at room temperature. If it's hot where you live, store them in the fridge so the chocolate shell doesn't melt.
Unfortunately, I've found these don't freeze well, so best to enjoy them fresh!
Cakesicles are also called cake pop popsicles or cake lolly popsicles. They're similar to a traditional cake pop, but instead of a small round cake ball, you get a bigger dose in the form of a cute popsicle lolly.
To make cakesicles, you'll need a silicone popsicle mould. These can come in a variety of sizes and number of cavities. I have 2 sets of 4-cavity mini cakesicle moulds (popsicle molds) that I like to use. These have a lolly size of roughly 7cm x 3.5cm.
Cake popsicles usually have a chocolate or candy melts shell, which holds so much sweet cake-y joy. The filling is usually a mix of crumbled sponge cake and frosting or spreads. However, you can also fill them with cookie dough, brownies, or other great treats and fillings.
Simply crumble the cake offcuts / leftover sponge cake, weigh the amount that you have and then add in roughly ⅓ of this weight in biscoff spread and mix them together until smooth.
The amount of frosting or spread vs sponge you need can vary quite a lot, depending on how moist your sponge is and the consistency of your frosting or spread. Add enough frosting that your crumbled sponge comes together and holds its shape like a soft dough.
I find I need roughly 25 g (1½ tbsp) of cakesicle filling for each biscoff cakesicle that I make.
One thing I always do when I make a big layer cake is slice off the tops of the cakes. This gives them a nice level top and removes any peaks that may have formed. Don't throw these away! These offcuts of cake are perfect to use in this cakesicle recipe.
Store your cake offcuts or cake leftovers in an airtight container in the fridge for up 4 days before using them.
Alternatively, you can freeze the cake offcuts by wrapping them in plastic wrap (cling film) and a layer of foil for up to 2 months. Defrost them and use them in cakesicle recipes as normal.
Fro gluten-free biscoff cakesicles, swap the plain all-puropse flour in the recipe for a gluten-free 1:1 all-purpose blend.
The other ingredients in this cakesicle recipe should be gluten-free, but please be sure to check the label on your ingredients just in case.
🧁 Other goodies
Looking for more easy cake pop ideas?
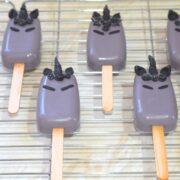
If you're after more cakesicle fun, check out these delicious dark unicorn cakesicles or spiderweb orange cakesicles.
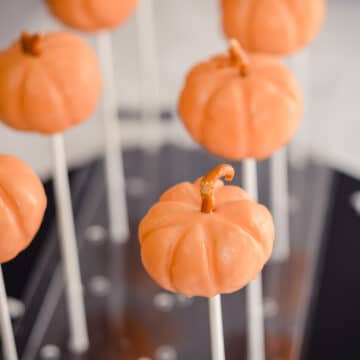
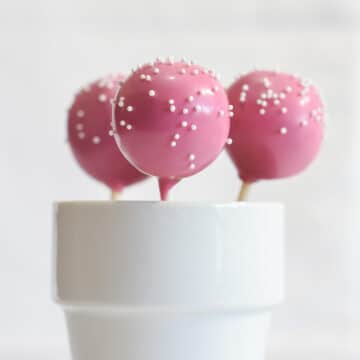
For some tasty cake pops, try these pumpkin-shaped cake pops, pink vanilla cake pops, homemade blue cake pops or ultimate chocolate cake pops - all perfect for birthday parties!
A biscoff lover? Then give these best biscoff dessert recipes a try:
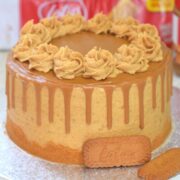
- Ultimate biscoff celebration cake - uses the best biscoff buttercream frosting!
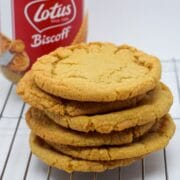
- Biscoff stuffed cookies
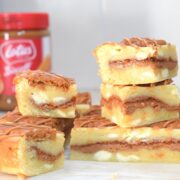
- Biscoff white chocolate brownies
Other related recipes:
Looking forward to some new recipes? Check out my Youtube, Facebook, Instagram and Pinterest pages for a few sneak peeks and some sweet inspiration!
Or if you'd like to hear about our latest recipes, why not subscribe to our newsletter?
📖 Recipe

Biscoff Cakesicles
Rate this recipe here:
Ingredients
Cake for filling:
- 55 g (¼ cups) unsalted butter room temp.
- 55 g (¼ cups) light soft brown sugar
- 1 egg
- 55 g (½ cups) plain all-purpose flour see notes for self-raising flour swap
- ½ teaspoon baking powder
- ½ teaspoon vanilla extract
- 1 tablespoon milk semi-skimmed or full-fat
Cakesicle filling:
- 50 g (¼ cups) biscoff spread plus extra for decorating
Cakesicle coating:
- 160 g (1 ¼ cups) white chocolate
Instructions
Cake for filling:
- Pre-heat oven: 180°C / 160°C (fan) / Gas Mark 4 / 350°F
- Cream together the butter and sugar until pale and smooth, then beat in the egg until fully combined.
- Sieve in the flour and baking powder, folding in gently. Then stir in the vanilla extract and milk until only just combined.
- Pour the cake batter into a lined 6-inch round cake tin and bake for 15-20mins until springy to touch and a skewer comes out clean.
- Allow the cake to cool in the tin for 10mins before removing from the tin and transferring to a wire rack to finish cooling (roughly another 30mins).
Cakesicle filling:
- Crumble up your cooled sponge into a large bowl, either using your hands or a fork.
- Using a fork or spatula, thoroughly mix in the biscoff spread to the crumbled cake until fully combined. Your cakesicle filling should be able to hold together like a soft dough.
Cakesicle assembly:
- In a heatproof bowl, slowly melt ⅔ of the white chocolate in the microwave for 20secs at a time, stirring between bouts until smooth.
- Using a teaspoon, spoon a small amount the melted chocolate into each of the popsicle moulds. Gently spread out the chocolate, with a small spoon or food-safe brush, ensuring you cover the sides up to the edges. Tap your mould on the surface a few times to remove any air bubbles.
- Push the popsicle sticks partway into the moulds (about ½ inch / 1-2 cm), then put in the fridge for 10mins to set.
- Optional step: brush any of the remaining ⅔ of melted white chocolate in the edges and up the sides of your popsicle mould to reinforce the chocolate shell. Let this set in the fridge for another 5mins.
- Take the moulds from the fridge and fill them with cakesicle mix to just below the edges, pressing in gently to smooth the top.
- Push the popsicle sticks in until they sit roughly ⅔ of the way into the mould, pressing the cakesicle mix down if needed. Put the moulds back in the fridge.
- In a heatproof bowl, melt the remaining ⅓ of white chocolate in the microwave, 20secs at a time, stirring until smooth.
- Remove the moulds from the fridge and spoon the melted chocolate over them, covering the cakesicle mix completely.
- Place your moulds back into the fridge for 10mins or until set, then carefully pop each cakesicle out of the mould. Run a sharp knife around the edges to clean up the sides if needed.
- Add any optional decorations to the top of your cakesicles, such as a drizzle of warmed biscoff spread (microwave for 10secs) and crushed biscoff cookies.
Notes
- You can swap the plain all-purpose flour for self-raising flour and exclude the baking powder.
- You can swap the white chocolate chips for candy melts for easier melting.
- Use chocolate from baking aisle and melt it slowly (15-sec bursts) to prevent burning.
- Be generous with your chocolate shell coating in the moulds to prevent breaking or see-through patches.
- Lightly press down the filling near the base of the mould when pushing in the popsicle stick. This will help prevent the shell breaking.
- Pop your cakesicles from the moulds by holding the stick and gently peeling the silicone back from the end.
- Run a sharp knife around the edge after you've removed the cakesicle from the mould to cut off any excess chocolate.
- Depending on your cakesicle sizes, you may have some leftover cakesicle mix. If so, you may be able to make more cakesicles using extra chocolate, or you can just roll these into cake balls and eat them like truffles.
Nutrition
Nutritional information is an estimate based on an online nutritional calculator, actual values may vary.


Sandra Martin says
I'm confused by the conversion of your measurements from Grams to US customary, 55g says 1/4 cup on one line and 1/2 cups on another. Could you please clarify?
Kachina says
Hi Sandra, good question! This is because cups are a volume measurement not a weight. The size and density of the ingredients will give them different weights in the same size of measuring cup. The most accurate way to bake is using the ingredient weights (i.e. grams instead of cups). Happy baking!
Ash says
If I were to half this recipe to make 4 cakesicles, what kind of pan do you think I should bake in and for how long?
Kachina says
Hiya! It's difficult to half this recipe as you'd need to use half an egg. You can make the full cake sponge amount per the recipe then cut the cake in half and freeze the other half for future use instead. However if you wanted to, you could make the half recipe and bake the cake in a 4-inch cake tin or use cupcake cases, which should take 10-15mins bake time. Happy baking!
Shayla says
What white chocolate do you use? White chocolate always burns on me and never does right does the white candy melts taste just as good?
Kachina says
I use Callebaut White Chocolate (affiliate link, but it's my go to!). Alternatively use a good quality baking white chocolate (i.e. from the baking section of the supermarket), as these have stabilisers in to help with the melting process. White chocolate bars that you'd eat are more likely burn. Sadly white candy melts aren't as tasty as white chocolate, but they're still a good alternative and super easy to melt. Happy baking!
Mihaela | https://theworldisanoyster.com/ says
Wow, I know a little helper who would love to make them! And I would love to eat what they make!! Haha
Sweet Mouth Joy says
Thanks Mihaela! They're perfect for little helpers to have fun in the kitchen. Happy baking!
Sandra Ans says
Wooooooow, I have never heard about ''Cakesicles'' but they look so amazingly good and delicious!!!! Thanks for posting this recipe and all the tips!
Helen Story says
You had me at Biscoff! These are gorgeous, I can imagine these pretty little cakesicles fitting so many occasions. Biscoff spread is my weakness, I love it in and on everything. Or even just out of the jar as it comes, haha.
Sweet Mouth Joy says
Oh I love it straight out of the jar too! Wayyy too addictive. Happy baking!