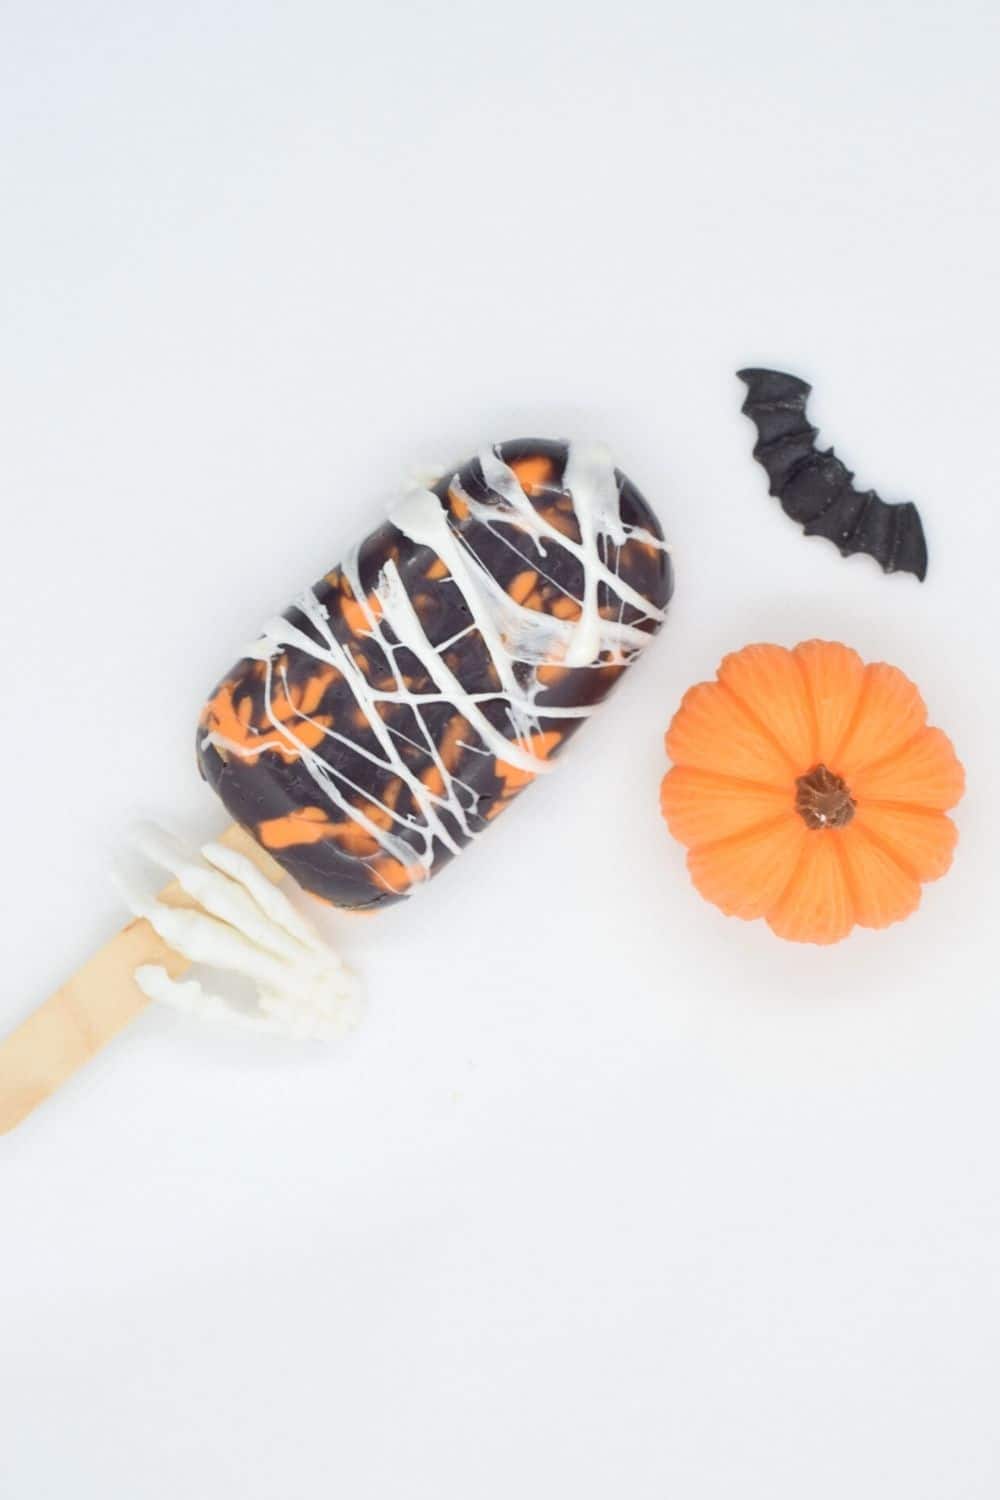
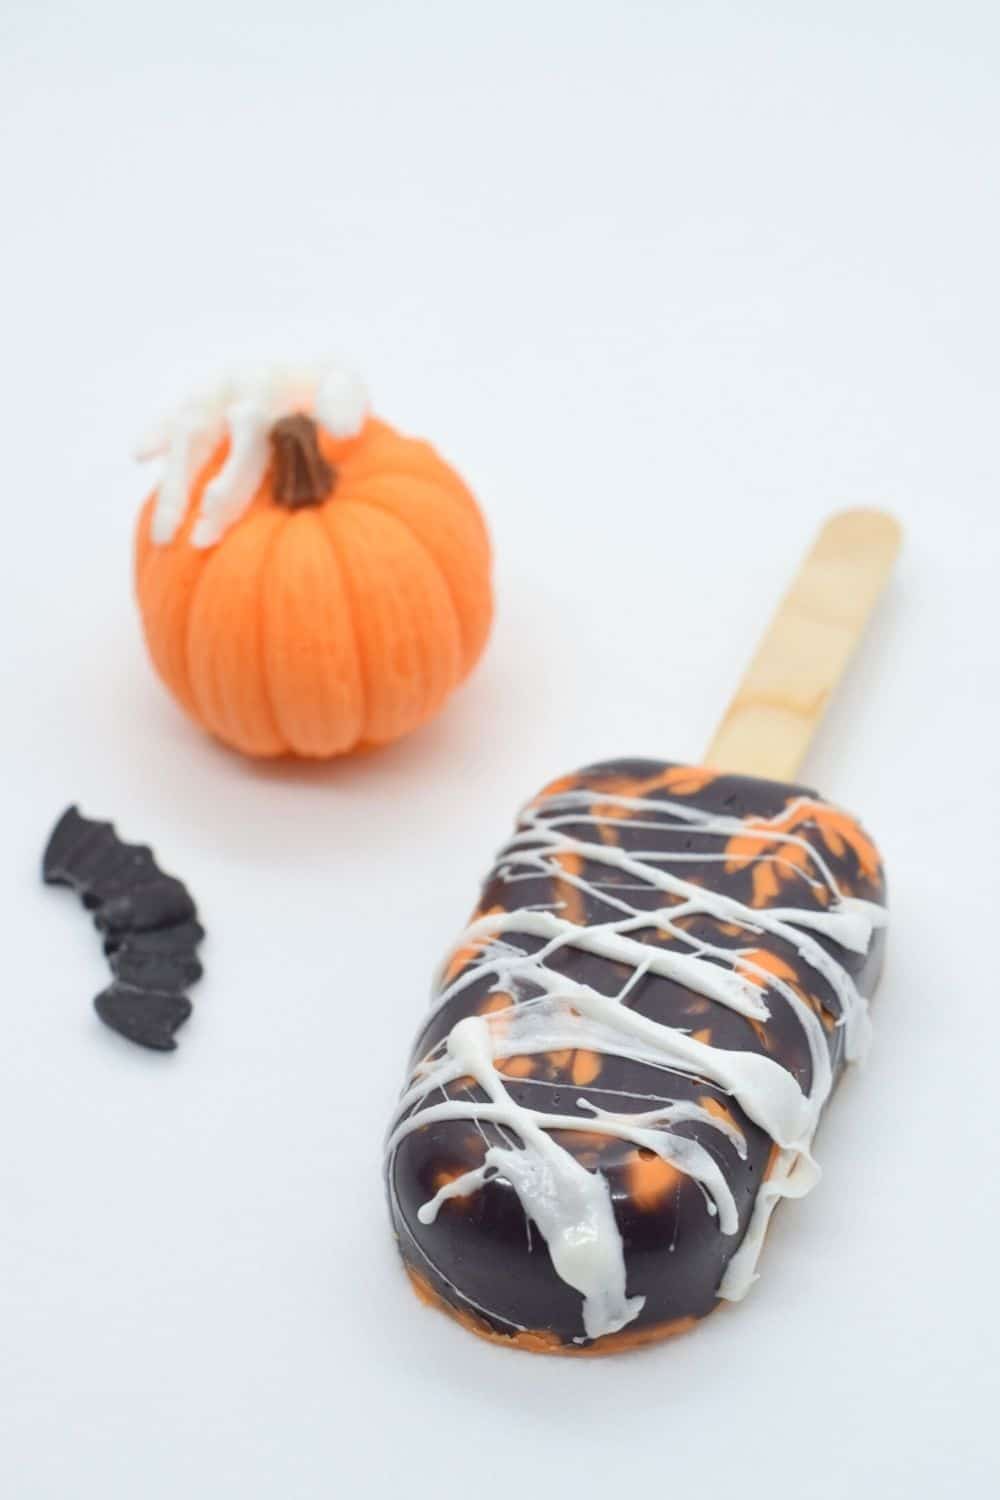
I love a cakesicle, and these spooky spiderweb marbled orange cakesicles are no exception!
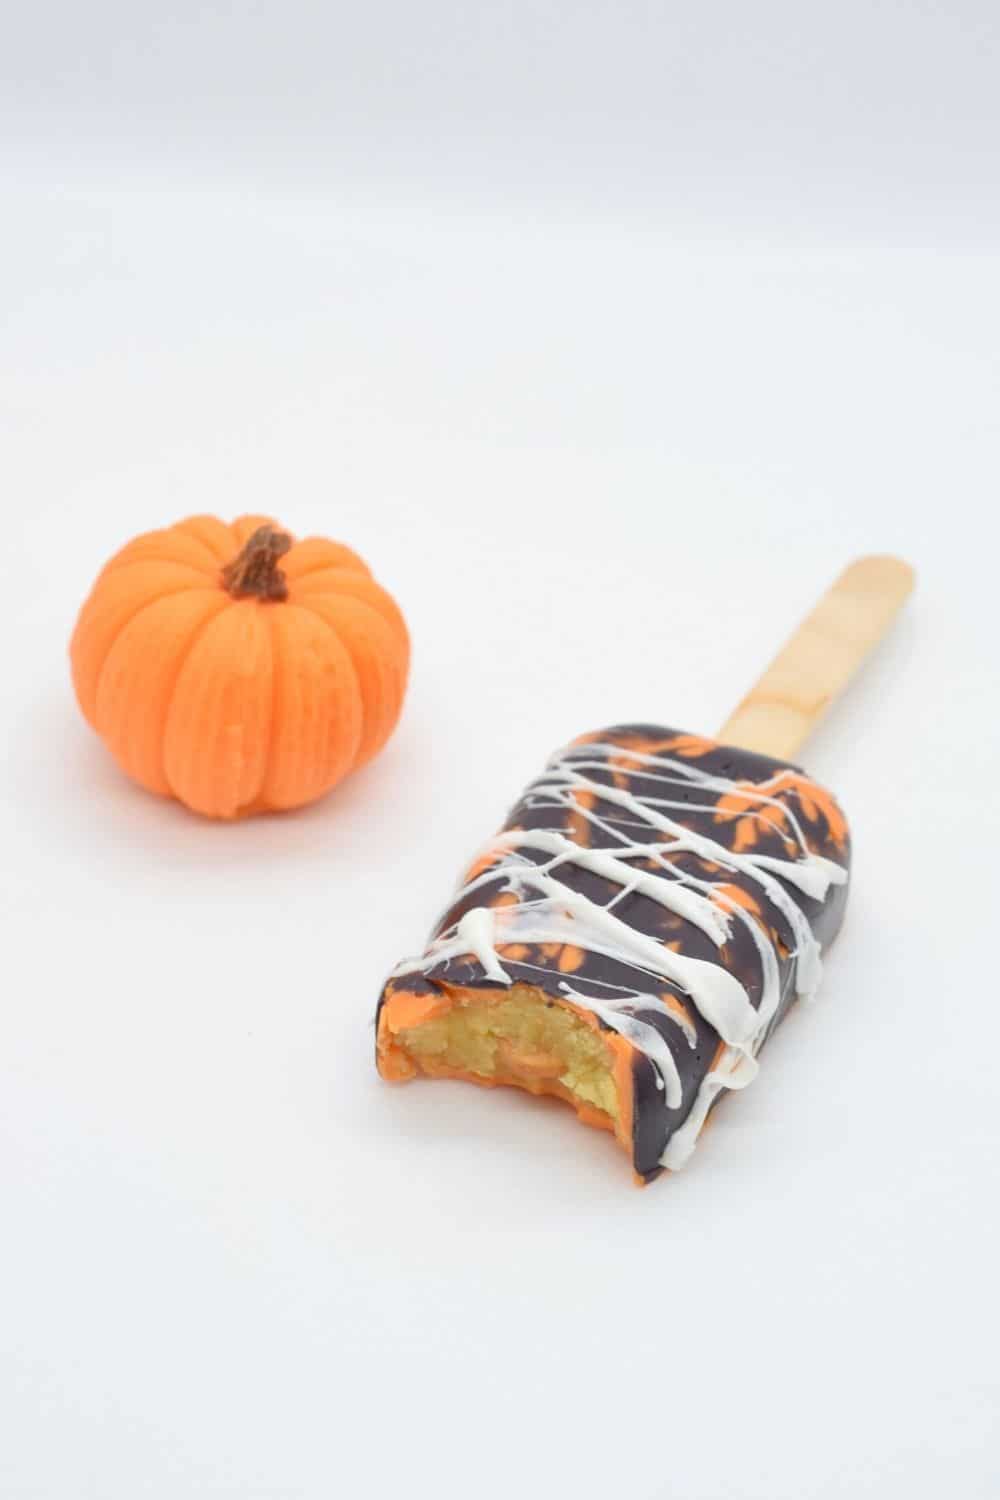
Wrapped in deliciously scary marshmallow webs, these cake pops have an orange-flavoured candy melt shell in a marbled design and are filled with an orange cakesicle mix of sponge cake and buttercream – so zesty and delicious.
Jump to:
🍭 What is a cakesicle?
Cakesicles are also called cake popsicles or cake lollies. They’re a gorgeous upgrade on your standard cake pop, but instead of a small round ball of cake, you get a bigger dose in the form of a cute popsicle lolly. I always think they look like mini Magnum ice creams!
To make cakesicles, you'll need a silicone ice lolly mould. These can come in a variety of sizes and number of cavities. I have 2 sets of 4-cavity mini cakesicle moulds (popsicle molds) that I like to use. These have a lolly size of roughly 7 x 3.5cm.
Cakesicles usually have a chocolate or candy melts shell, which holds so much sweet cake-y joy. The filling is usually a mix of crumbled sponge cake and frosting. However, you can also fill them with cookie dough, brownie, or other great treats and fillings.
I love how creative you can get with what flavours and fillings you use and your cakesicle decorating ideas.
✏️ Recipe creation
These spiderweb orange marbled cakesicles are perfect for Halloween, but I also make them out of the spooky season too!
I love the orange and marshmallow flavour combination, and I like to think you can enjoy them year-round. They’d make great sweet treats for parties and celebrations.
This recipe is to make fun Halloween cakesicles from scratch. This means it includes a recipe for the sponge cake and buttercream as well as the cakesicle assembly and decoration.
However, you can also make these spooky cakesicles using leftover cake and/or frosting. This will speed up the process as it means you can skip straight to the cakesicle filling mixing stage.
🎂 Using spare cake and frosting
How to use sponge cake leftovers for cakesicles
Simply crumble the cake offcuts / leftover sponge cake, weigh the amount that you have and then add roughly ⅓ of this weight in frosting in mix together until smooth and the mix sticks together.
The amount of frosting to sponge you need can vary quite a lot though, depending on how moist your sponge is and the consistency of your frosting. As a general rule, you want to add enough frosting that your crumbled sponge comes together and holds its shape like a paste or dough.
I find I need roughly 25 g (1½ tbsp) of cakesicle filling for each mini cakesicle that I make. This will be less if you are putting other fillings inside your cakesickle such as lemon curd, jam, peanutbutter or ganache.
For 8 cakesicles, I usually use roughly 1 cup (185g) of cooked sponge.
One thing I always do when I make a big layer cake is slice off the tops of the cakes. This gives them a nice level top and removes any peaks that may have formed. Don’t throw these away! These offcuts of cake are perfect to use in any cakesicle or cake pops recipe.
You can store your cake offcuts or other cake leftovers for up to a week in the fridge or a couple of months in the freezer before using. Defrost your sponge cake before use by moving it to the fridge at least a day before making your cakesicles.
How to use frosting leftovers for cakesicles
For 8 cakesicles, I usually use roughly ¼ cups (60g) of buttercream or frosting, depending on the moistness of the sponge you’re using.
When I make buttercream, icing, ganache or any frosting really, I’ll usually scale up my ingredients slightly to use the extra for cakesicles. This really gives so many more flavour choices ready to go when you want to make a batch of cakesicles or cake pops.
You can store your frosting in a sealed container in the fridge for roughly a week and in the freezer for a couple of months before using. Defrost your frosting before use by moving it to the fridge at least a day before.
🥘 Ingredients notes
- As with many of my baking recipes, I recommend starting with room temperature ingredients for these cakesicles. This will improve the consistency and ease at which your ingredients will mix together.
- Always sieve your flour, confectioners sugar and baking powder. I used to be a bit lazy and skip this part, but it really makes such a difference to get you smooth, lump-free mixtures.
- When measuring your ingredients, I always recommend using weights rather than cups where possible for greater accuracy. Accuracy is especially important for the amount of flour used in your cake.
♻️ Substitutions / Variations
Cakesicle flavors
You can customise your cakesicles to have different flavours. Here I’ve created an orange-flavoured cakesicle, but I also find that a lemon version is delicious too.
For an easy lemon-flavoured cakesicle, simply add ½ lemon’s zest to your cake mixture before baking and add ½ lemon’s zest and 1 tablespoon of lemon juice to your buttercream, removing the orange extract from the recipe.
Alternatively, for a super easy swap, you can replace the orange extract in the recipe below for the same amount of lemon extract.
Cakesicle shell coating
You can use either candy melts or real chocolate for your cakesicle shells / coatings. I find it easier to work with candy melts as sometimes chocolate can be tricky and leave white streaks if it’s not melted slow enough.
However, I think real chocolate tastes better than candy melts. If you use a fancy couveture chocolate, such as these Callebaut white chocolate or milk chocolate callets, then you don't need to temper your chocolate. It's much easier to use these for cakesicle coatings than other types of chocolate.
Chocolate also requires a powder or oil-based food colouring to change the colours, as regular water-based colourings will cause it to seize up. Whereas candy melts are usually available in a wide range of colours. Here I’ve used orange candy melts and black candy melts to swirl into a marbled pattern, but you can choose any two or three colours you’d like!
Gluten-free option
For a gluten-free option, simply swap the plain / all-purpose flour in the cake sponge recipe for a gluten-free flour blend of the same quantity.
I usually recommend a good one-to-one pre-mixed blend such as King Arthur's measure for measure flour or Freee from Doves Farm.
Be sure to check that the other ingredients you are using are definitely gluten-free though, as some of these may be subject to cross-contamination.
🔪 Equipment notes
- I like to use digital scales for weighing my ingredients as it's easier and more accurate than other scales.
- Use measuring spoons for your teaspoon and tablespoon amounts where possible. Be sure to level off the heaped ingredients in your scoops before adding them to your mix.
- Having several cakesicle moulds is much easier than having just the one. I’d recommend splashing out and buying at least 2 moulds if they’re just the 3 or 4 cavity moulds.
- Make sure your cakesicle moulds are clean and dry. I have this tea towel I use to dry my washing up (I know, so old school), but it can sometimes get fluff on my silicone moulds so I use kitchen roll instead. The fluff would get set into my cakesicle chocolate or candy melt shells otherwise!
- If you like cake popsicles (or even regular popsicles), I recommend investing in some reusable acrylic popsicle sticks to save on using disposable wood popsicle sticks. You can get them in a range of cute colours and sparkles!
🍱 Storage
You can store your cakesicles at room temperature in an airtight container (such as a tupperware box). They should keep fresh for up to 4 days.
If it's hot where you live, it might be better to keep your cakesicles in the fridge, as otherwise the candy coating might melt.
💭 Top tips
- Be quite generous with your chocolate or candy melt coating in the cakesicle moulds. If it’s too thin, then it could break easily or come out with some see-through patches. You can even go over the sides and corners twice with candy melts/chocolate to give them extra coverage and strength.
- You’re cakesicles can be quite delicate, so be careful when removing them from the cakesicle mould. Pop them out one at a time and slowly.
- Once you’ve removed your cakesicle from the mould, you can run a sharp knife around the edge. This will cut off any excess bits of chocolate / candy melts and neaten up your cakesicle.
- When making the spiderwebs, it’s best to work quickly. When your marshmallows are fresh out of the microwave, they have more stretch and are much easier to work with. As the marshmallow cools, it will become more brittle and be more like to snap rather than wrap beautifully around your cakesicles.
Troubleshooting
If you’ve got any specific questions on making your spiderweb marbled orange cakesicles, please feel free to leave a comment below and I’ll try my best to help out!
Alternatively, you can get in touch via my Facebook, Instagram or Pinterest – I’d love to hear from you!
🧁 Other goodies
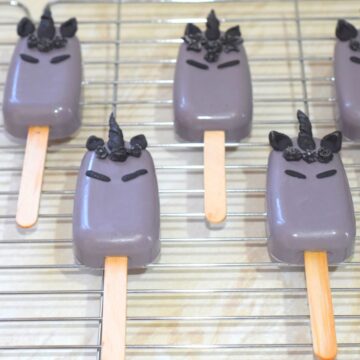
Big fan of spooky delights? Check out my recipe for cute and creepy unicorn cakesicles and pumpkin cake pops. You can also look at this list of the best ever Halloween cake pop recipes.
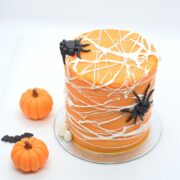
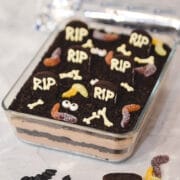
Or for scarily delicious cakes, why not try this spiderweb orange and vanilla mini cake, chocolate and tahini poorly pumpkin patch cake or Halloween graveyard dirt cake.
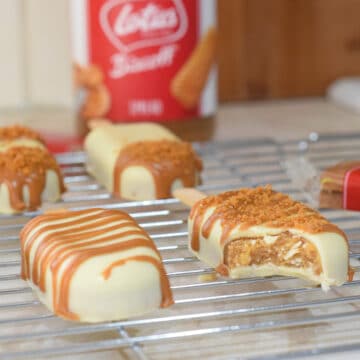
If you’re looking for alternative cake and frosting recipes to use for your cakesicle fillings, then definitely take a look at my Lotus Biscoff drip cake or Oreo drip cake. You can scale down the sponge to only 1 egg’s worth and roughly 20g / 1½ tablespoon of butter’s worth of buttercream. Or simply make these big cakes and use any leftover or offcuts for your next batch of cakesicles!
Other related Halloween recipes:
Looking forward to some new recipes? Check out my Facebook, Instagram and Pinterest pages for a few sneak peeks and some sweet inspiration!
Or if you’d like to hear about our latest recipes, why not subscribe to our newsletter?
📖 Recipe
Spiderweb Marbled Orange Cakesicles
Rate this recipe here:
Ingredients
Cake for filling:
- ¼ cups (55 g) unsalted butter
- ⅓ cups (55 g) caster sugar
- 1 egg
- ½ cups (55 g) plain flour (or self-raising flour and exclude the baking powder)
- ½ teaspoon baking powder
- ½ teaspoon vanilla extract
- 1 tablespoon milk
Buttercream for filling:
- 1 ½ tablespoon (20 g) unsalted butter
- ⅓ cups (40 g) confectioners sugar (icing sugar)
- ½ teaspoon orange extract
Cakesicle coating:
- 2 tablespoon (25 g) candy melts (black)
- ⅔ cups (135 g) candy melts (orange)
- ½ teaspoon orange extract
- 2-3 tablespoon vegetable oil (or sunflower or canola oil, see notes)
Spiderweb decorations:
- 1-2 marshmallows (large)
Instructions
Cake:
- Pre-heat oven: 180°C / 160°C (fan) / Gas Mark 4 / 350°F
- Cream together the butter and sugar until smooth, then beat the egg until fluffy and add this into the mix, beating until combined.
- Sieve in the flour and baking powder, folding in gently. Then stir in the vanilla extract and milk.
- Pour the mix into a lined cake tin and bake for 15-20mins until springy to touch and a skewer comes out clean. Allow to cool on the side while you make the buttercream.
Buttercream:
- Cream the butter in a bowl using a spatula or wooden spoon until smooth.
- Sieve the icing sugar into the butter and beat together until fully combined.
- Add in the orange extract and stir together until mixed in evenly.
Cakesicle filling:
- Crumble up your cooled sponge into a large bowl, either using your hands or a fork.
- Mix in the buttercream until spread evenly. Your cakesicle filling should be able to hold together like a soft dough.
Cakesicle assembly:
- Melt the black candy melts in the microwave for up to 30secs at a time, stirring between bouts until smooth. Add in 1 teaspoon of oil and stir until combined.
- Using a teaspoon, spoon a small amount the melted black candy into each of the moulds and create swirls across the bottom using the tip of the spoon.
- Melt the orange candy melts in the microwave (up to 30secs at a time), stirring between bouts until smooth. Add the remaining oil and the orange extract, stirring until you have a smooth melted candy.
- Spoon ⅔ of the melted orange candy into the moulds carefully over and around the black candy swirls. Gently spread out the orange candy, with a spoon or brush, ensuring you cover the sides up to the edges. Tap your mould on the surface a few times to remove any air bubbles.
- Push the popsicle sticks partway into the moulds (about ½ inch / 1-2 cm), then put in the fridge for 5-10mins to set.
- Take the moulds from the fridge and fill them with cakesicle mix to just below the edges, pressing in gently to smooth the top.
- Push the popsicle sticks in until they sit roughly ⅔ of the way into the mould, pressing the cakesicle mix down if needed. Put the moulds back in the fridge.
- If needed, reheat the remaining orange candy melts in the microwave (15-30secs) to give a smooth melted candy and then remove the moulds from the fridge and spoon the candy melts over them, covering the cakesicle mix completely.
- Place back into the fridge for 5-10mins, then carefully pop each cakesicle out of the mould. Run a sharp knife around the edges to clean up the sides if needed.
Spiderweb decorations:
- Microwave your marshmallows for 15-20secs and then using your fingers pick up a pinch, spreading your fingers wide to create long strands of marshmallow. Wrap this around your cakesicle several times and repeat for each cakesicle.
Notes
- The amount of oil that you add to your candy melts will depend on the brand of candy melt that you use. You should add enough oil to give your melted candy melts the consistency just thicker than melted chocolate.
Nutrition
Nutritional information is an estimate based on an online nutritional calculator, actual values may vary.
Looking for some sweet inspiration? Subscribe to our newsletter for regular updates on tasty treats, tips and more!





Comments
No Comments