This easy old-fashioned Coconut Ice is deliciously creamy, yet so simple to make. It's a one-bowl, no-bake, 3-ingredient coconut ice recipe, perfect for a homemade gift idea.

Jump to:
✏️ Why you'll love this recipe
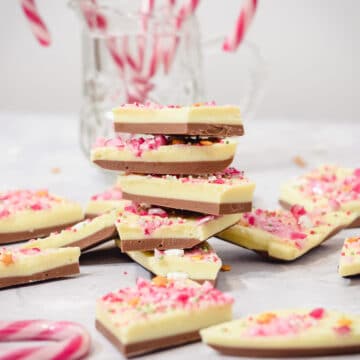
Homemade coconut ice is a soft, decadent childhood favourite. It's one of my best old-fashioned sweets, with classic pink and white layers.
This quick recipe is for a 3-ingredient no-bake candy, with no microwave needed. It's made with sweetened condensed milk, coconut and powdered sugar - basic ingredients for cubes of coconut bliss!
Coconut ice is the perfect festive homemade edible gift for Christmas or Valentine's Day. It also lasts up to 3 weeks in the fridge, so it's great to make ahead and keep.
🥘 Ingredients

This coconut ice recipe calls for the following ingredients:
- Powdered icing sugar
- Sweetened condensed milk: e.g. Carnation brand.
- Desiccated coconut: unsweetened shredded coconut.
- Pink food colouring: optional for the two-layer design.
See the recipe card for quantities.
Top tip: For accuracy, it's best to weigh your ingredients rather than using cups.
♻️ Substitutions / Variations
You can use a few drops of food colouring to colour half of your coconut ice, but this is optional. The classic old-fashioned coconut blocks are half pink, as pictured. You can use a few drops of pink or red for this, or try a different colour, such as blue for a snowy Christmas feel.
For a less rich coconut flavour, try adding 1 teaspoon of vanilla extract to the mixture with the condensed milk.
You can also top your coconut ice bars with a layer of melted white or milk chocolate before it sets, for an added sweet finish.

📖 Method

Steps 1 - 2: In a large bowl, mix the powdered icing sugar and condensed milk with a wooden spoon or strong spatula until just combined.
Step 3: Stir in the desiccated coconut until fully combined. The mixture will be a very stiff consistency.
Step 4: Press the mixture (or only half if using the optional colouring) into a lined 8-inch square tin into a flat, even layer.

Steps 5 - 6: Optional: Add a few drops of food colouring to the remaining half of the mix and stir until the colour is evenly spread, then press this on top of the white layer in the tin.
Steps 7 - 8: Set in the fridge uncovered for at least 2 hours until firm, then cut into squares.
🎥 Recipe video
Check out the recipe video below for how to make the best easy 3-ingredient coconut ice!
💭 Top tips
- Use a strong wooden spoon or spatula for this recipe, as the coconut ice mixture is very stiff.
- Even if your baking pan is non-stick, line your tin with baking parchment or greaseproof paper. Leave a small overhang of paper to make it easier to lift your coconut ice out of the tin after it sets.
- Cut your candy bar coconut ice into small pieces for bite-sized squares. I cut mine into small cubes by cutting the whole coconut ice slab in half, then each of those halves into 3 or 4 columns. Rotate your slab 90 degrees and repeat.
- For gifting, present your traditional coconut ice in glass jars, like a mason jar, or place them in petit four cases in a box or tin.
❔ Recipe FAQs
Your coconut ice should last for 2 weeks stored in an airtight container at room temperature, or up to 3 weeks in the fridge. It's best to bring it up to room temperature before eating, as otherwise it can be quite firm.
Yes! You can freeze your coconut ice wrapped in a layer of cling film and a layer of foil for up to 2 months. Defrost in the fridge and enjoy!
No, for this coconut ice recipe, you should not use evaporated milk instead of sweetened condensed milk. It needs condensed milk to set properly.
Yes, coconut ice is a gluten-free recipe.
No, there is dairy in the coconut ice from the condensed milk.
Didn't find the answer you were looking for?
Ask AI to answer based on this specific recipe.
Note: Sweet Mouth Joy is not responsible for the answers that AI chatbots provide - they can be prone to hallucinations.

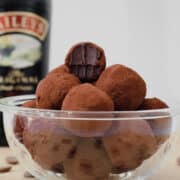
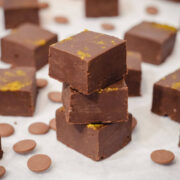
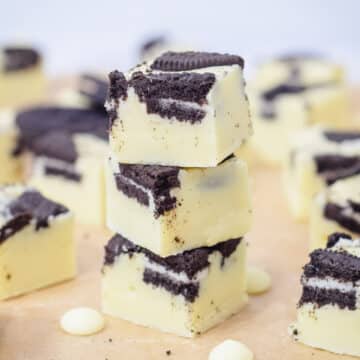
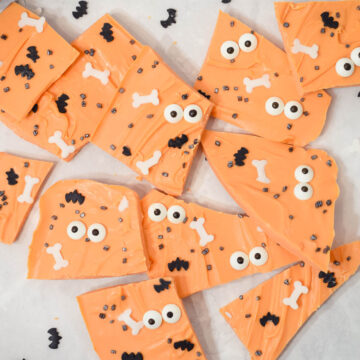
🧁 Other goodies
Looking for some more easy no-bake candy ideas? Check out these best ever recipes for even more sweet treats perfect for gift ideas:
Other Related Recipes:


Looking forward to some new recipes? Check out my Youtube, Facebook, Instagram and Pinterest pages for a few sneak peeks and some sweet inspiration!
Or if you'd like to hear about our latest recipes, why not subscribe to our newsletter?
📖 Recipe

Coconut Ice
Rate this recipe here:
Equipment
Ingredients
- 450 g (3 ¾ cups) powdered icing sugar confectioners sugar
- 397 g (14 oz) sweetened condensed milk one 14oz tin
- 300 g (3 ½ cups) desiccated coconut unsweetened shredded coconut
- pink food colouring optional
Instructions
- In a large bowl, mix together the powdered icing sugar and condensed milk with a wooden spoon or strong spatula until just combined.
- Stir in the desiccated coconut until fully combined. The mixture will be a very stiff consistency.
- Press the mixture (or only half if using the optional colouring) into a lined 8-inch square tin into a flat, even layer.
- Optional: Add a few drops of food colouring to the remaining half of the mix and stir until the colour is evenly spread, then press this on top of the white layer in the tin.
- Set in the fridge uncovered for at least 2 hours until firm, then cut into squares.
Video
Notes
- You can use pink food colouring for a classic coconut ice look, perfect for Valentine's Day, or swap it for blue for a snowy Christmas vibe.
- Use a strong wooden spoon or spatula to stir your mixture, as it can be very stiff.
- Line your tin with baking paper and leave a slight overhang to lift it out easier afterwards.
- Cut your coconut ice into 36 bite-size squares by cutting the whole slab in half, then each of those halves in half again. Rotate your slab 90 degrees and repeat.
-
Gift your coconut ice in glass jars or place them in petit four cases in a box or tin.
Nutrition
Nutritional information is an estimate based on an online nutritional calculator, actual values may vary.


Zoey says
Such a childhood favourite!