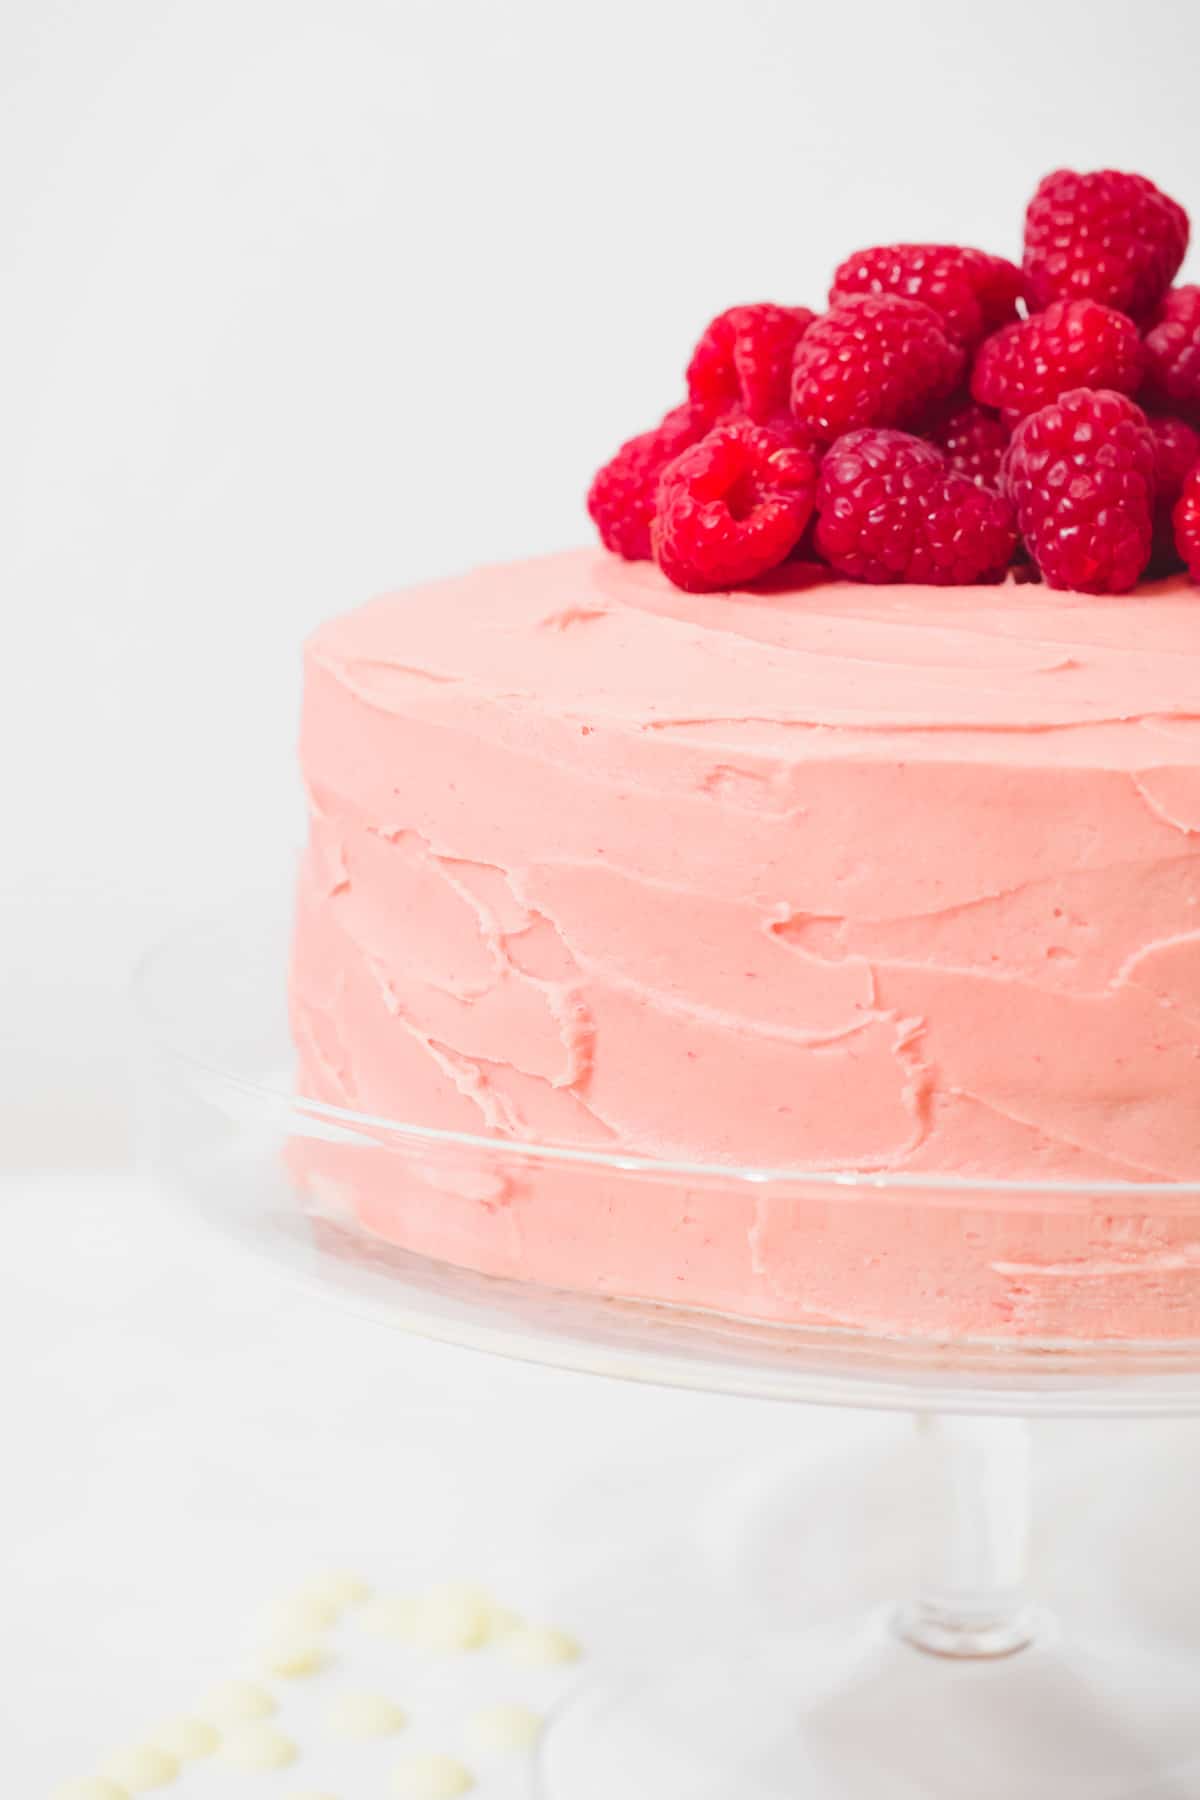
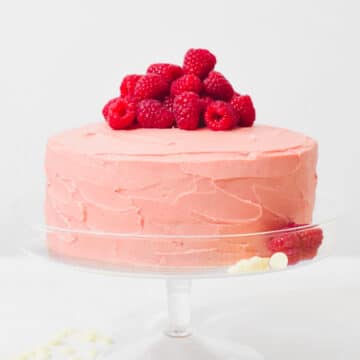
It's time for some fruity fun with this white chocolate raspberry cake! Two layers of soft white chocolate sponge are frosted with a fresh raspberry buttercream.
Jump to:
✏️ Recipe creation
This easy white chocolate raspberry cake recipe from scratch is one of my all-time favourite layer cake recipes as it's simple yet elegant.
It makes a great white chocolate raspberry birthday cake and with the natural and cute baby pink colour, it's perfect for Valentine's Day, Mother's Day, girl baby showers and bridal showers.
This easy white chocolate mud cake with raspberry buttercream is great for using up leftover raspberries from raspberry season, and goes down a treat as a Spring or Summer raspberry cake too. It's also a delicious white chocolate raspberry cake recipe year-round as you can use fresh or frozen raspberries.
The soft and moist white chocolate mud cake layers complement the tartness of the raspberries in the buttercream. This tangy raspberry buttercream recipe (the one used here) is also what I use for my best raspberry vanilla cupcakes!
🥘 Ingredients
This raspberry white chocolate mud cake recipe calls for the following ingredients:
White chocolate cake
- Unsalted butter
- White chocolate: use baking white chocolate for ease of melting.
- White sugar: finely granulated white sugar e.g. caster sugar.
- Eggs
- Milk: use full-fat or semi-skimmed.
- Vegetable oil: or other neutral-flavoured oil.
- Vanilla extract: use paste or extract over essence for best flavour.
- Plain all-purpose flour: sieve for a smooth cake batter.
- Baking powder: always check the expiry date before use or the cake won't rise.
Raspberry buttercream
- Raspberries: frozen or fresh raspberries.
- Fresh lemon juice
- Water
- Unsalted butter: room temp. for ease of beating.
- Powdered icing sugar (confectioners' sugar): sieve for a smooth frosting.
- Salt (optional)
See the recipe card for quantities.
Top tip: For accuracy, it's best to weigh your ingredients rather than using cups.
♻️ Substitutions / Variations
Ingredient substitutions
For the raspberry frosting, you can use either frozen or fresh raspberries (red or black raspberries). I prefer using fresh fruit as it's easier to work with but both taste great.
You can swap the plain flour in this recipe for self-raising flour of the same quantity and then exclude the baking powder from the recipe.
Filling options
For extra raspberry flavour, you can add a raspberry filling between your cake layers such as raspberry jam or curd. Pipe a frosting barrier around the top edge of your bottom cake layer to hold your filling inside.
Alternatively, for a lemon and raspberry white chocolate cake, add this delicious lemon white chocolate ganache or lemon curd cake filling between your white chocolate cake layers!
📖 Method
White chocolate cake
- First, preheat the oven to 180°C / 160°C (fan) / Gas Mark 4 / 350°F.
- In a medium saucepan, heat the butter, white chocolate, sugar and milk on medium heat. Stir until dissolved then take off the heat and set to one side.
- Beat the eggs and vanilla in a large bowl until fluffy, then slowly pour in the cooled chocolate mixture, beating until smooth. Sift in the flour and baking powder, folding in gently until combined.
- Divide the cake mix evenly between two lined and greased 8-inch prepared cake pans. Bake for 25-30mins until lightly golden and a skewer comes out clean from the centre.
- Allow the cakes to cool for 20mins before removing them from the tins and transferring to a wire rack to finish cooling. While the cakes cool, make the frosting.
Raspberry buttercream
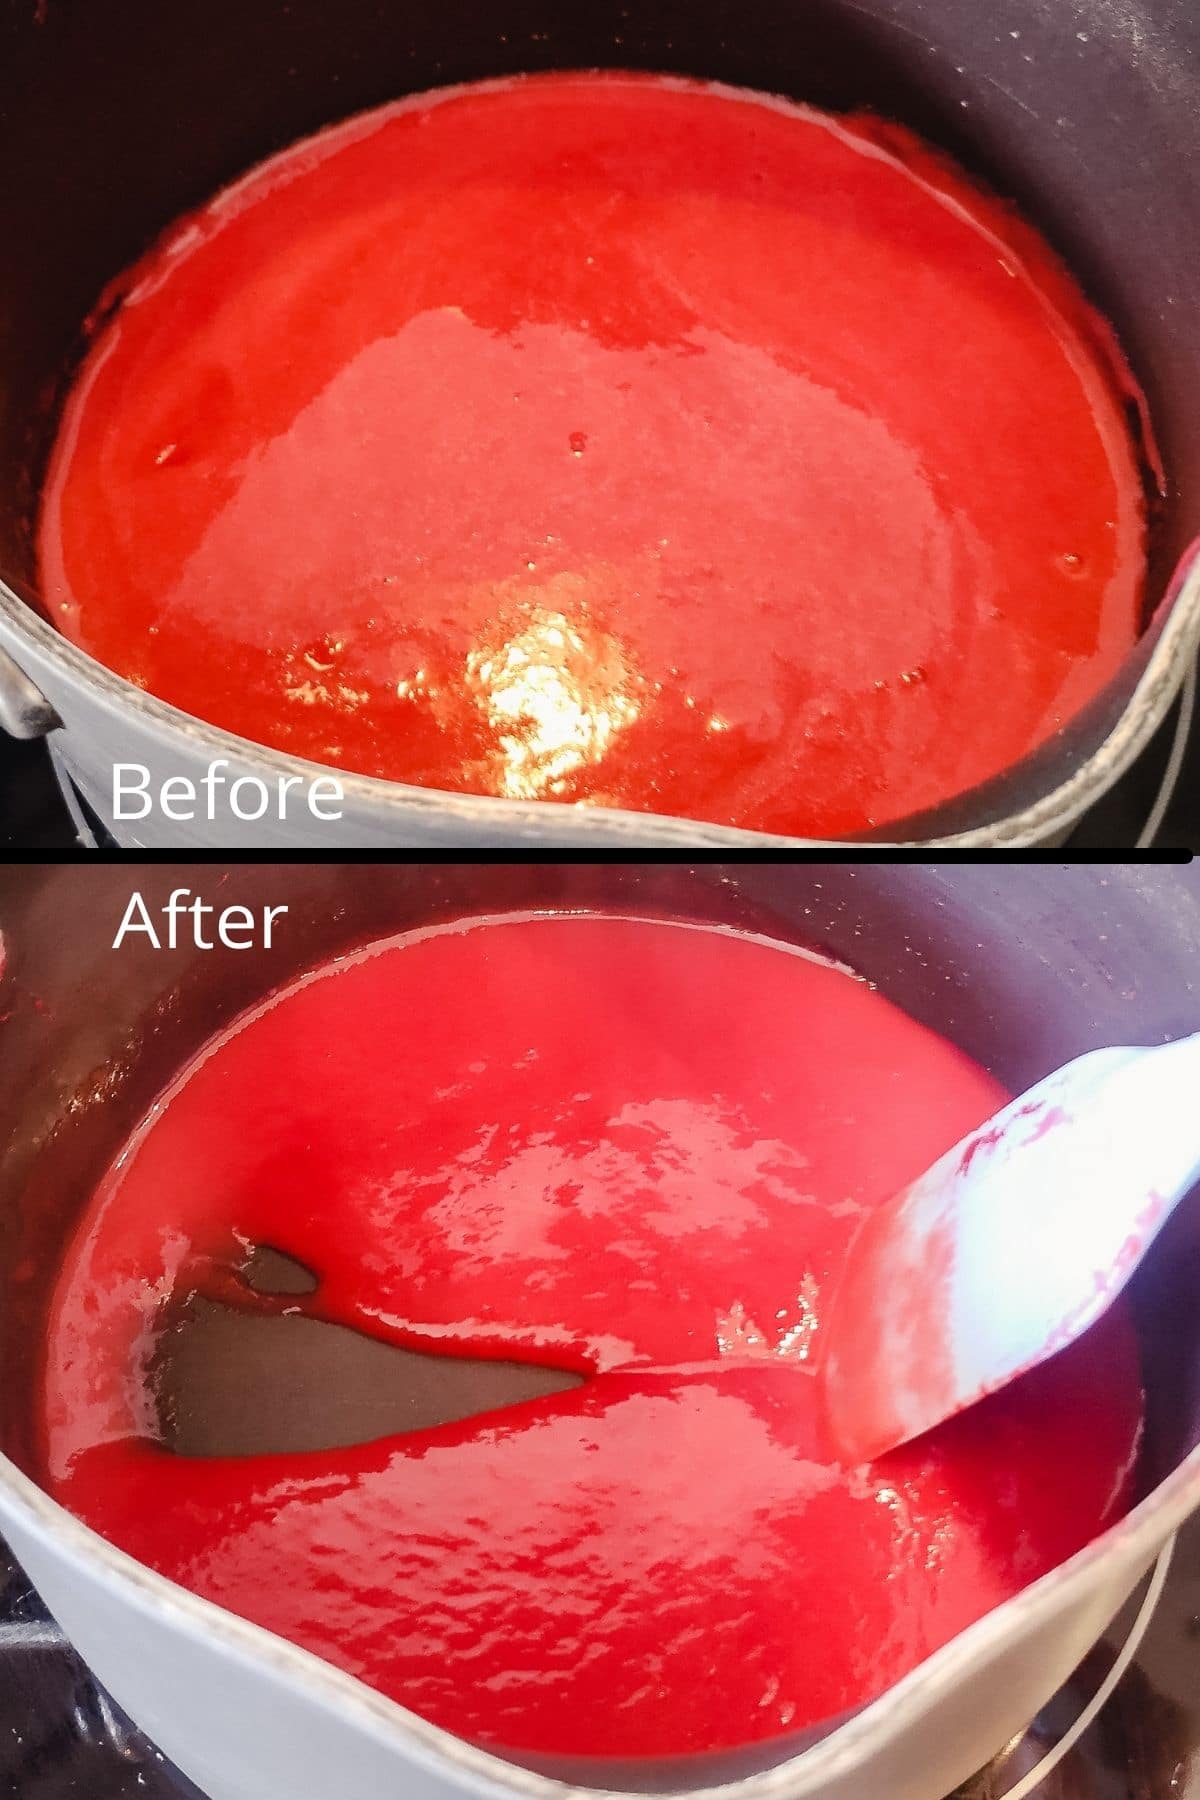
- Puree raspberries, lemon juice and water in a blender or food processor then press it through a sieve into a medium saucepan. Discard the pulp and heat the sieved juice on a low-medium heat for 15-20mins, until reduced to a thick liquid.
- Allow the reduction to cool while you beat the butter, using a hand mixer in a medium bowl or a stand mixer, for several minutes until pale and fluffy. Next, sieve in half of your powdered sugar and beat until smooth. Repeat with the other half of your powdered sugar.
- Beat in the raspberry reduction, 1 tablespoon at a time until the desired flavour and consistency, and salt (if using).
Assembly
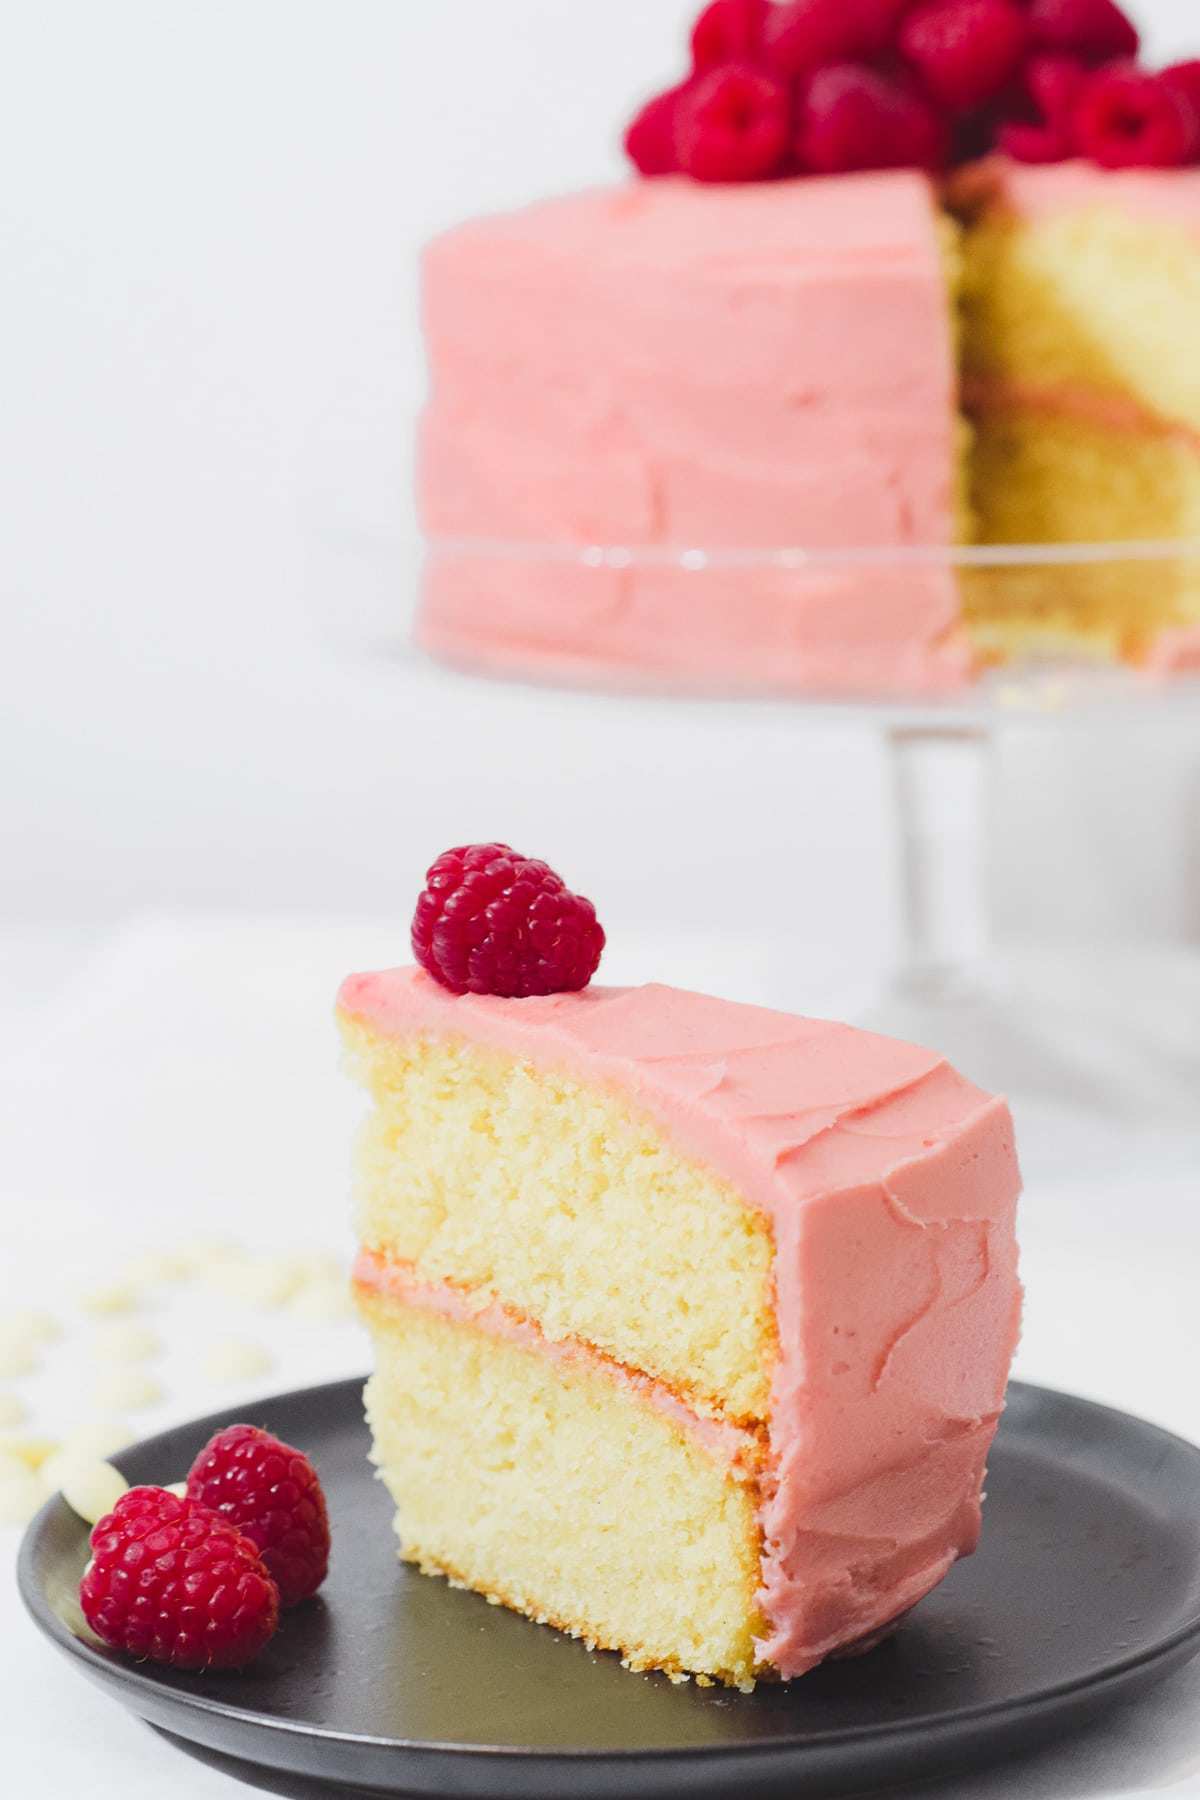
- Once the cake sponges have cooled, turn one sponge upside-down and spread roughly ⅓ of the frosting on top. You can also add an optional raspberry filling at this point too, such as raspberry jam.
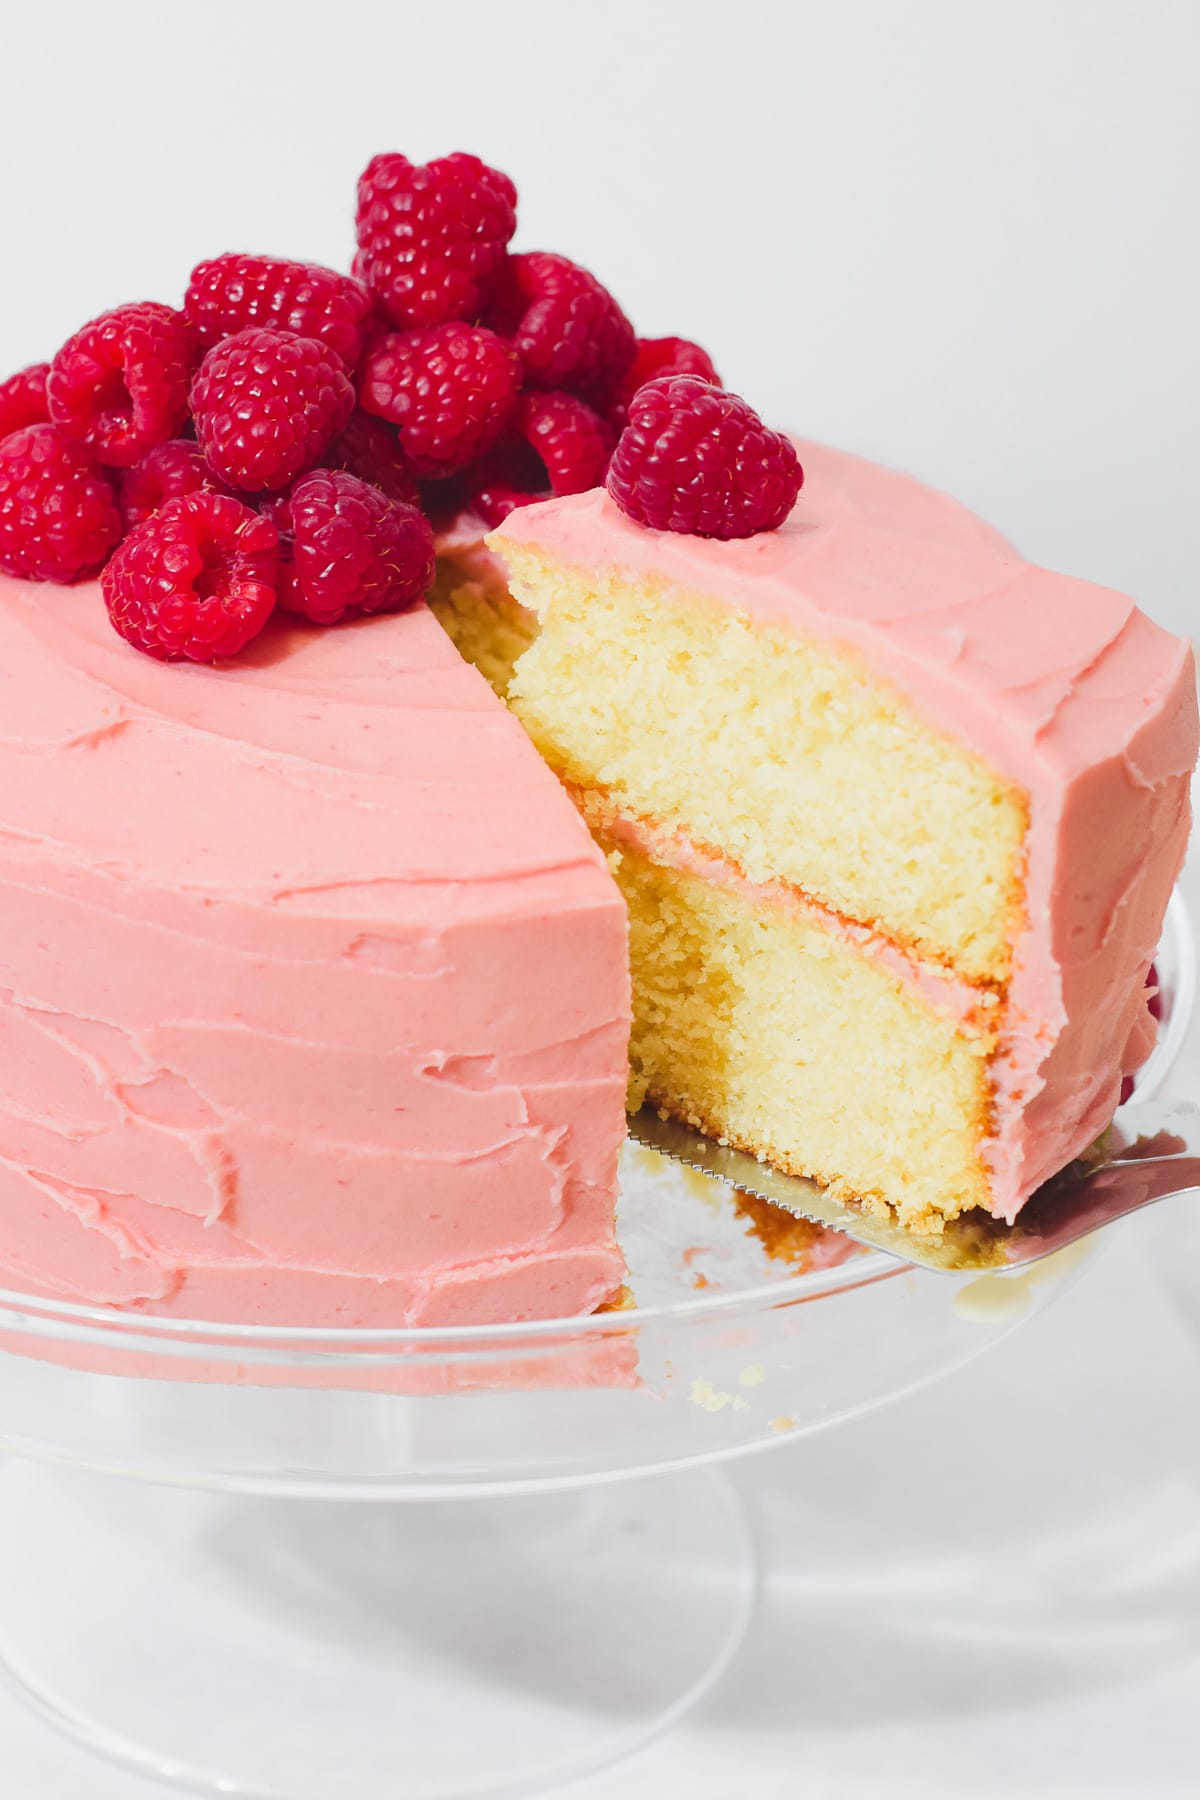
- Place the second sponge on top and cover the cake with the rest of the frosting. Decorate with fresh berries and enjoy!
💭 Top tips
- For a soft white chocolate sponge, mix sparingly once you add the baking powder. Raising agents don't like to be overmixed.
- Don't open the oven mid-bake. You may have heard this before, but it's such an important factor that it bears repeating. We've all been there and nobody likes their cake layers with sinkholes!
- You'll know your white chocolate cake sponges are cooked once they're risen, golden and springy to touch. An inserted toothpick or skewer should also come out clean from the centre of the cake.
- Once your white chocolate cake layers have baked, it's best to leave them in the cake tin to cool for 20mins before removing them from the cake pan onto a wire rack. This speeds up the cooling process and stops your cake from baking further trapped in the hot tin.
- For the best flavour in your raspberry buttercream, push as much raspberry puree through your sieve as you can.
- For a creamy raspberry frosting, beat your butter until it's pale, light and fluffy before adding your other ingredients. This could take several minutes with an electric mixer and longer by hand.
- My favourite white chocolate raspberry cake decoration is a big topping of fresh raspberries. You can also drizzle on melted white chocolate or any leftover strained raspberry reduction like a zingy sauce.
❔ Recipe FAQs
Your white chocolate raspberry cake should last for up to 4 days stored in an airtight container at room temperature or up to 5 days in the fridge.
Yes! You can freeze your raspberry cake wrapped in a layer of cling film and a layer of foil for up to 3 months. Cut your cake up into pieces first for ease of freezing. When ready to eat, simply defrost and enjoy!
Yes, you can make your white chocolate cake sponges ahead of time and freeze them. Alternatively, you can make the cake layers and/or raspberry buttercream a few days in advance. Your cake layers should be stored wrapped in cling film at room temperature. Your raspberry buttercream should be in an airtight container in the fridge.
This could be caused by a few things. You might have scooped in too much baking powder, e.g. instead of using a levelled scoop from a measuring teaspoon.
Another reason could be that you opened the oven partway through baking which caused your oven temp to drop rapidly and sinkhole your cake.
No, cake flour is actually different to both plain flour and self-raising flour. It has a different composition and your cake will have a different consistency if you use cake flour.
To get smooth flat cake layers for frosting, you can use cake belts around your tins. If not, you may need to cut off any peaked tops. You can use a knife or a cake leveler for this.
Before I start baking, I like to prepare my cake tins first. Grease tins with butter or cooking oil spray, then line with greaseproof paper (baking parchment). I usually use greaseproof paper circles already pre-cut for the cake tin size to line the bottoms.
To make a gluten-free raspberry white chocolate cake, swap the plain flour for gluten-free flour. I recommend using a gluten-free plain flour blend.
You should also add ½ teaspoon of xantham gum to the white chocolate cake batter if your flour blend doesn't already include this in the ingredients.
For gluten-free cake success, add an extra 1 teaspoon oil and 1 tablespoon milk to the batter. Beat your batter really well and let it stand for 30mins before pouring it into your cake tins and baking. You might also need to bake your cake for an extra 5-10mins.

🧁 Other goodies
Looking for some other goodies to make?
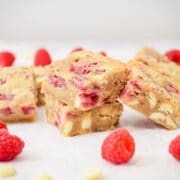
If you love raspberry and white chocolate, you'll love these gooey white chocolate raspberry blondies.
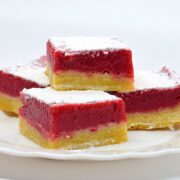
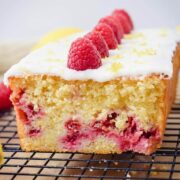
Love more fresh raspberry goodness? Why not check out my recipe for raspberry dessert bars - the raspberry curd layer is just divine! Or try this delicious lemon raspberry loaf cake - simple yet delicious! For more great ideas check out these best easy raspberry dessert ideas too.
For more white chocolate treats, try my white chocolate lemon cake or white chocolate orange no-bake cheesecake.
For more pink birthday cakes, check out my best strawberry vanilla cake with strawberry cake filling or these cute pink cake design ideas.
Other Related Recipes:

Looking forward to some new recipes? Check out my Facebook, Instagram and Pinterest pages for a few sneak peeks and some sweet inspiration!
Or if you'd like to hear about our latest recipes, why not subscribe to our newsletter?
📖 Recipe
Raspberry White Chocolate Cake
Rate this recipe here:
Ingredients
White chocolate cake:
- 235 g (1 cups) unsalted butter
- 300 g (2 ¼ cups) white chocolate
- 200 g (1 cups) white sugar finely granulated e.g. caster
- 240 ml (1 cups) milk semi-skimmed or whole
- 2 eggs large
- 1 ½ teaspoon vanilla extract
- 350 g (2 ¾ cups) all-purpose plain flour
- 3 teaspoon baking powder
Raspberry buttercream:
- 175 g (1 ½ cups) raspberries fresh or frozen
- 1 ½ tablespoon fresh lemon juice roughly ½ a lemon
- 2 tablespoon water
- 225 g (1 cups) unsalted butter softened
- 480 g (4 cups) powdered icing sugar
Instructions
White chocolate cake:
- Pre-heat oven: 180°C / 160°C (fan) / Gas Mark 4 / 350°F
- Add the butter, white chocolate, sugar and milk to a medium saucepan, and heat on a medium heat. Stir until the mixture is completely melted and smooth, then turn off the heat and set this to one side.
- Beat the eggs and vanilla in a large mixing bowl until fluffy, then slowly pour in the cooled chocolate mixture, beating until combined.
- Sieve in the flour and baking powder, folding in gently until only just combined.
- Split the cake mix evenly between two greased and lined 8inch cake tins and bake for 25-30mins until lightly golden and skewer comes out clean from the centre.
- Allow the cake to cool for at least 20mins before removing from the tins and transferring to a wire rack to finish cooling. While the cakes cool, make the frosting.
Raspberry buttercream:
- Blend the raspberries, lemon juice and water until you get a smooth puree.
- Sieve the pureed mix into a saucepan, discarding the pulp, and heat over a low-medium heat. Simmer for roughly 15-20mins until it has reduced to a thick liquid. Allow to cool to room temperature.
- While the raspberry reduction cools, beat the butter until pale and fluffy.
- Add half of the icing sugar to the butter and beat until combined, before adding the remaining icing sugar and beating again until smooth.
- Add the raspberry reduction to the frosting 1 tablespoon at a time, beating until smooth, until you have the desired colour and flavour (I usually use 2-3 tbsp).
Assembly:
- Once the cake sponges have cooled, turn one sponge upside-down and spread roughly ⅓ of the frosting on top.
- Place the second sponge on top and cover the cake in the rest of the frosting. Decorate with fresh raspberries and enjoy!
Notes
- Your white chocolate sponges are cooked once they're risen, golden and springy to the touch. An inserted toothpick or skewer should also come out clean from the middle.
- For the best flavour in your raspberry buttercream, push as much raspberry puree through your sieve as you can.
- Swap your plain flour for self-raising flour and exclude the baking powder.
- You can use either fresh or frozen raspberries for this recipe.
- You can swap the two 8-inch cake tins for two 6-inch cake tins and bake for an extra 5-10mins. To swap to two 9-inch cake tins, increase the recipe by 1 and bake for an extra 5-10mins.
Nutrition
Nutritional information is an estimate based on an online nutritional calculator, actual values may vary.

Lillian says
What a gorgeous cake and a well-written recipe! The combination of white chocolate and raspberry sounds like pure delight — I especially appreciate the tips for getting flat cake layers. I can’t wait to try it myself, and I might add a thin layer of raspberry curd in the middle next time. Thanks for sharing such a clear, inspiring recipe!
Areil says
This looks delicious! I can't wait to try the recipe.
Sweet Mouth Joy says
Thanks Areil, happy baking!
Stacy says
This cake sounds amazing! Can't wait to make it.
Sweet Mouth Joy says
Thanks Stacy, happy baking!