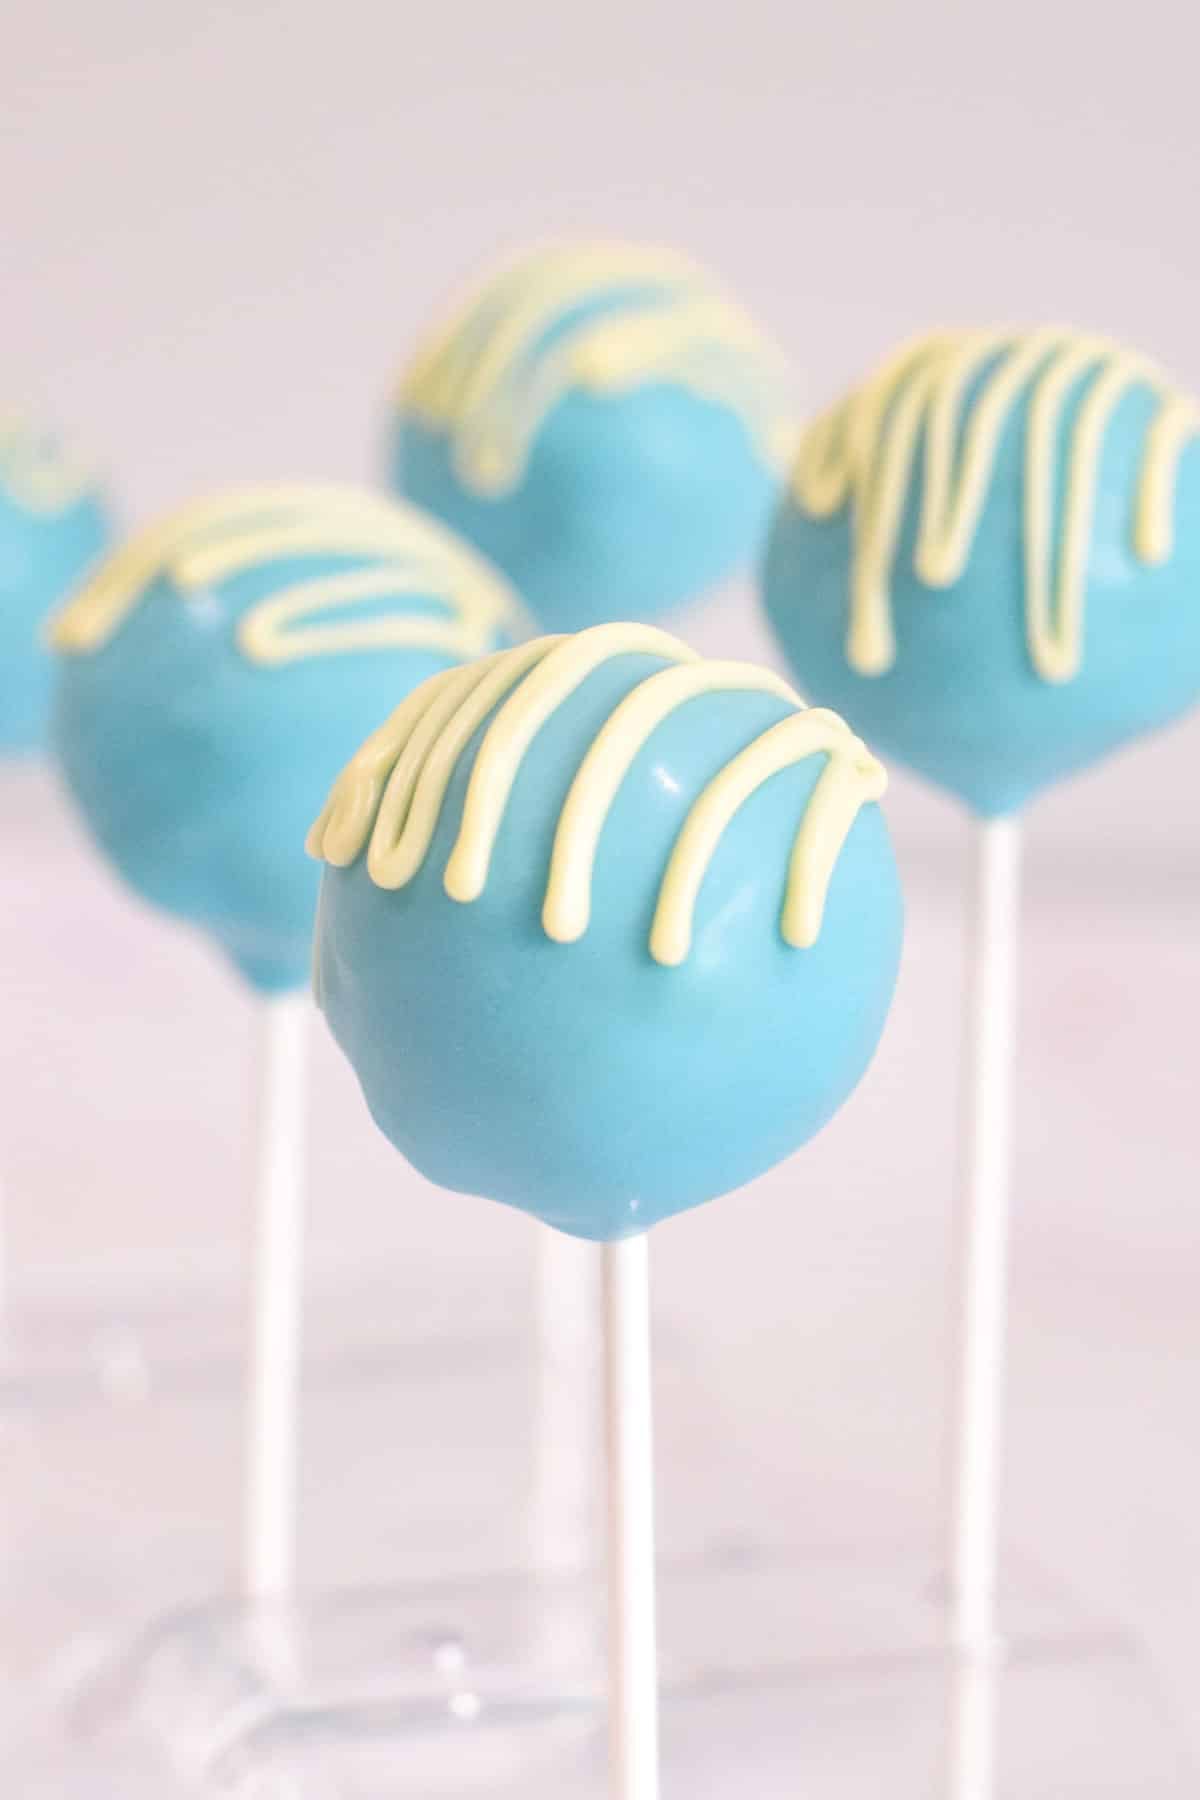
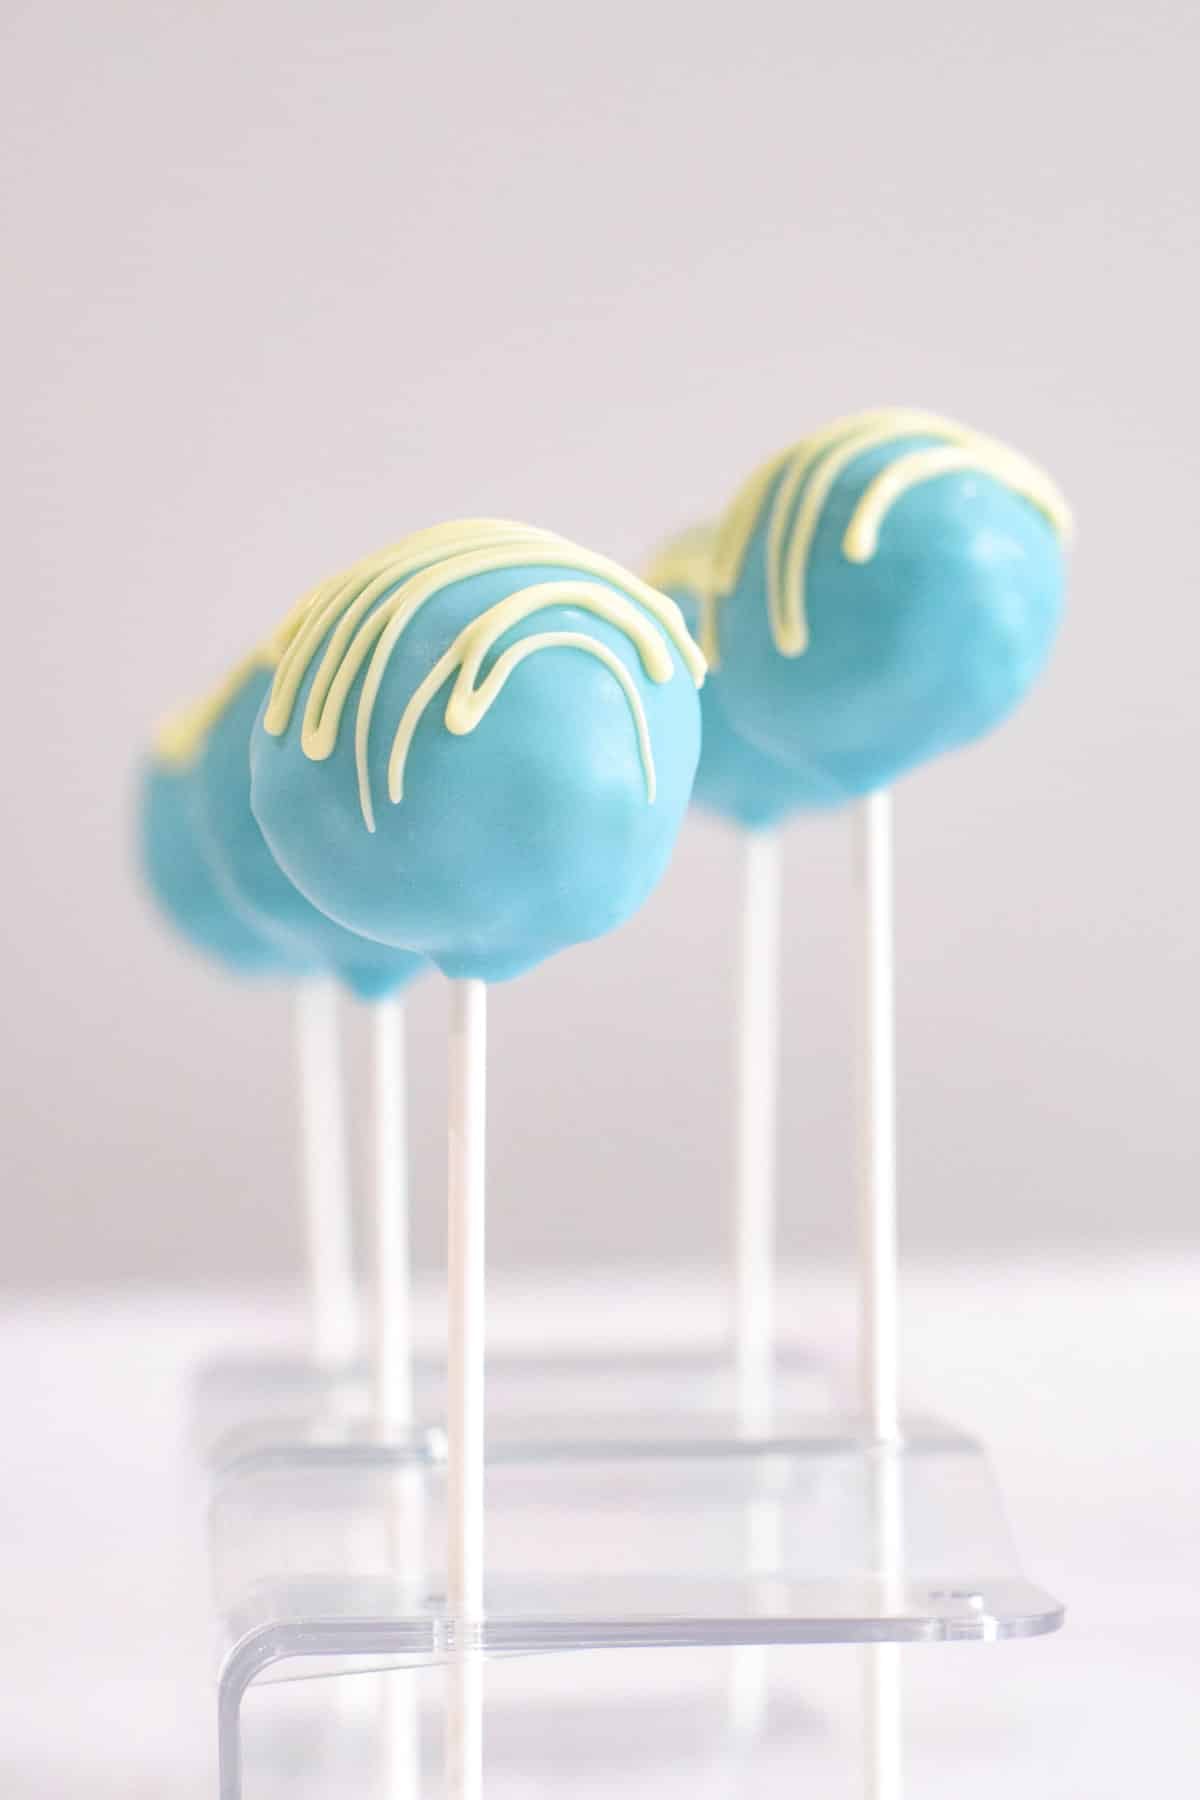
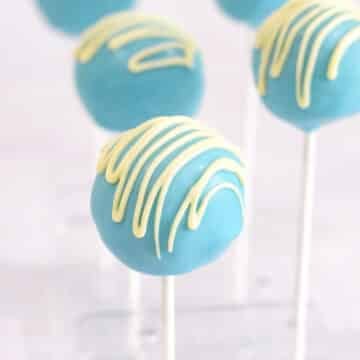
These best homemade blue cake pops are made from soft vanilla cake, creamy buttercream and blue candy melts or coloured white chocolate. They're perfect for special occasions like boy baby showers, birthdays and christenings.
Jump to:
✏️ Why you'll love this recipe
These DIY blue cake pops are bright-coloured bite-sized treats that are great for snacking, gifting or the dessert table at parties and events.
They can be made into all the beautiful shades of blue and can be decorated with different toppings for cute colour combinations.
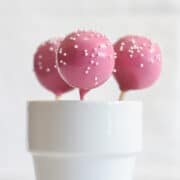
You can also pair them with my pink cake pops recipe for baby showers, gender reveal parties or kids' birthday parties!
🥘 Ingredients
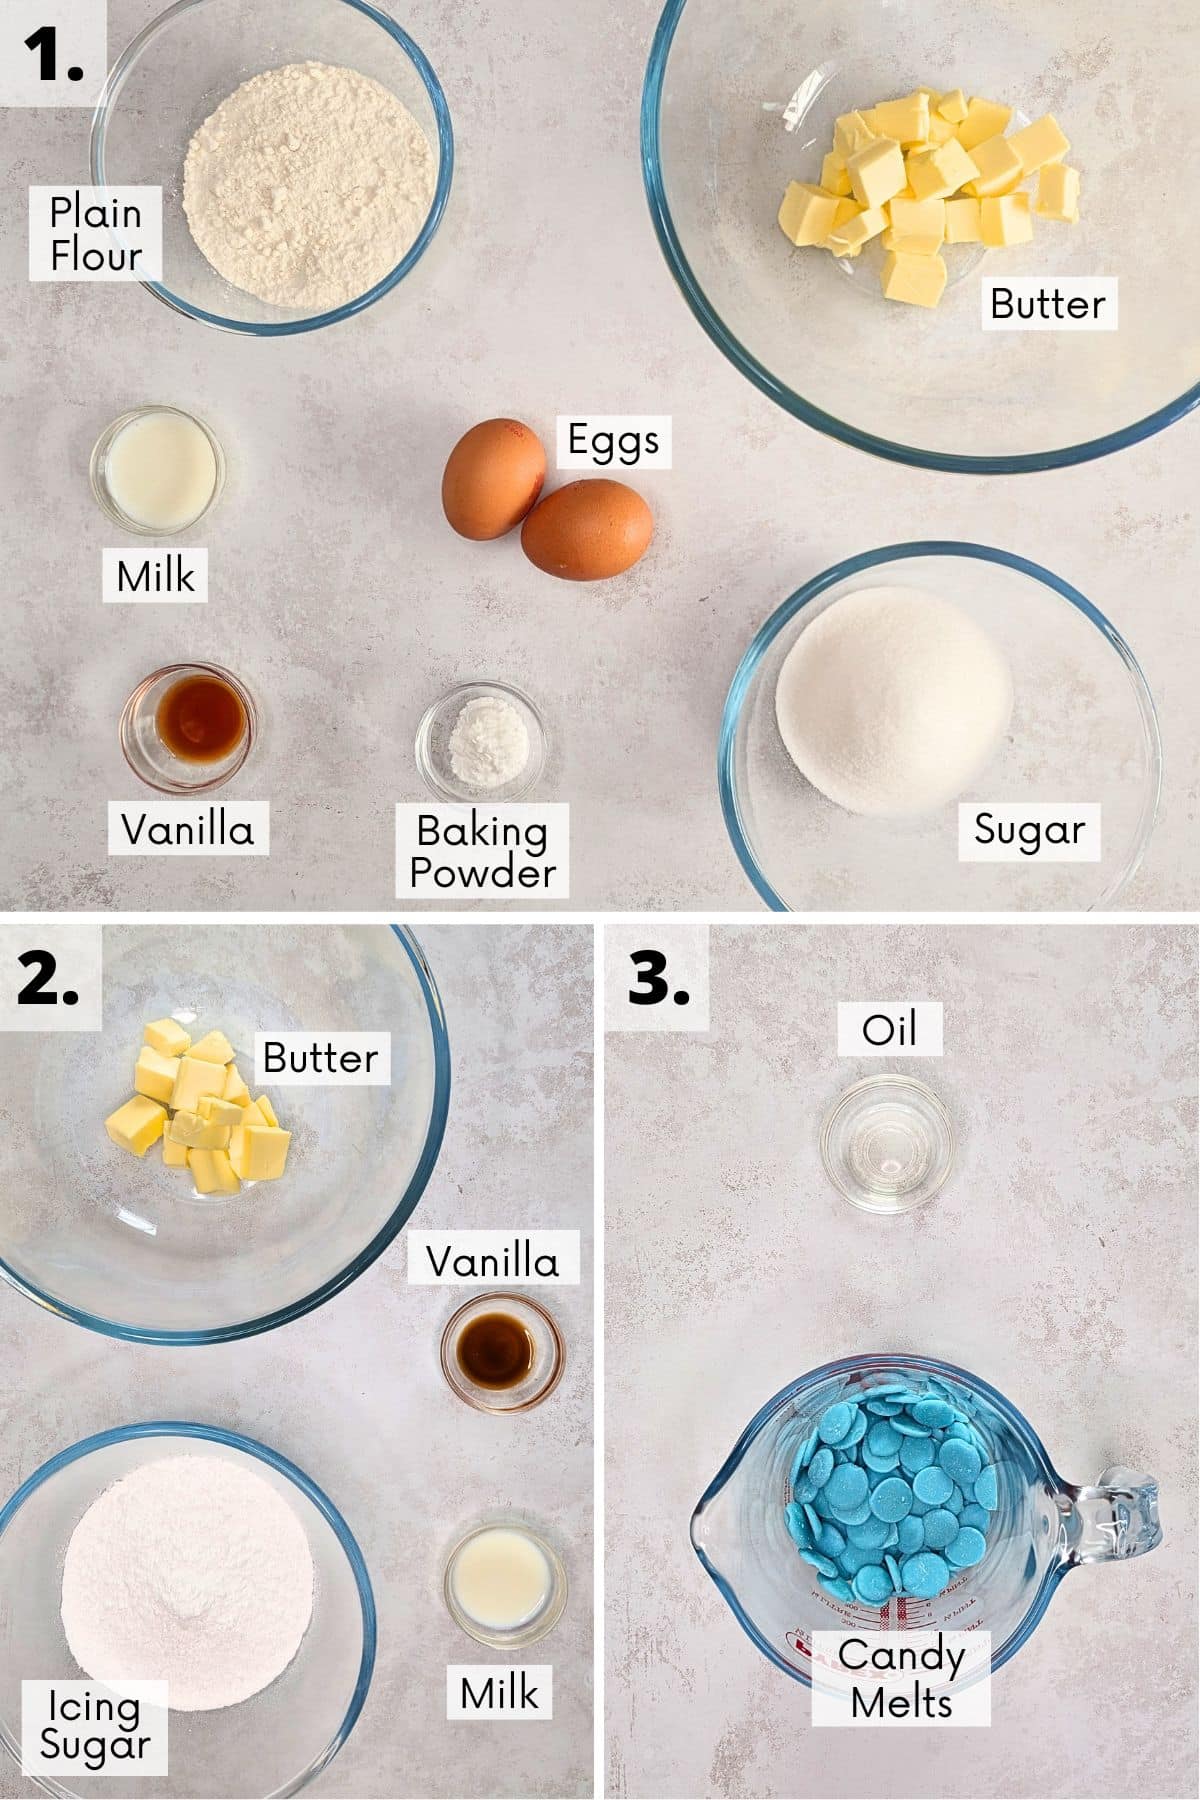
This blue cake pops recipe calls for the following ingredients:
1. Cake:
- Unsalted butter: room temperature for ease of mixing.
- White sugar: finely granulated e.g. caster sugar.
- Eggs: large size
- Plain all-purpose flour: sieve for a smooth cake batter.
- Baking powder: always check the expiry date before use or the cake won't rise.
- Milk: full-fat or semi-skimmed.
- Vanilla extract: use extract or paste over essence for the best flavour.
2. Buttercream:
- Unsalted butter: room temperature for a softened butter that's easier to beat.
- Powdered icing sugar: sieve your confectioners' sugar for a smooth frosting.
- Vanilla extract
- Milk: full-fat or semi-skimmed for a creamier consistency.
- Salt (optional)
3. Coating:
- Blue candy melts: candy melting wafers in any shade of blue.
- Oil: vegetable, canola, sunflower or other neutral-flavoured oil.
- White chocolate or sprinkles: optional to decorate.
See the recipe card for quantities.
Top tip: For accuracy, it's best to weigh your ingredients rather than using cups.
♻️ Substitutions / Variations
Ingredient substitutions
You can swap the all-purpose plain flour for self-raising flour and exclude the baking powder.
Instead of white sugar, you can use golden caster sugar or light brown soft sugar. This gives it a more caramel flavour.
You can swap the blue candy melts for white chocolate and add a few drops of blue oil-based or powder-based food colouring. Be sure to use cooking white chocolate (from the baking aisle) for ease of melting.
Shades of blue
You can choose your favourite shade of blue for these cake pops, whether that's navy, baby blue, Tiffany blue or royal blue. The easiest way is to select candy melts already in your specific shade of blue.
Alternatively, you can add white food colouring to your blue candy melts for a lighter blue or black food colouring for a dark blue. Add only a drop or two at a time (especially with the black) until you get almost your desired colour. The colour will develop more over time.
Another method is to use white candy melts or white chocolate and add your specific shade of blue food colouring, customising with white and black if needed.
You can even turn them into blue velvet cake pops by adding blue food colouring to the frosting before mixing it into your cake pop filling.
Flavour options
These blue cake popsicles are vanilla-flavoured, but you can give them a different flavour by swapping the vanilla extract for another flavour of your choice.
Alternatively, swap the buttercream in this recipe for a flavoured buttercream like this real lemon buttercream or orange buttercream.
You can also try my favourite starbucks copycat chocolate cake pops and coat them in blue candy melts per this recipe instead of chocolate.
Decorating ideas
These blue cake pops make awesome dessert table ideas for special occasions, and can be decorated to match the theme.
I love decorating them with white chocolate or white sprinkles for white and blue cake pops - perfect for christenings and baptisms.
Decorate them with blue sprinkles for boy cake pops for baby showers and boys' birthday parties. You can even get Bluey sprinkles for a Bluey-themed party!
If you're using your blue cake pops as party favours, you can use little plastic bag covers and ties to store them as individually wrapped treats.
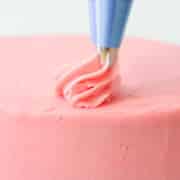
Turn the inside of your blue cake pops blue too, by adding blue colouring to your buttercream, like in this blue vanilla buttercream frosting recipe.
📖 Method
Cake
Preheat the oven to 180°C / 160°C (fan) / Gas Mark 4 / 350°F.
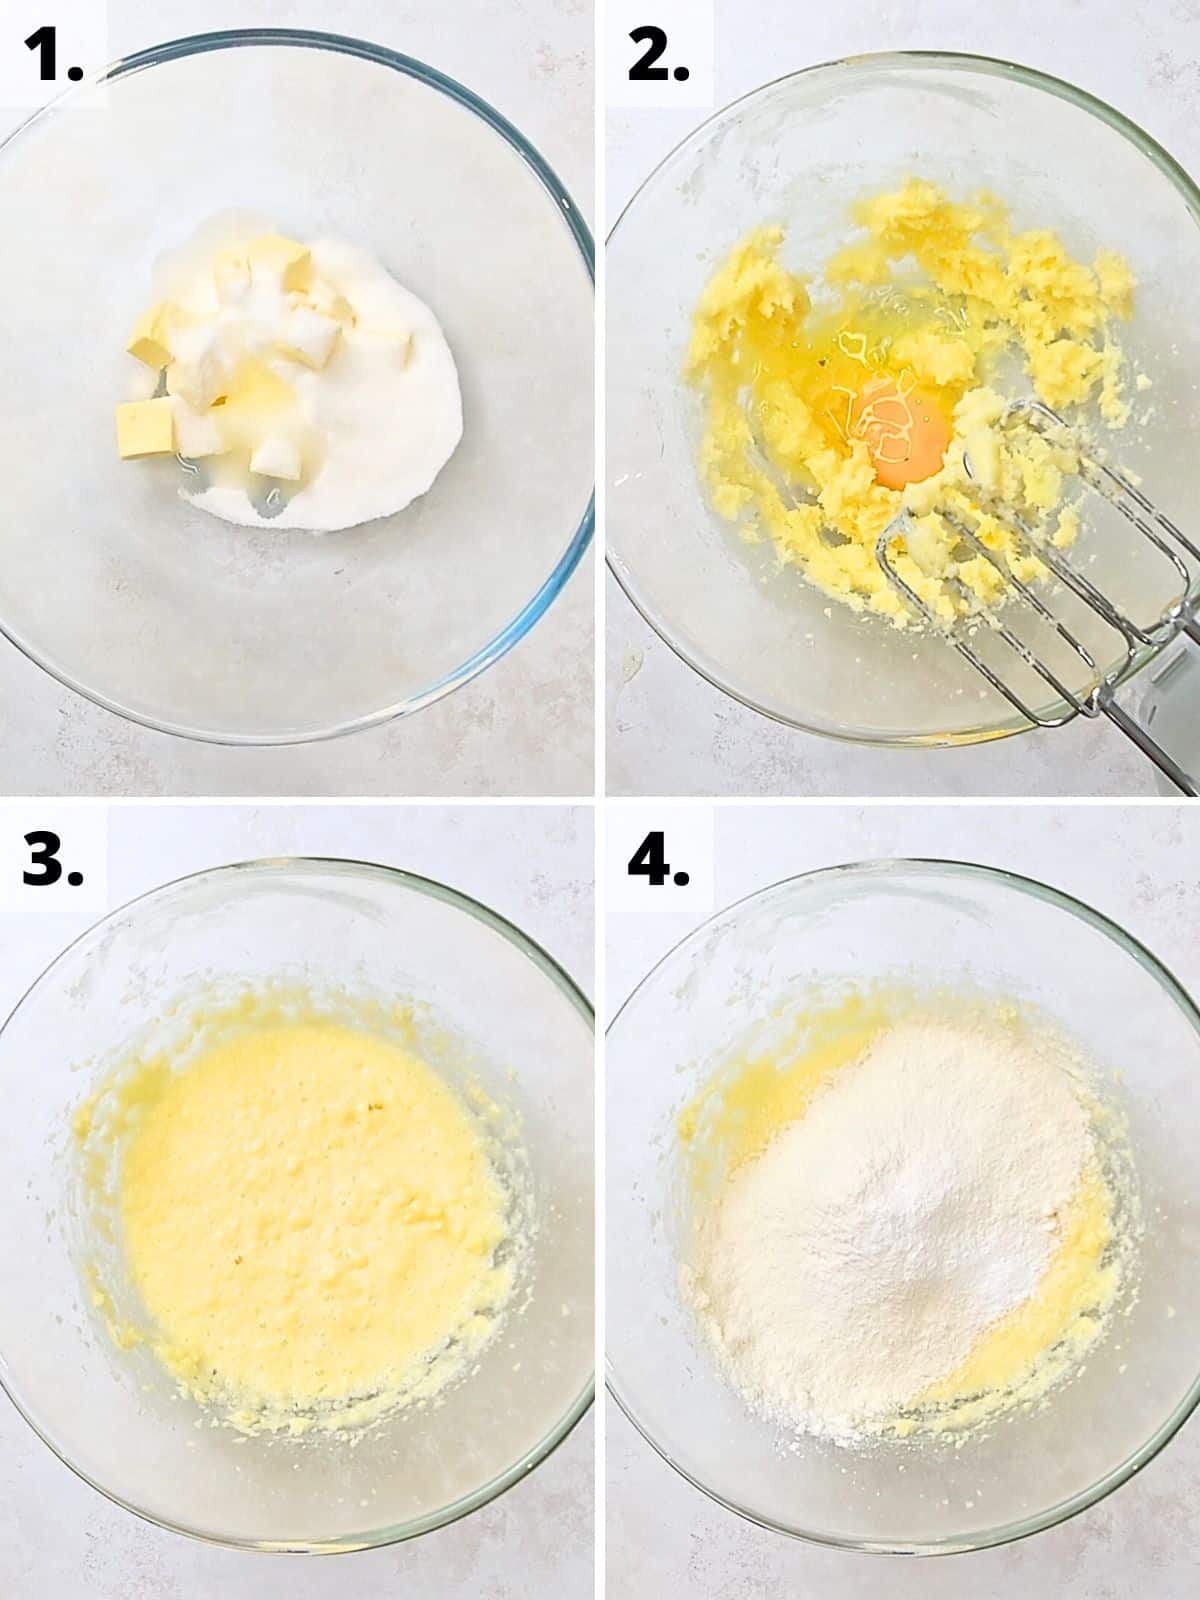
Step 1: In a large bowl, cream together the butter and sugar until pale and smooth.
Steps 2-3: Beat in the eggs, one at a time, until fully combined.
Step 4: Sieve the flour and baking powder into the mixture, gently folding in until just combined.
Steps 5-6: Stir in the milk, vanilla extract and salt until just combined.
Step 7: Pour the cake batter into a lined 8-inch round cake tin and bake for 20-25 minutes until springy to the touch and a skewer comes out clean.
Step 8: Allow the cake to cool in the tin for 15 minutes before removing from the tin and transferring to a wire rack to finish cooling (roughly another 30 minutes).
Whilst cooling, make the buttercream.
Buttercream
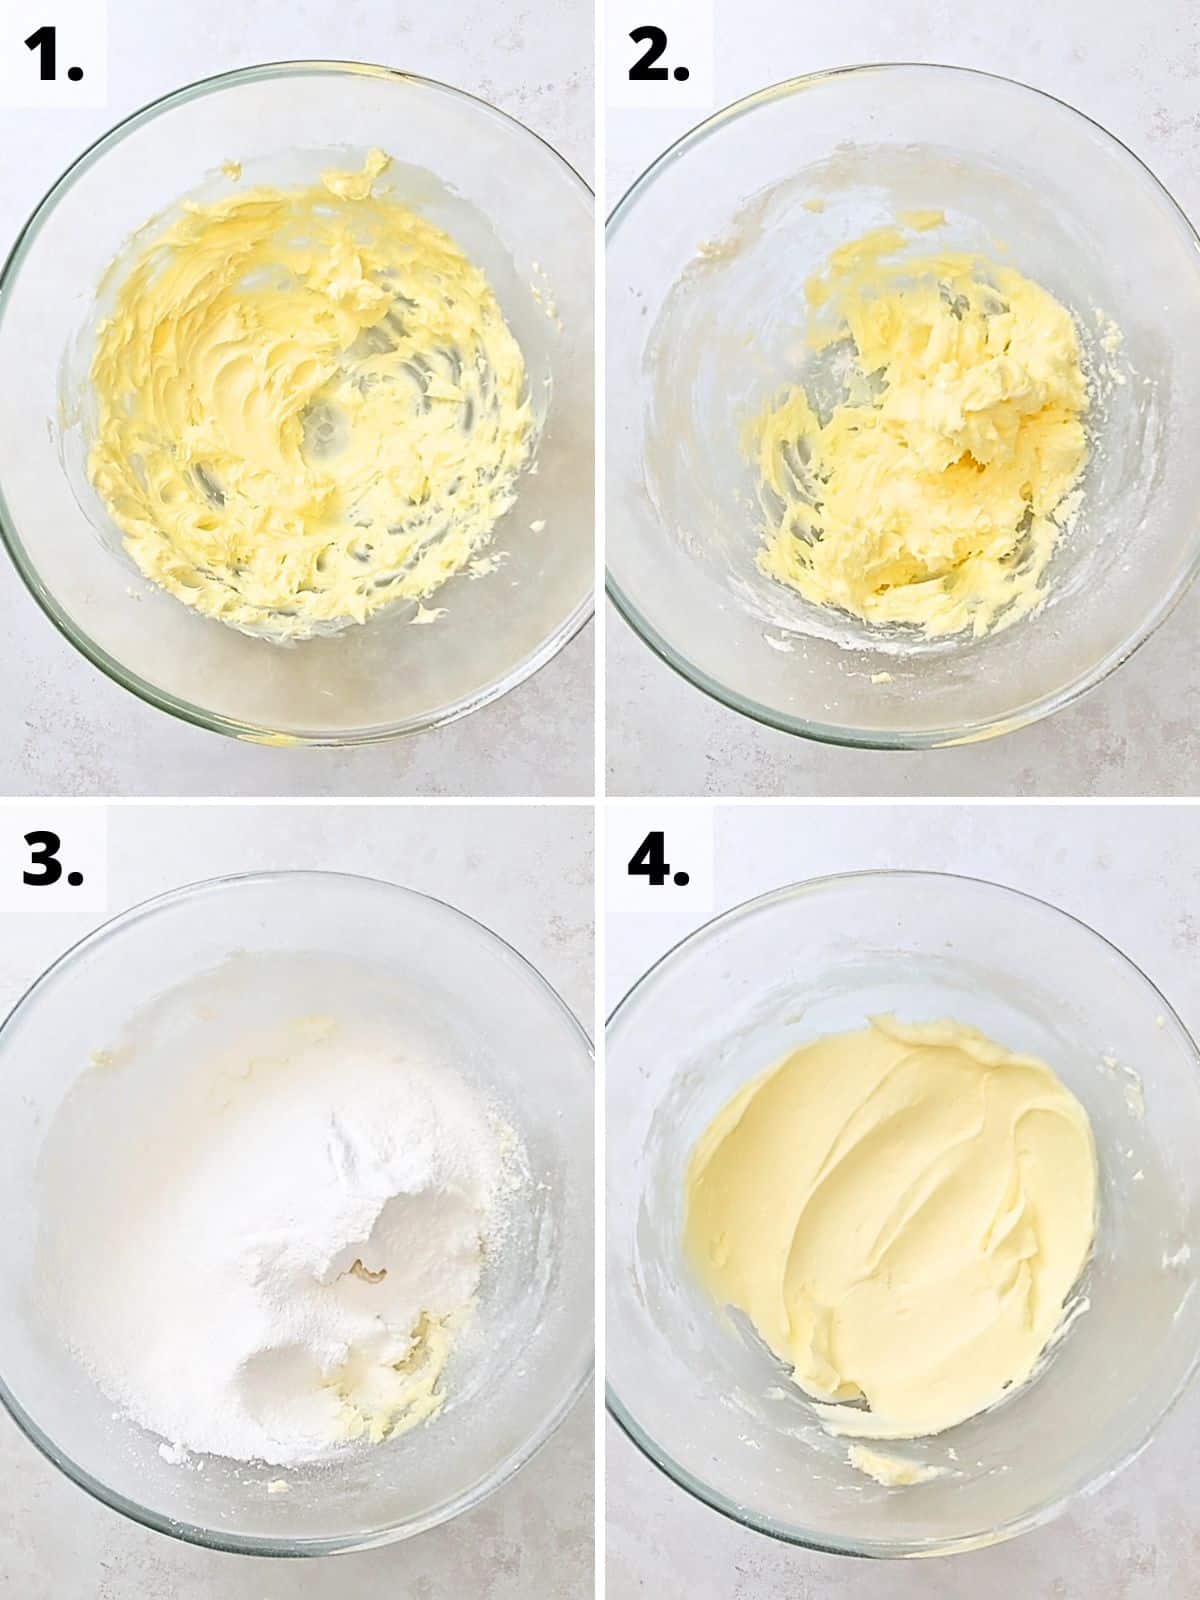
Step 1: While the cake cools, beat the butter (either by hand, using an electric mixer or stand mixer) until pale, light and fluffy.
Steps 2-3: Sieve in half of your powdered sugar and beat until smooth. Repeat with the other half of your powdered sugar.
Step 4: Add in the milk and vanilla extract, mixing until just smooth.
Cake pop filling

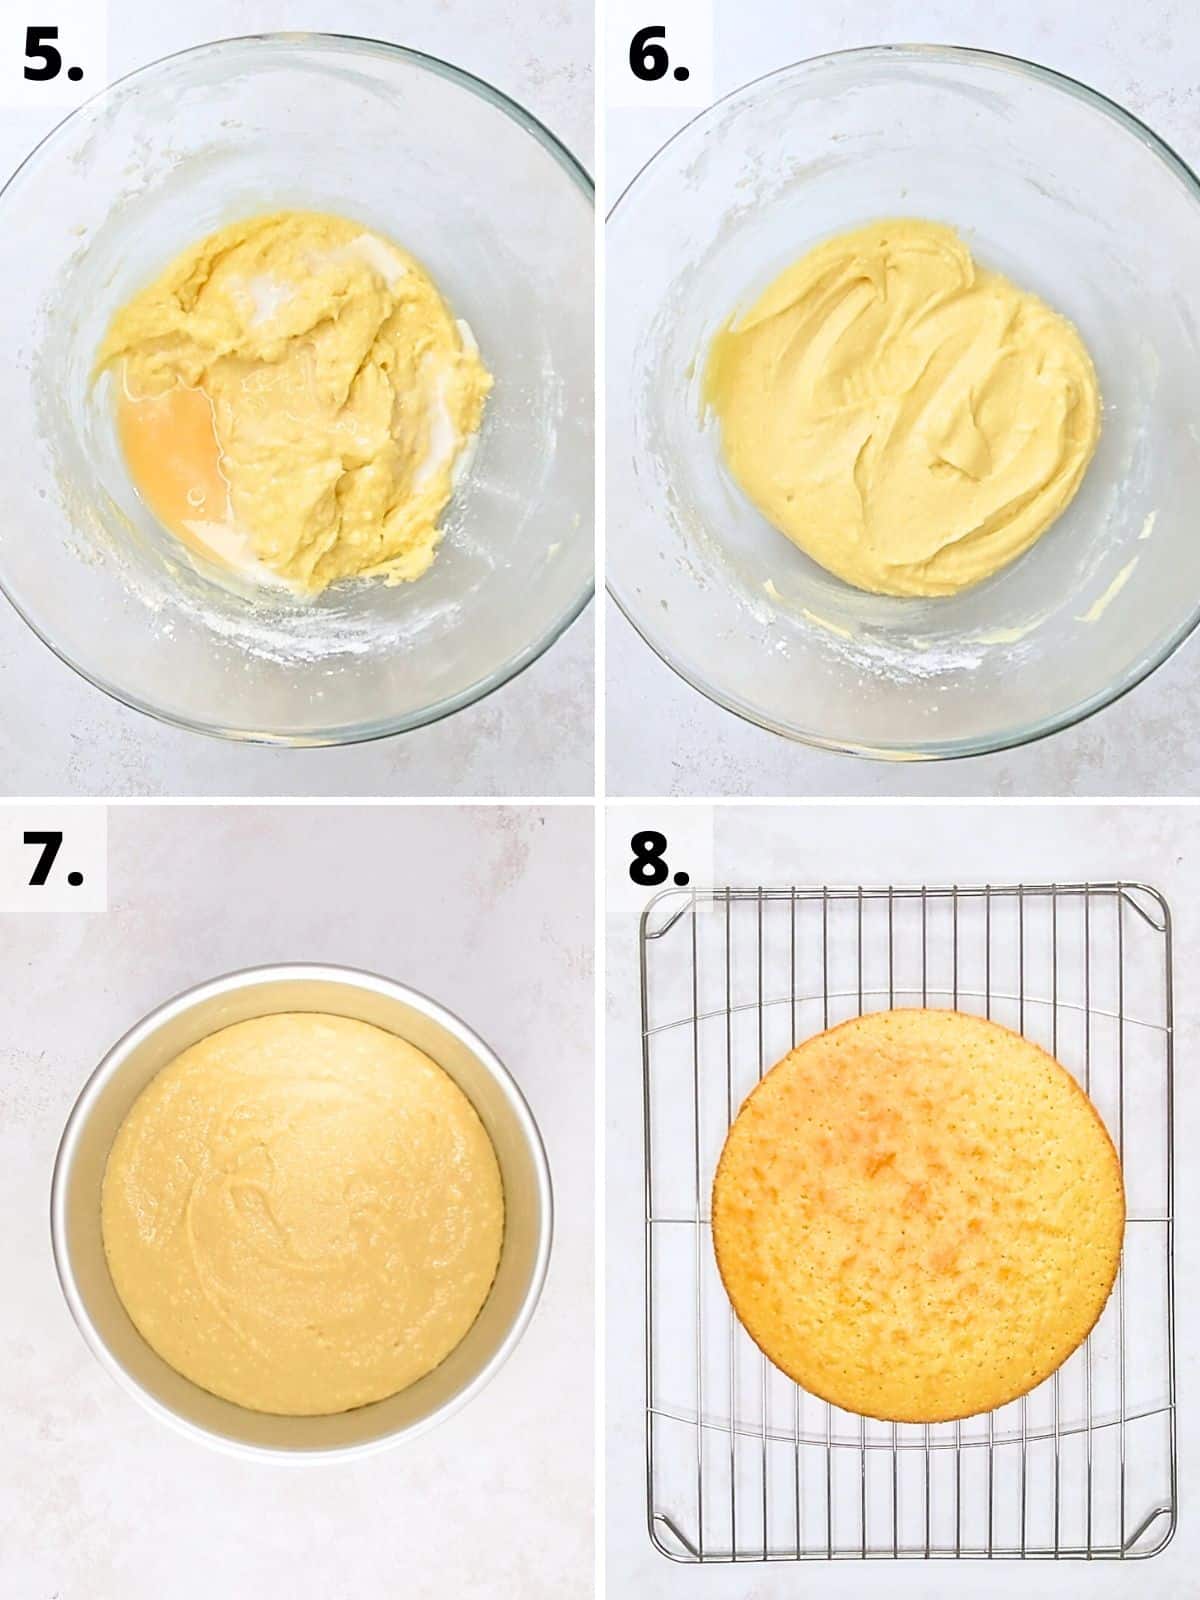
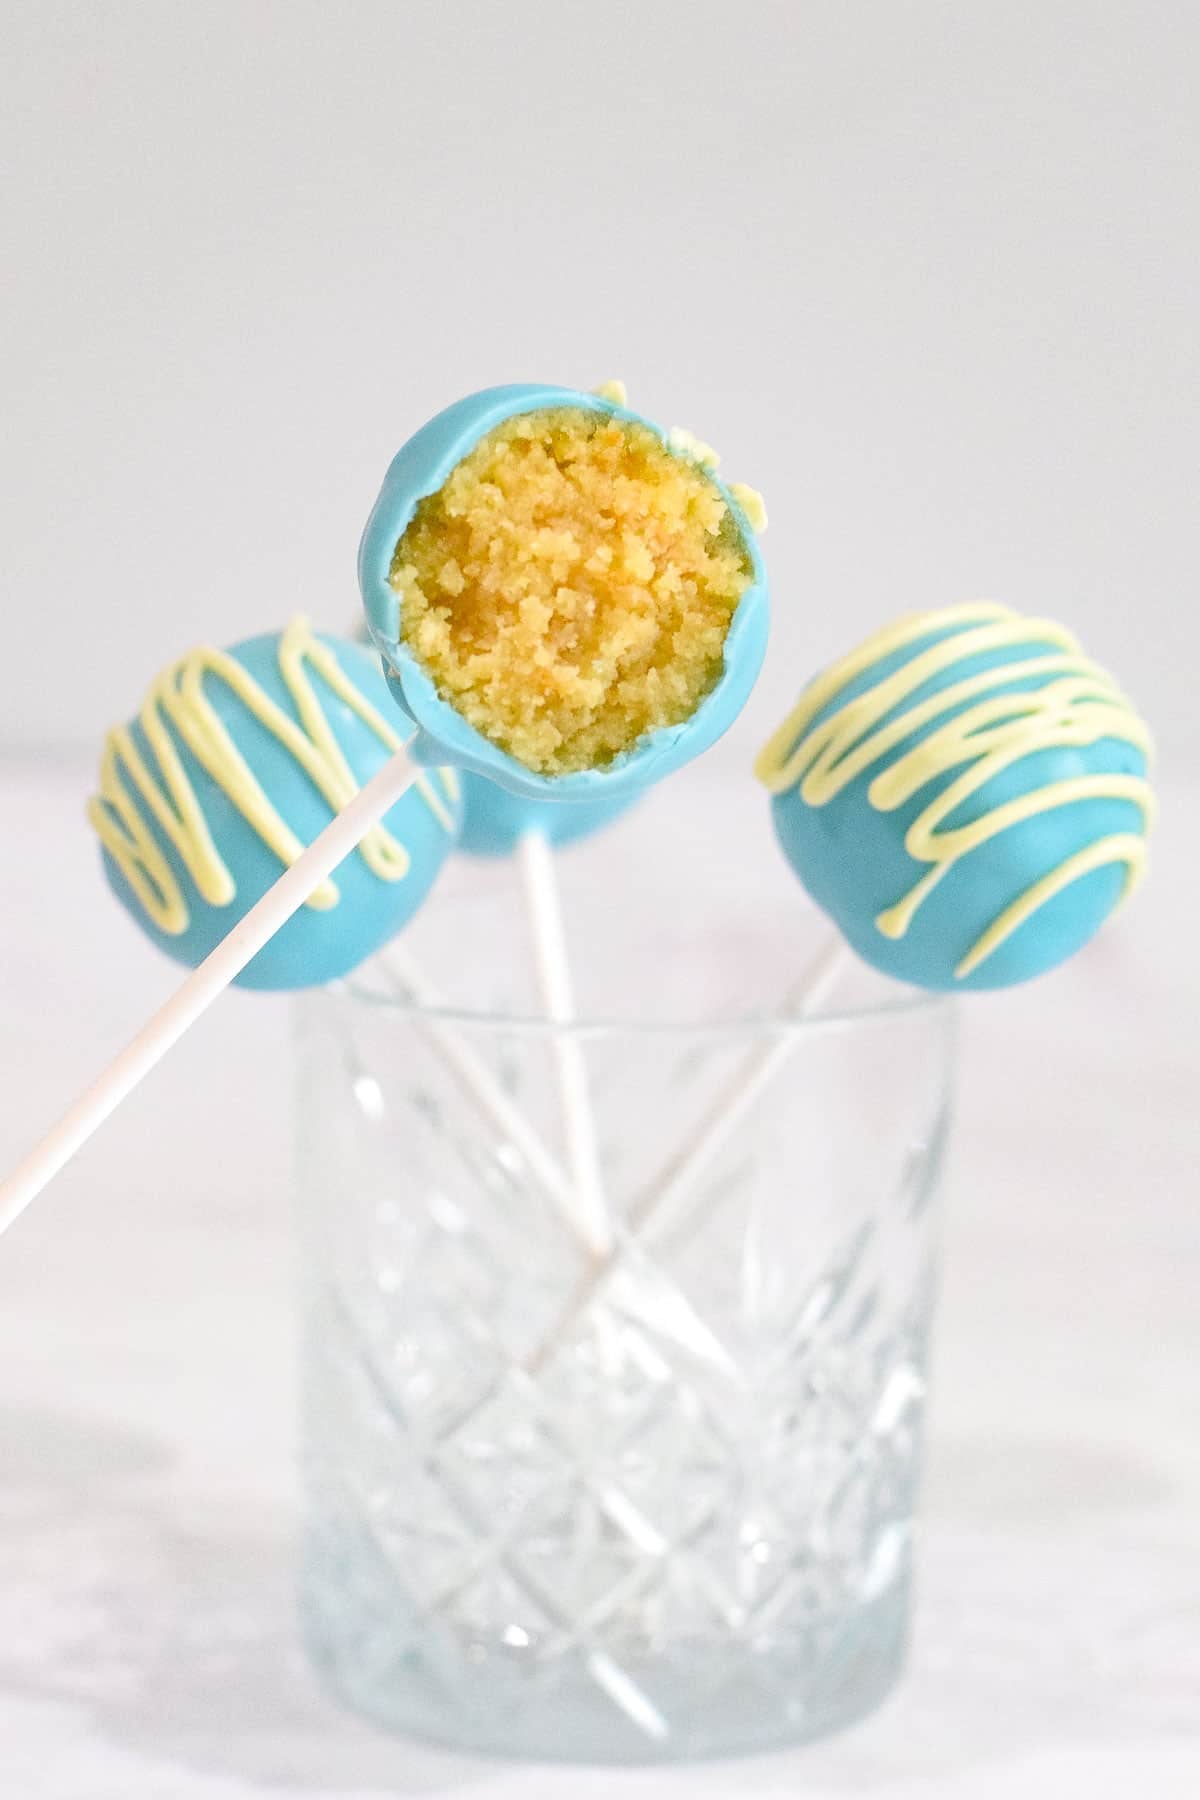
Step 1: Crumble up your cooled sponge into a large bowl, either using your hands or a fork.
Steps 2-3: Using a fork or spatula, thoroughly mix in the buttercream to the crumbled cake until fully combined. Your cake pop filling should be able to hold together like a soft dough.
Step 4: Using a tablespoon scoop, make small walnut-sized balls of the filling and roll them into balls in your hands, repeating until you've used all the mix. Place these cake balls on a piece of parchment / greaseproof paper on a flat plate or cookie sheet and refrigerate for 1 hour.
Cake pop assembly
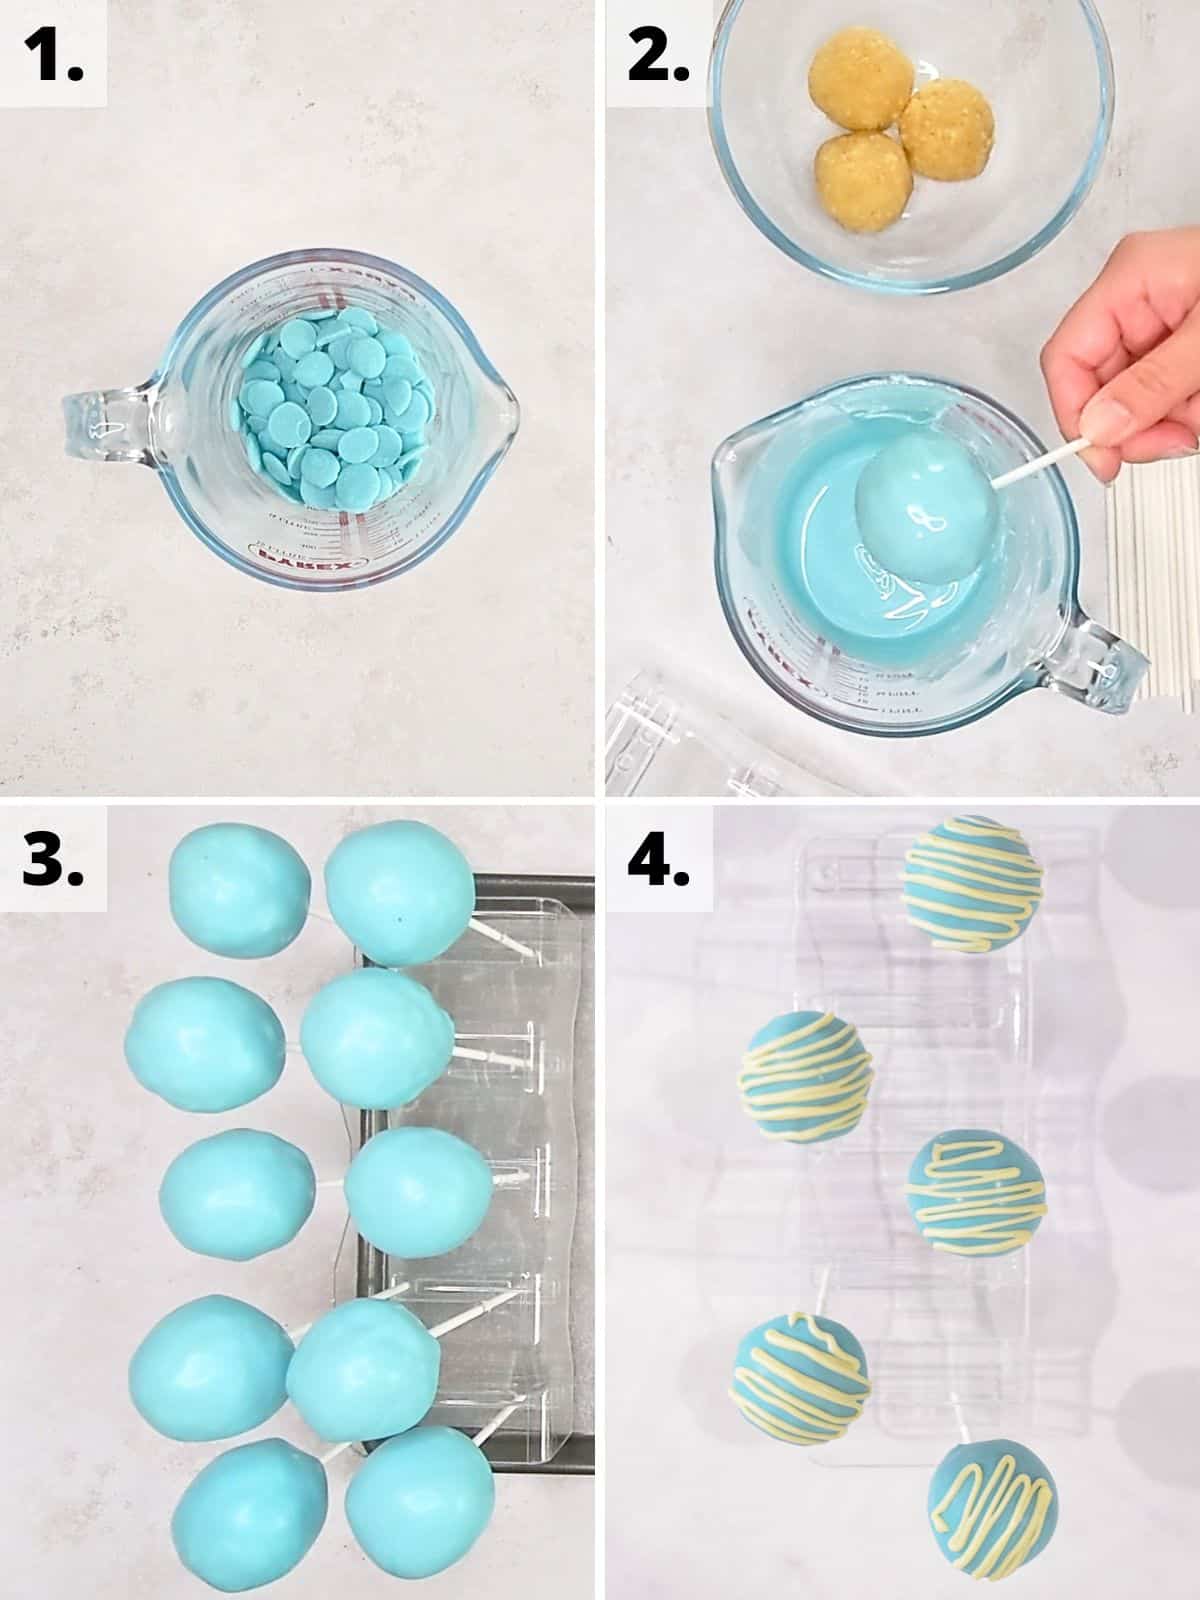
Step 1: In a narrow heatproof jug, mug or other container, slowly melt the candy melts in the microwave for 20 seconds at a time, stirring between bouts until smooth.
If too thick, stir in the oil, 1 teaspoon at a time, to thin the melted candy until you get a melted chocolate-like consistency.
Steps 2-3: Take 4 cake balls from the fridge and dip one end of the lollipop sticks into the melted candy before pushing it halfway into your cake ball.
Holding the stick, dip your cake ball into the melted candy, covering it completely. Gently tap off any excess back into the container before topping with your sprinkles (if using) and then standing your cake pops in their holder (e.g. cake pop stand or Styrofoam block).
Step 4: Repeat the above steps until all of your cake balls are on sticks and have been coated and decorated. Your candy coatings should only take 5-10 minutes to set at room temperature. You can then top with melted white chocolate (if using), then enjoy!
🎥 Recipe video
Check out the recipe video below for how to make the best blue cake pops from scratch!
💭 Top tips
- If your candy melts are very thick when melted, stir in 1 teaspoon of oil at a time until it's like melted chocolate.
- It's easier to dip cold cake balls into your melted candy coating. They'll hold their shape and stay on your lollipop stick better.
- Melt your candy melts slowly to avoid burning. If using a microwave, heat the candy for 20 seconds at a time, stirring between bursts. Stop heating when there are only a few tiny lumps left and keep stirring until these are fully melted.
- Work with only 4 cake balls at a time when coating and decorating. Leave the rest chilling in the fridge.
- Dip your lollipop stick in the melted candy coating first before pushing it into your cake ball. This helps glue the cake ball to the stick.
- Your candy melts can harden quite fast, so work quickly to tap off any excess from your cake pop so you can top with sprinkles (if using) before the coating sets.
- If it's hot where you live, you might need to place your cake pops in the fridge to set the candy covering.
- If your candy melts re-harden while you're working, pop the jug back into the microwave for another 10-second burst to melt the candy back to dunking consistency.
❔ Recipe FAQs
Cake pops are basically small cake balls on lollipop sticks, coated in candy melts or chocolate. The cake balls usually consist of crumbled sponge cake mixed with frosting such as buttercream.
Your blue cake pops should last for up to 5 days stored in an airtight container at room temperature. Store in the fridge if it's hot where you live.
Yes! You can freeze your blue cake pops wrapped in a few layers of cling film or in a plastic freezer bag for up to 3 months.
To avoid condensation and cracking, thaw slowly overnight in the fridge or on the counter while still in an airtight packaging.
Not usually, unless vegan cake, vegan frosting and vegan candy coating has been used.
No, cake pops are usually made of cooked sponge cake and buttercream frosting, coated in chocolate or candy melts.
Yes, to make gluten-free cake pops, swap the plain all-purpose flour for gluten-free flour. I recommend using a gluten-free all-purpose plain flour blend 1:1 measure.
Using your leftovers and offcuts from cakes is a great way to make cake pops. I usually freeze mine for future cake pop use!
You'll need roughly a 3:1 ratio of cake to frosting to make cake pop filling. Mix in your frosting 1 tablespoon at a time to your crumbled cake and stop once it holds together like a soft dough.
I use roughly 175g (¾ cups) of candy melts to coat 16 cake pops. Make as many cake balls from your filling mix as you can and adjust the amount of candy melts based on this number.
Didn't find the answer you were looking for?
Ask AI to answer based on this specific recipe.
Note: Sweet Mouth Joy is not responsible for the answers that AI chatbots provide - they can be prone to mistakes.
🧁 Other goodies
Looking for some other goodies to make?
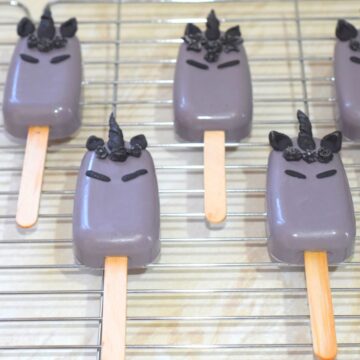
For all the cake pop and cake popsicles (cakesicle) lovers, check out these tasty recipes:
- Pink cake pops - perfect for a baby shower!
- Chocolate cake pops - Starbucks cake pops copycat recipe!
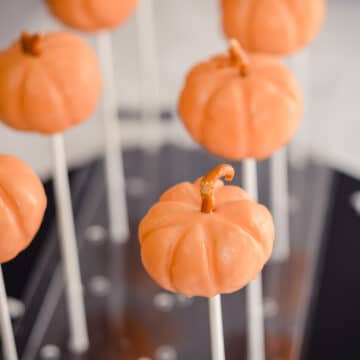
- Pumpkin-shaped cake pops
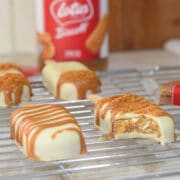
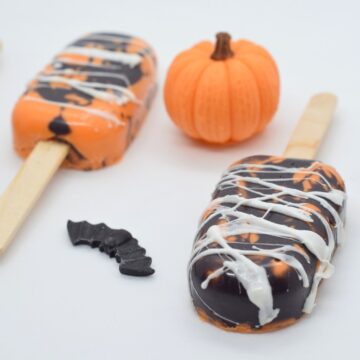
- Biscoff cakesicles - delicious cake popsicles!
Or if you're after more desserts and sweet treats perfect for a kids' party or a special occasion dessert table, give these recipes a try:
You can also turn all your desserts and treats blue by adding blue buttercream frosting for decoration.
Looking forward to some new recipes? Check out my Youtube, Facebook, Instagram and Pinterest pages for a few sneak peeks and some sweet inspiration!
Or if you'd like to hear about our latest recipes, why not subscribe to our newsletter?
📖 Recipe
Blue Cake Pops
Rate this recipe here:
Equipment
- 8inch (20cm) round cake tin see notes for swap
- Cake pop stand, Styrofoam block or short cardboard box
Ingredients
Cake for filling:
- 115 g (½ cup) unsalted butter room temp.
- 115 g (½ cup) white sugar finely granulated e.g. caster
- 2 eggs
- 115 g (1 cup) plain all-purpose flour see notes for self-raising flour swap
- 1 ¼ teaspoon baking powder
- 1 tablespoon milk whole or semi-skimmed
- 1 teaspoon vanilla extract
Buttercream for filling:
- 65 g (⅓ cup) unsalted butter room temp.
- 140 g (1 ¼ cups) powdered icing sugar
- 2 teaspoon milk whole or semi-skimmed
- ½ teaspoon vanilla extract
- ⅛ teaspoon salt optional
Toppings and coating:
- 200 g (7 oz) blue candy melts see notes for swap
- 1-2 teaspoon oil e.g. vegetable, sunflower or canola, optional
- White chocolate or sprinkles to decorate optional
Instructions
Cake for filling:
- Pre-heat oven: 180°C / 160°C (fan) / Gas Mark 4 / 350°F
- Cream together the butter and sugar until pale and smooth.
- Beat in the eggs until fully combined.
- Sieve in the flour and baking powder, folding in gently.
- Stir in the vanilla extract and milk until only just combined.
- Pour the cake batter into a lined 8-inch round cake tin and bake for 20-25mins until springy to touch and a skewer comes out clean.
- Allow the cake to cool in the tin for 15mins before removing from the tin and transferring to a wire rack to finish cooling (roughly another 30mins). Whilst cooling, make the buttercream.
Buttercream for filling:
- Beat the butter (either by hand, using an electric mixer or stand mixer) until pale, light and fluffy.
- Sieve half of the icing sugar into the butter and beat until combined, then repeat this with the remaining half of the icing sugar.
- Add in the milk and vanilla extract, mixing until only just smooth.
Cake pop filling:
- Crumble up your cooled sponge into a large bowl, either using your hands or a fork.
- Using a fork or spatula, thoroughly mix in the buttercream to the crumbled cake until fully combined. Your cake pop filling should be able to hold together like a soft dough.
- Using a tablespoon scoop, make small walnut-sized balls of the filling and roll them into balls in your hands, repeating until you've used all the mix. Place these cake balls on a piece of parchment / greaseproof paper on a flat plate or cookie sheet and refrigerate for 1hr.
Cake pop assembly:
- In a narrow heatproof jug, mug or other container, slowly melt the candy melts in the microwave for 20secs at a time, stirring between bouts until smooth.
- If too thick, stir in the oil, 1 teaspoon at a time, to thin the melted candy until you get a melted chocolate-like consistency.
- Take 4 cake balls from the fridge and dip one end of the lollipop sticks into the melted candy before pushing it halfway into your cake ball.
- Holding the stick, dip your cake ball into the melted candy, covering it completely. Gently tap off any excess back into the container before topping with your sprinkles (if using) and then standing your cake pops in their holder (e.g. cake pop stand or Styrofoam block).
- Repeat the above steps until all of your cake balls are on sticks and have been coated and decorated. Your candy coatings should only take 5-10mins to set at room temperature, then enjoy!
Video
Notes
- If your candy melts start to solidify before you've finished dipping your cake balls, reheat them in the microwaveable jug for a short burst (10-15secs).
- Swap your plain flour for self-raising flour and exclude the baking powder.
- You can swap blue candy melts for white chocolate with an oil-based blue food colouring.
- If you don't have an 8-inch round cake tin, you can instead use a 6-inch round cake tin and bake your sponge for 25-30mins instead.
Nutrition
Nutritional information is an estimate based on an online nutritional calculator, actual values may vary.


Jess says
Love these!