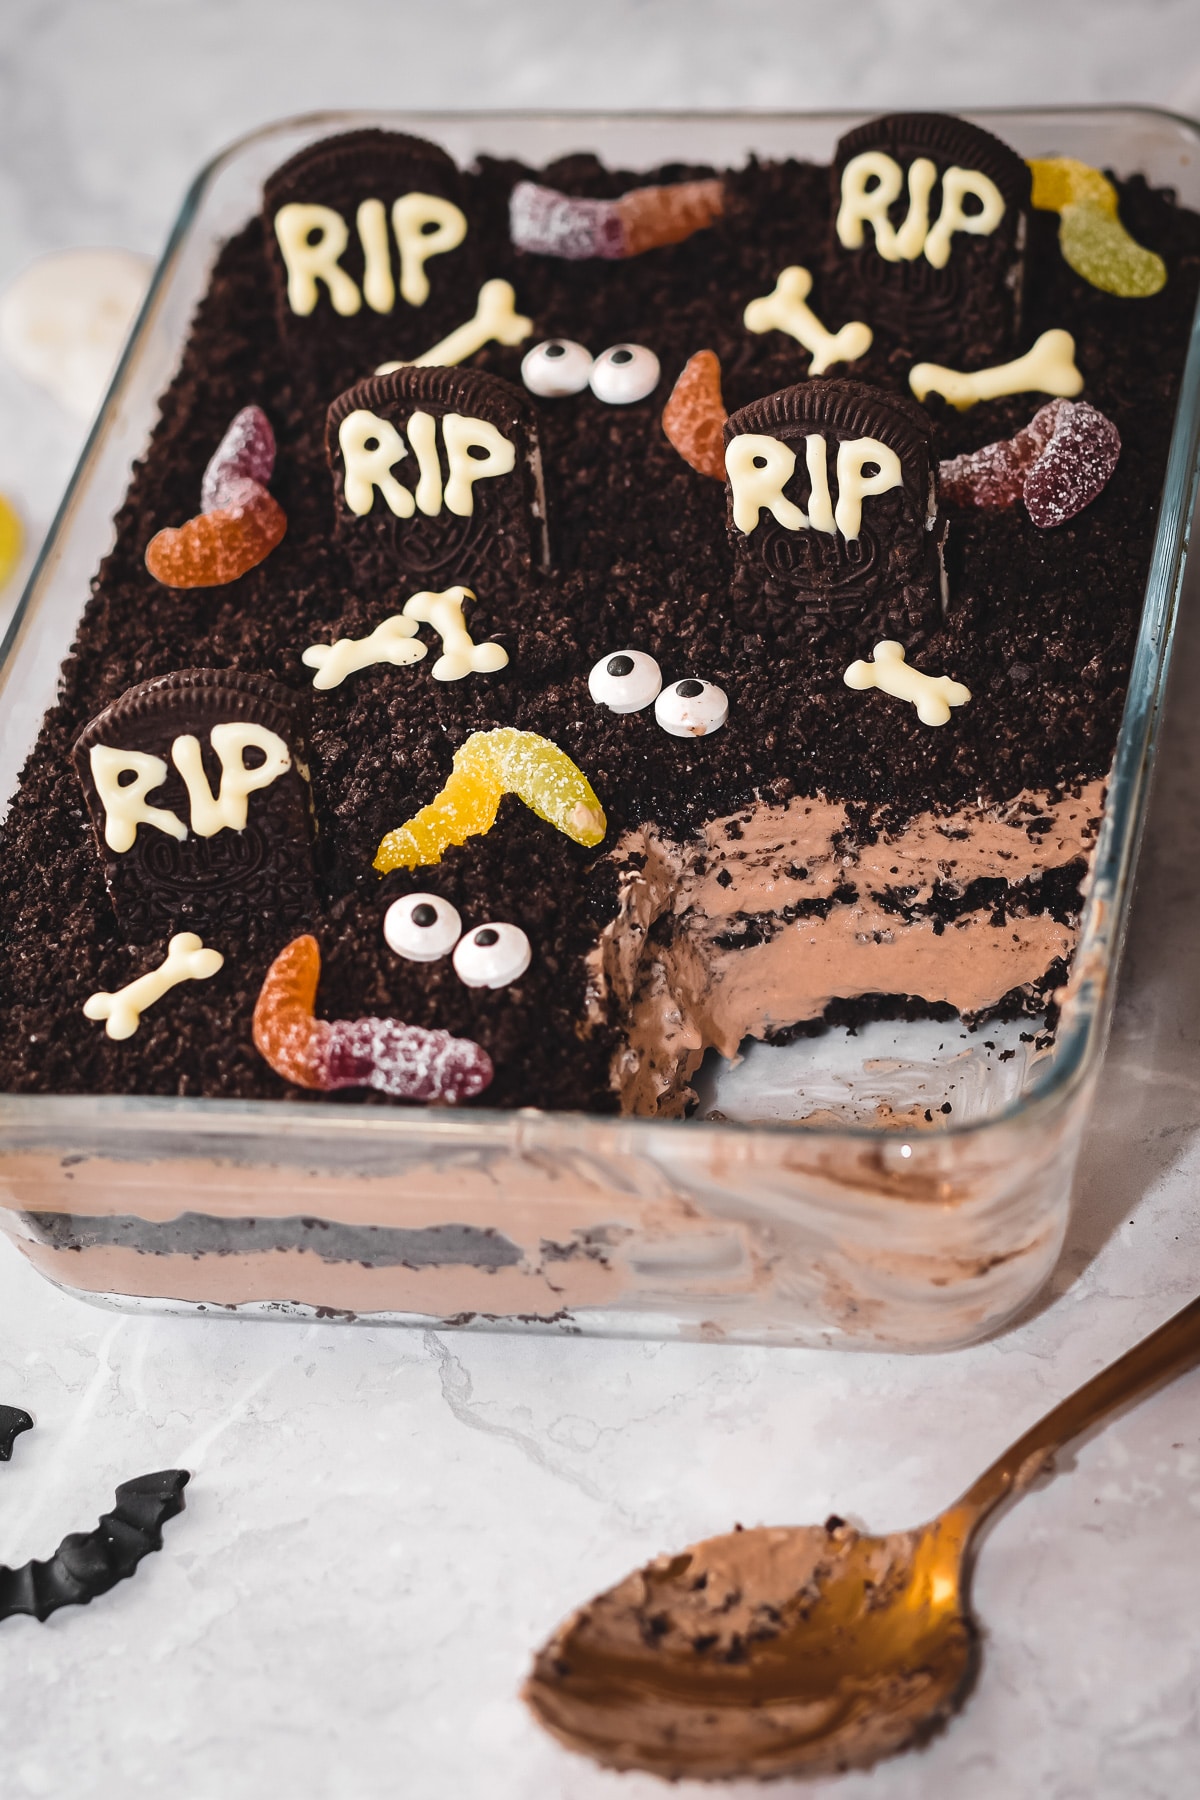
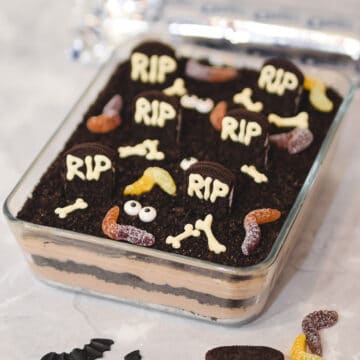
This easy no-bake Halloween graveyard dirt cake recipe is a spooky twist on the classic dirt cake. Creamy and simple, it uses layers of crushed Oreos and an instant chocolate pudding cream cheese mix. No cool whip needed!
Jump to:
✏️ Why you'll love this recipe
A dirt cake is a classic easy no-bake dessert, and this Halloween twist makes it perfect for the spooky season! Especially for a Halloween party or themed dessert table.
This spooky dirt cake is full of Oreos, super simple and kids love to help make it. Your little ones can get involved with all of the fun decorations especially. It's so much fun to make!
As cool whip isn't available in a lot of countries, I wanted to create a Halloween dirt dessert without cool whip. It uses freshly whipped cream instead, making it extra creamy and delicious.
This recipe makes a medium-sized pudding perfect for a family dessert. Double it for a bigger crowd and use a bigger dish or individual cups for the extras.
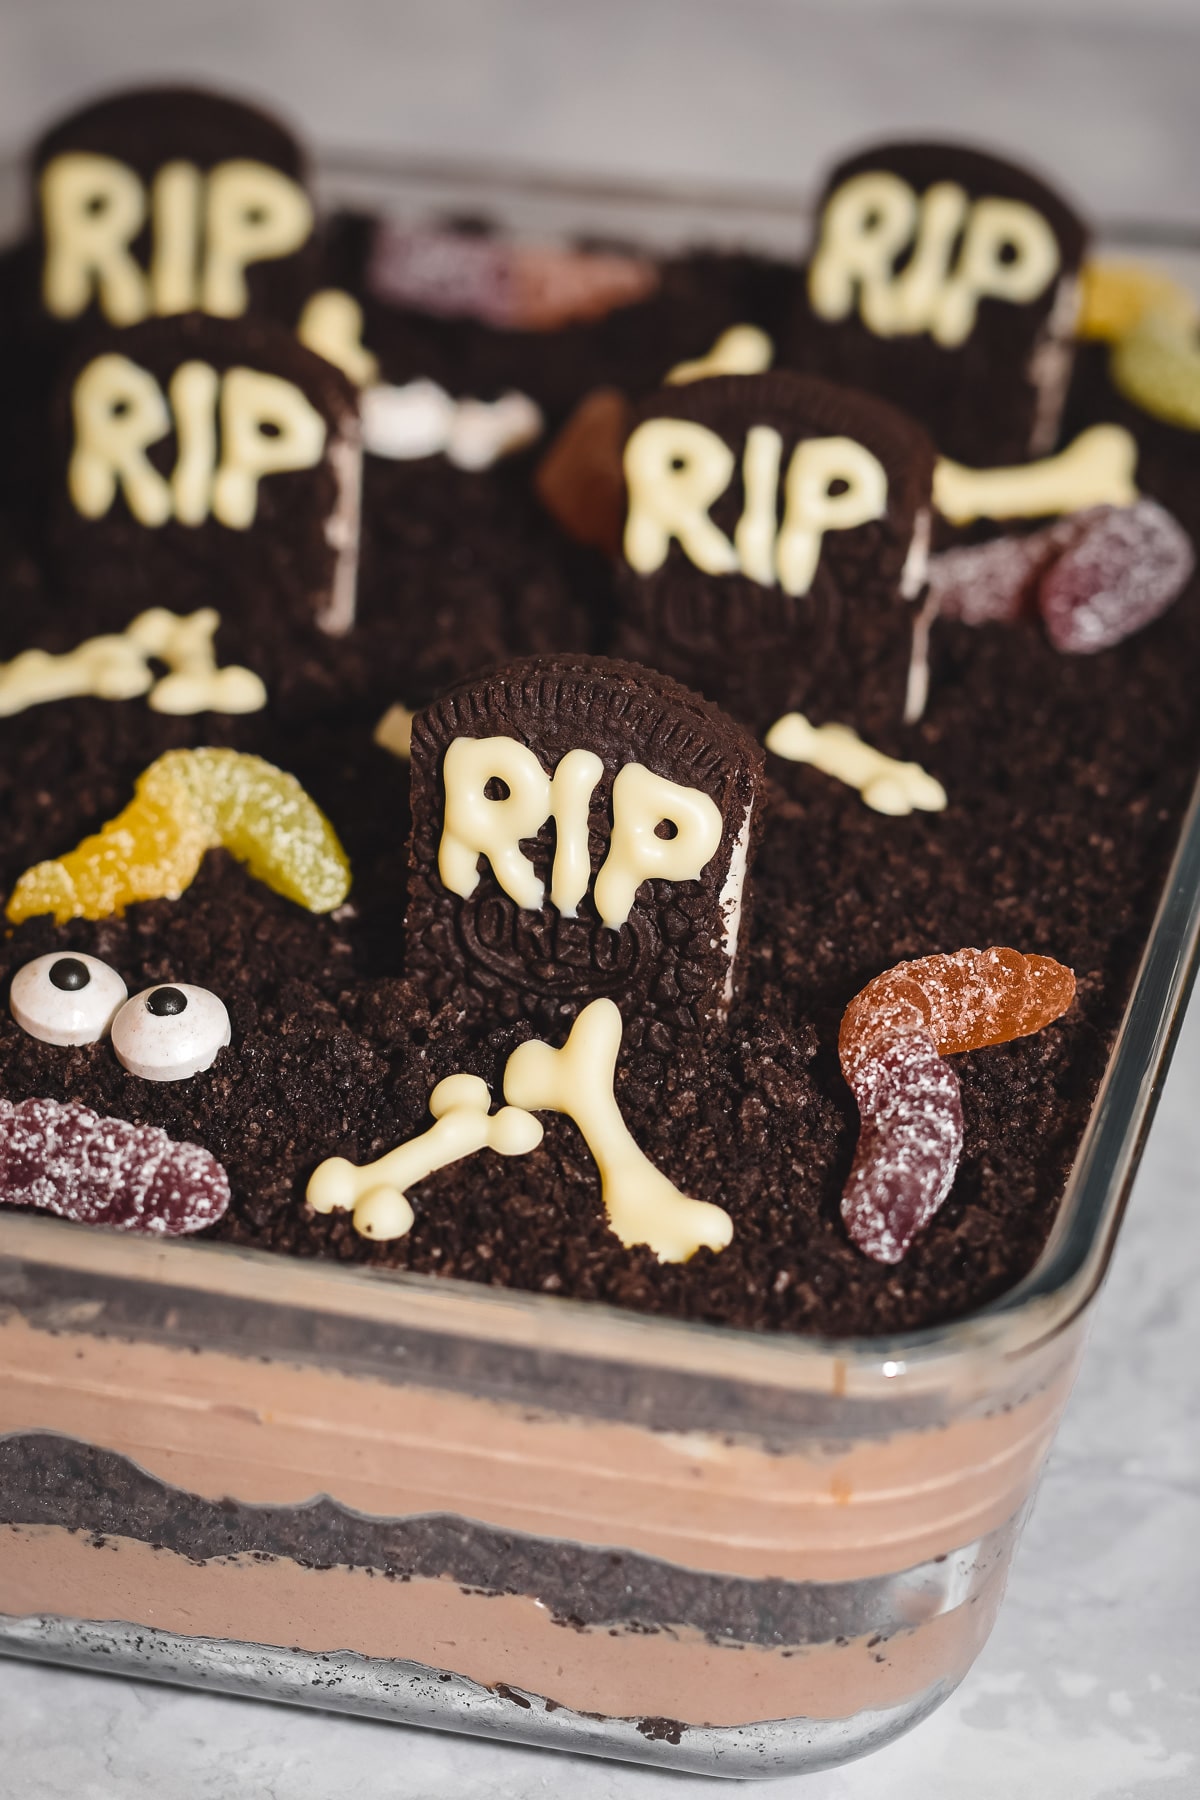
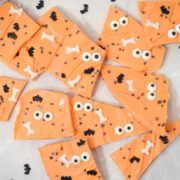
The best thing is that you can decorate your Halloween dirt cake with all your favourite Halloween candy! I love making Oreo gravestones and white chocolate bones, topped with candy eyes, gummy worms and candy corns.
🥘 Ingredients
This graveyard dirt pudding recipe calls for the following ingredients:
Dirt cake
- Oreos
- Unsalted butter: allows you to control the salt content.
- Chocolate instant pudding mix (e.g. angel delight): the type where you just add milk and let it set.
- Milk
- Cream cheese: must be full-fat, use a good brand like Philadelphia.
- Icing sugar (powdered confectioners sugar)
- Heavy cream (e.g. double or whipping): cold from the fridge so it's easier to whip.
Optional decorations
- Oreos
- White chocolate
- Gummy worms
- Halloween candy (e.g. candy eyes, bones and/or pumpkins)
See recipe card for quantities.
Top tip: For accuracy, it's best to weigh your ingredients rather than using cups.
♻️ Substitutions / Variations
Ingredient substitutions
I love using real Oreos for this recipe, but you can substitute them for any chocolate sandwich cookies of your choice. Oreos also has different flavors that you can try instead.
I'm a big fan of using chocolate flavored instant pudding mix for this recipe, but you can instead choose another pudding flavor. For example, why not try French vanilla pudding or butterscotch angel delight instead.
Instead of using white chocolate to write on your gravestones, you can use a water icing (a.k.a glace icing). Stir a small amount of warm water to a few tablespoons of icing sugar until you get a thick paste. Pipe this onto your cookie tombstones and let it set.
Equipment alternatives
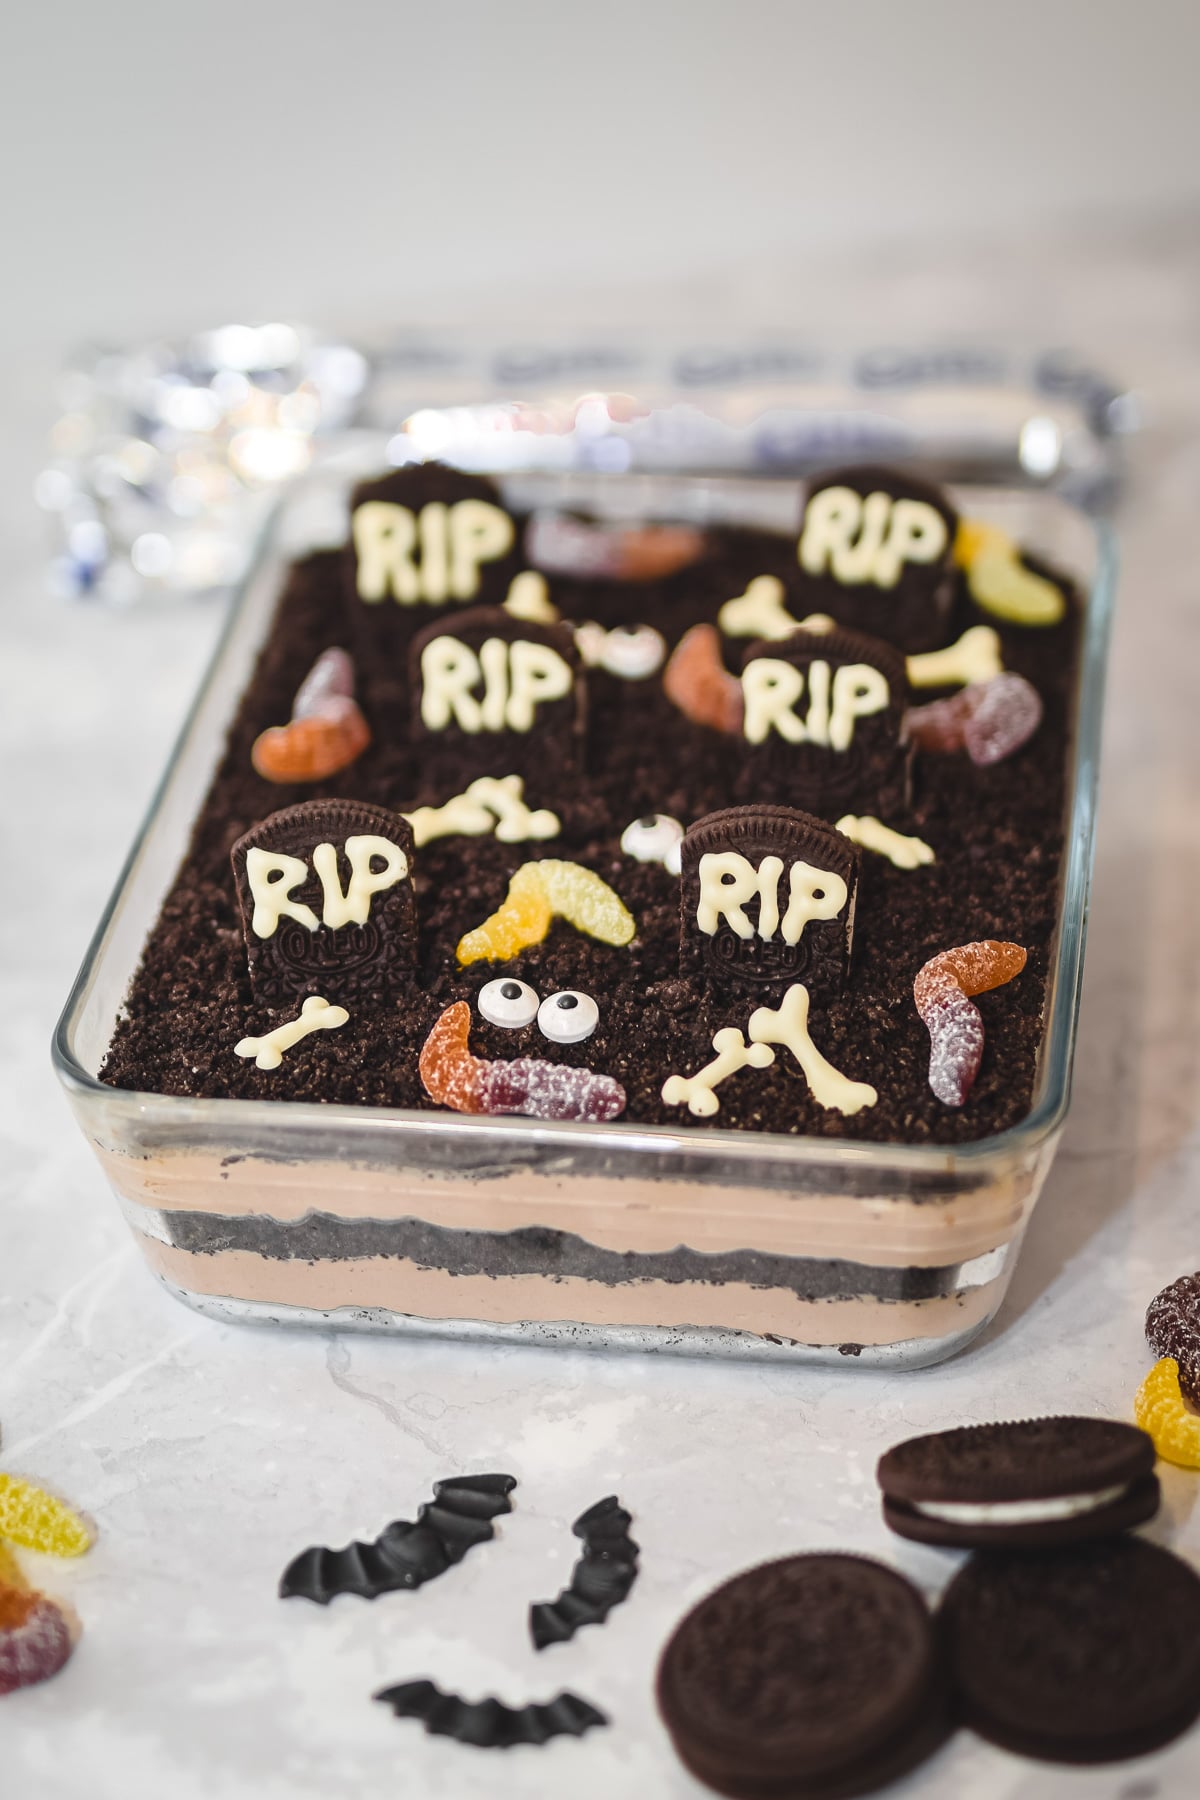
I usually make this dirt cake in a rectangular glass dish 6inch x 8inch size (roughly 3-cup), but any small-medium sized dish will work, such as a casserole or trifle dish. For a larger dish such as 9 x 13inch, try doubling the recipe.
You can also make Halloween dirt pudding cups by layering your dessert into individual clear plastic cups. This is also a great way to use up any leftover mix if your dish is smaller.
To decorate your cookie gravestones, you can use a piping bag with a small round nozzle (e.g. Wilton #3 piping tip) to write with melted white chocolate. Alternatively, you can use a plastic freezer bag (i.e. a Ziploc bag) and cut the corner off, once filled with melted white chocolate, making a small hole.
It's easiest to use a food processor to crush your Oreos to fine crumbs, but you can instead put your cookies in a plastic freezer bag and press them with a rolling pin against a hard surface.
Flavor options
I love making an oreo chocolate dirt cake, but you can have a vanilla flavor by swapping the chocolate pudding mix for an instant vanilla pudding mix. Add 1 teaspoon of vanilla extract to the cream cheese mix for extra vanilla flavor!
You can also swap your chocolate Oreo cookies for another flavor of cookie, such as mint, peanut butter, red velvet or pistachio.
Add more chocolate goodness to your pudding layer by stirring in chocolate chips to the cream cheese pudding mixture.
You can also add a layer of chocolate ganache to the top of your pudding before the Oreo dirt layer. Try this Bailey's chocolate ganache for a grown-up Halloween dirt cake.
📖 Method
Dirt cake
- Crush the Oreos to fine crumbs using a food processor. Set aside ½ cup / 75g for later in an airtight container and pour the rest into a medium mixing bowl. In a heatproof bowl, melt the butter (in the microwave for 30secs) and stir into the crushed Oreos.
- Press half of the Oreo butter mixture into the base of your dish. Refrigerate this and leave the other half on the side at room temperature.
- In a medium bowl, stir together the milk and pudding mix until smooth, then refrigerate.
- Using a stand mixer or a hand mixer in a large mixing bowl, beat the cream cheese and icing sugar until fully combined. In a separate bowl, whip the cream using a hand mixer or stand mixer until stiff peaks form.
- Fold the whipped cream into the cream cheese mixture then gently stir in the instant pudding until smooth.
- Pour half of the cream mixture into your dish, smoothing gently, then evenly layer on the other half of the Oreo-butter mixture.
- Smooth the remaining cream mixture on top and refrigerate for at least 3hrs or overnight before sprinkling over the ½ cup / 75g crushed Oreos and decorating.
Decorations
- If using, cut two sides off of 6 or more Oreos to make gravestones. Melt white chocolate in a heatproof bowl in the microwave (20 secs at a time).
- Add this to a piping bag with a small round tip (or plastic bag with the corner cut off) and write "RIP" on the Oreos. Allow this to set for 5mins then push these into the top of your dirt cake.
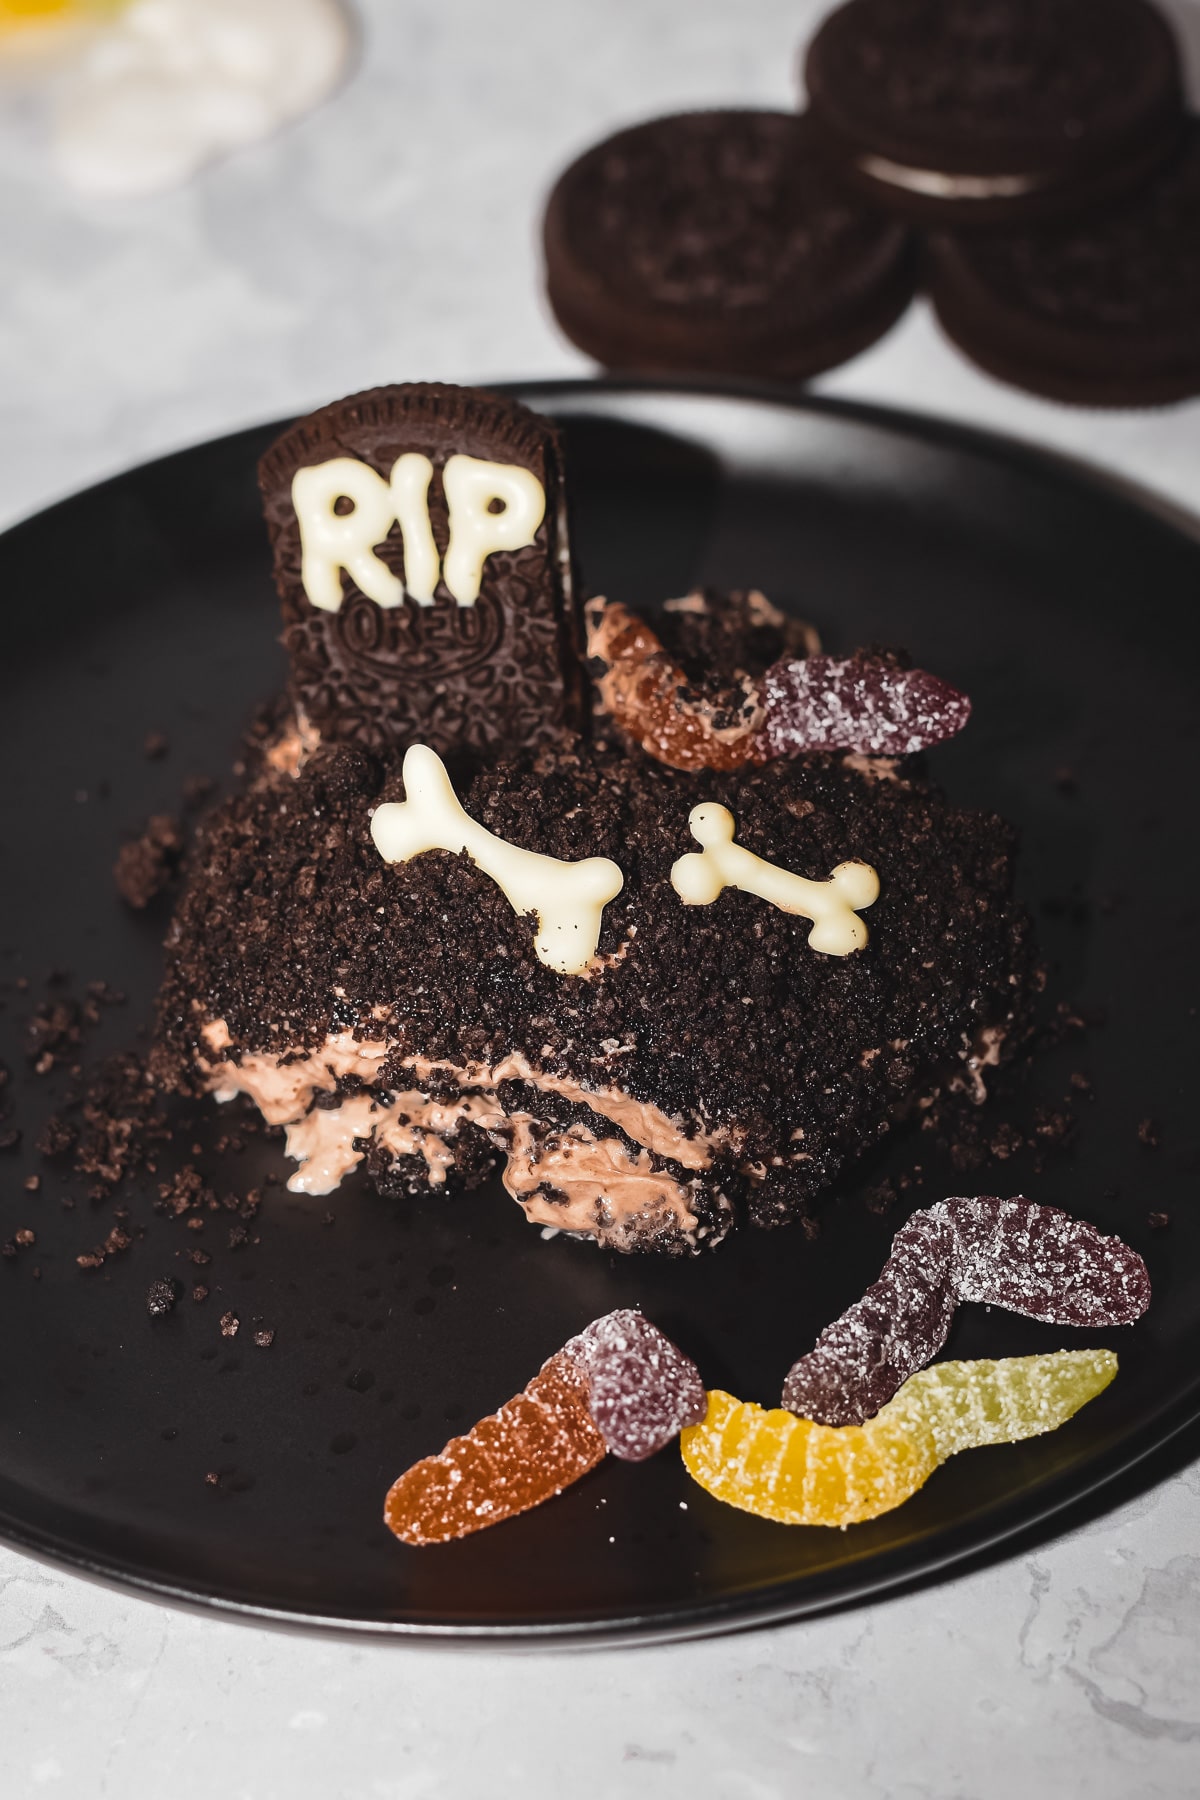
- Use any leftover white chocolate to draw small bones onto a piece of greaseproof paper, then peel them off once they've set (roughly 5mins) and add them to your dirt cake.
- You can also decorate your dirt cake with gummy worms and other Halloween candy, then enjoy!
💭 Top tips
- For a crunchy crushed Oreo top layer, only add this and the decorations after your dirt cake has set, right before serving.
- Your spooky dirt cake should set in the fridge after 3hrs, but it's best left overnight.
- To write on your tombstone cookies, only cut a very small hole in your ziploc bag. Otherwise, it's difficult to write small enough letters. You can practise writing first on a piece of parchment (greaseproof paper).
- Use any leftover melted white chocolate to draw bones onto greaseproof parchment paper. Make chocolate bones by blobbing four dots spaced at the corners of an imaginary rectangle, then drawing a single line between them to connect them.
- Different brands make different amounts of instant pudding per packet. One packet of Angel Delight is usually 56g / 2oz of powder. The Jell-O or Royal brands (and many other US brands) usually make double this so use half a packet of these brands for this recipe.
- For a smoother pudding mixture, slowly add the cold milk to the pudding mix, stirring continuously until smooth.
🎂 Decoration ideas
One of the best things about a Halloween dirt cake is the fun decorations! This graveyard cake has tombstones made from sandwich cookies, but you can use any shaped cookie or biscuit (such as Milano cookies) of your choice.
I've also used candy eyes, candy worms and little white chocolate bones to decorate my dirt cake. Instead, you can try a pumpkin dirt cake by adding candy pumpkins or these pumpkin cake pops (just remove the sticks!).
Go wild and add edible bats, ghosts, skulls or fake flowers too. Basically, throw on as many tasty creepy things as you can bury in the chocolate soil.
Drawing with white chocolate
You can draw little Halloween designs with melted white chocolate. For example, here I've drawn small bones out of white chocolate.
Simply melt your white chocolate (20secs at a time in the microwave) then add it to a plastic freezer bag (or piping bag with small round tip) and draw onto greaseproof paper (parchment).
Allow your chocolate to set (room temperature for 5-10mins or fridge if it's hot where you live) and then carefully peel them off.
❔ Recipe FAQs
Your chocolate dirt cake should last for up to 4 days stored in the fridge.
Yes! You can freeze your undecorated dirt cake in a freezer-safe dish and wrapped in a layer of cling film for up to 3 months.
It's best to freeze un-decorated and note that your crumbled cookies will be soft and not crunchy if doing this.
Yes, you can make your dirt cake ahead of time and leave it undecorated (including the top layer of Oreo dirt) and freeze it. Defrost before you add your top soil layer and decorations, then enjoy.
Alternatively, you can make the undecorated dirt cake a few days in advance and store this in the fridge wrapped in cling film until you are ready to decorate it and serve. Note your dirt cake will only last roughly 4 days in total.
To make a gluten-free dirt cake, swap your Oreos for a gluten-free sandwich cookie of your choice.
Your other ingredients should be gluten-free, but always check the labels just in case!
🎃 Other goodies
Looking for some other spooky recipes for the Halloween season?
For more Halloween desserts, check out this pink Halloween party cake, poorly pumpkin patch cake, spiderweb orange cake or tequila rose skull cake.
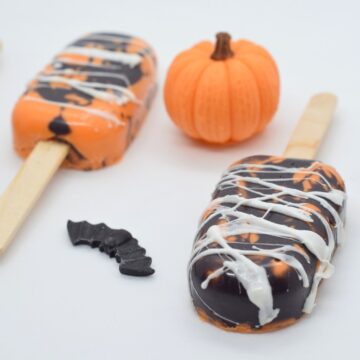
For more spooky recipes perfect for your next Halloween party dessert table, give this easy 2-ingredient Halloween bark, spiderweb cakesicles, scary unicorn cakesicles and pumpkin cake pops a try!
Or if you love a scarily good cake pop, check out this list of the best Halloween cake pops recipes.
Other Related Recipes:


Looking forward to some new recipes? Check out my Youtube, Facebook, Instagram and Pinterest pages for a few sneak peeks and some sweet inspiration!
Or if you'd like to hear about our latest recipes, why not subscribe to our newsletter?
📖 Recipe
Halloween Graveyard Dirt Cake
Rate this recipe here:
Equipment
- Greaseproof paper (optional)
Ingredients
Dirt cake
- 310 g (2 cups) Oreos 2 packets
- 50 g (3 ½ tablespoon) unsalted butter
- 1 packet (roughly 60 g / 2 oz) chocolate instant pudding mix e.g. 1 Angel Delight pack or ½ Jell-O pack
- 275 ml (1 cups) milk whole or semi-skimmed
- 250 g (1 cups) cream cheese full fat
- 70 g (½ cups) powdered icing sugar
- 125 ml (½ cups) heavy cream e.g. double or whipping
Optional decorations
- ½ packet Oreos roughly 6+ for tombstones
- 35 g (¼ cups) white chocolate for writing / drawing
- gummy worms
- Halloween candy e.g. candy eyes, bones and/or pumpkins
Instructions
Dirt cake
- Crush the Oreos to fine crumbs using a food processor. Set aside ½ cup / 75g for later in an airtight container and pour the rest into a medium mixing bowl.
- In a heatproof bowl, melt the butter (in the microwave for 30secs) and stir into the crushed Oreos.
- Press half of the Oreo butter mixture into the base of your glass dish. Refrigerate this and leave the other half on the side at room temperature.
- In a medium bowl, stir together the milk and pudding mix until smooth, then refrigerate.
- Using a stand mixer or a hand mixer in a large mixing bowl, beat the cream cheese and icing sugar until fully combined.
- In a separate bowl, whip the cream using a hand mixer or stand mixer until stiff peaks form.
- Fold the whipped cream into the cream cheese mixture then gently stir in the instant pudding until smooth.
- Pour half of the cream mix into your dish, smoothing gently, then evenly layer on the other half of the Oreo-butter mixture.
- Smooth the remaining cream mixture on top and refrigerate for at least 3hrs or overnight before sprinkling over the ½ cup / 75g crushed Oreos and decorating.
Decorations
- If using, cut two sides off of 6 or so Oreos to make gravestones. Melt white chocolate in a heatproof bowl in the microwave (20 secs at a time).
- Add this to a piping bag with a small round tip (or plastic bag with the corner cut off) and write "RIP" on the Oreos. Let this set for 5mins then push these into the top of your dirt cake.
- If using, draw small bones onto greaseproof paper with the remaining melted white chocolate. Let these set for 5mins then add to your dirt cake.
- You can also decorate your dirt cake with gummy worms and other Halloween candy, then enjoy!
Notes
- For a crunchy crushed Oreo top layer, only add this and the decorations after your dirt cake has set, right before serving.
- Different brands make different amounts of instant pudding per packet. One packet of Angel Delight is usually 56g / 2oz of powder. Jell-O or Royal brands usually make double this, so use half a packet of these brands for this recipe.
- If you don't have a piping bag and a small round tip, fill a plastic freezer bag with melted white chocolate and cut off a tiny piece from one corner to write with.
- If you don't have a food processor or blender, crush your sandwich cookies in a sturdy plastic freezer bag and press with a rolling pin.
- Try different flavours of instant pudding mix and oreo cookies. Plus decorate with any of your favourite Halloween candy!
Nutrition
Nutritional information is an estimate based on an online nutritional calculator, actual values may vary.


Comments
No Comments