Hey, we've all been there... which way up does that springform tin's base go?!
Well, let me tell you! This is a trick that I learned which has helped me get many a cheesecake out of the tin hassle-free.
Also, I recommend using a good quality springform cake pan for your baking needs. I'm a fan of the masterclass springform tins! The clip hasn't failed me yet!
Jump to:
The base
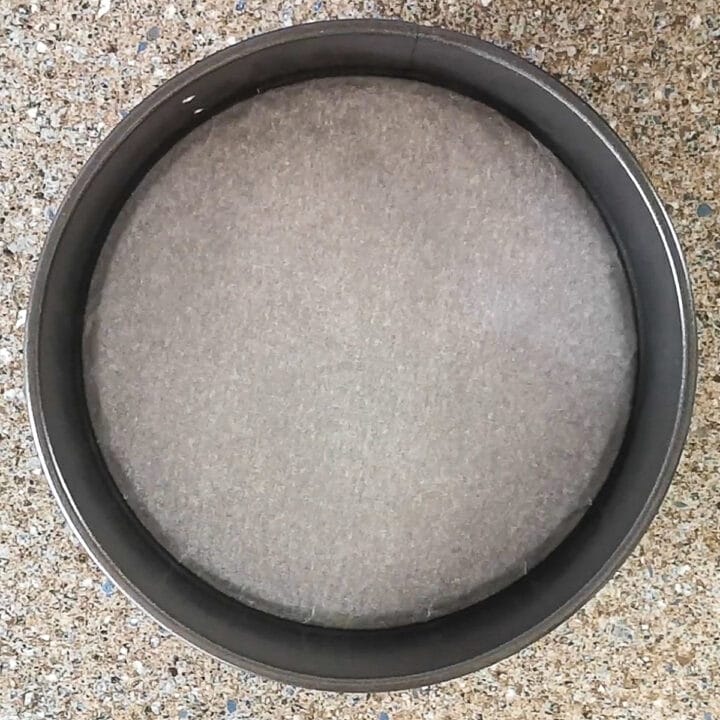
I like to flip my springform tin's base upside-down. This way the base is higher than the lip it clips into. Otherwise, getting your cheesecake out can be a nightmare and they don't have as flat a bottom.
Using the base upside-down also makes it easier to line your tin, as you can pull the sides taught.
It also means the bottom edges of your dessert won't crumble apart as easily.
The lining
To line a springform cake tin, I use a sheet of non-stick greaseproof paper, which is also known as baking paper or parchment paper.
Simply cut off a square or rectangle of the paper to fit your
It usually comes in either white or brown and either works fine. The paper is special because it has a non-stick coating, such as silicone or quilon, that allows you to remove your cake or cheesecake with ease.
There is a reusable version of the greaseproof paper, which also works well. However, make sure you take your cheesecake or cake off the reusable paper before you try cutting your dessert or you’ll get holes in it.
To grease or not to grease
For a cheesecake, I don’t grease my tin. For me, lining it with greaseproof paper is effective enough!
However, if you’re baking a cake in your tin, I would recommend that you grease the top of the paper as well as the sides. I usually use butter or oil to grease my tins, but cake release spray is also great.
How to line your springform tin step-by-step
- Unclip your springform cake pan and separate the sides from the base.
- Cut a piece of greaseproof paper to fit longer and wider than the size of your base. I like to leave a minimum of a few inches on either side.
- Flip your base upside-down (so the flat part is higher than the lip).
- Place the greaseproof paper over the upside-down base and fit the metal siding over the top.
- Push the base up slightly from underneath so that the lip in the base catches in the indent in the tin's sides.
- Close the clip around the inverted base.
- Pull the edges of your paper taught to smooth out the lining and it's ready for use!
Video
Check out this handy video below for an easy demonstration of how to line a springform tin.
Suggested uses
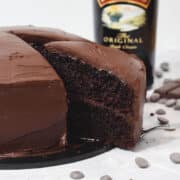
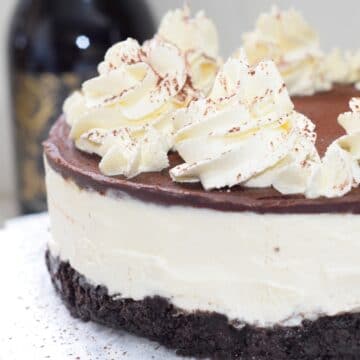
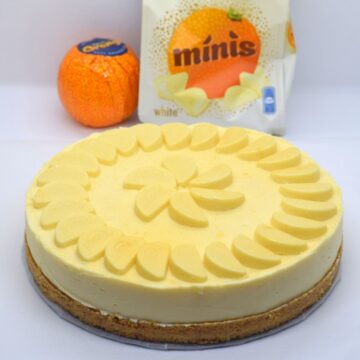
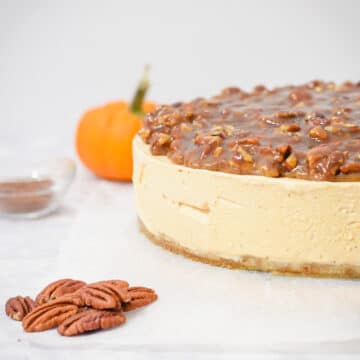
Once you've got your lined tin, you might like to use it to make some of the following tasty cakes and cheesecakes!
Just a note, I don't recommend making your cakes in a springform tin if they're a very thin batter!
See more cheesecake recipes →
Looking for some sweet inspiration? Subscribe to our newsletter for regular updates on tasty treats, tips and more!
Sharing is caring:











Comments
No Comments