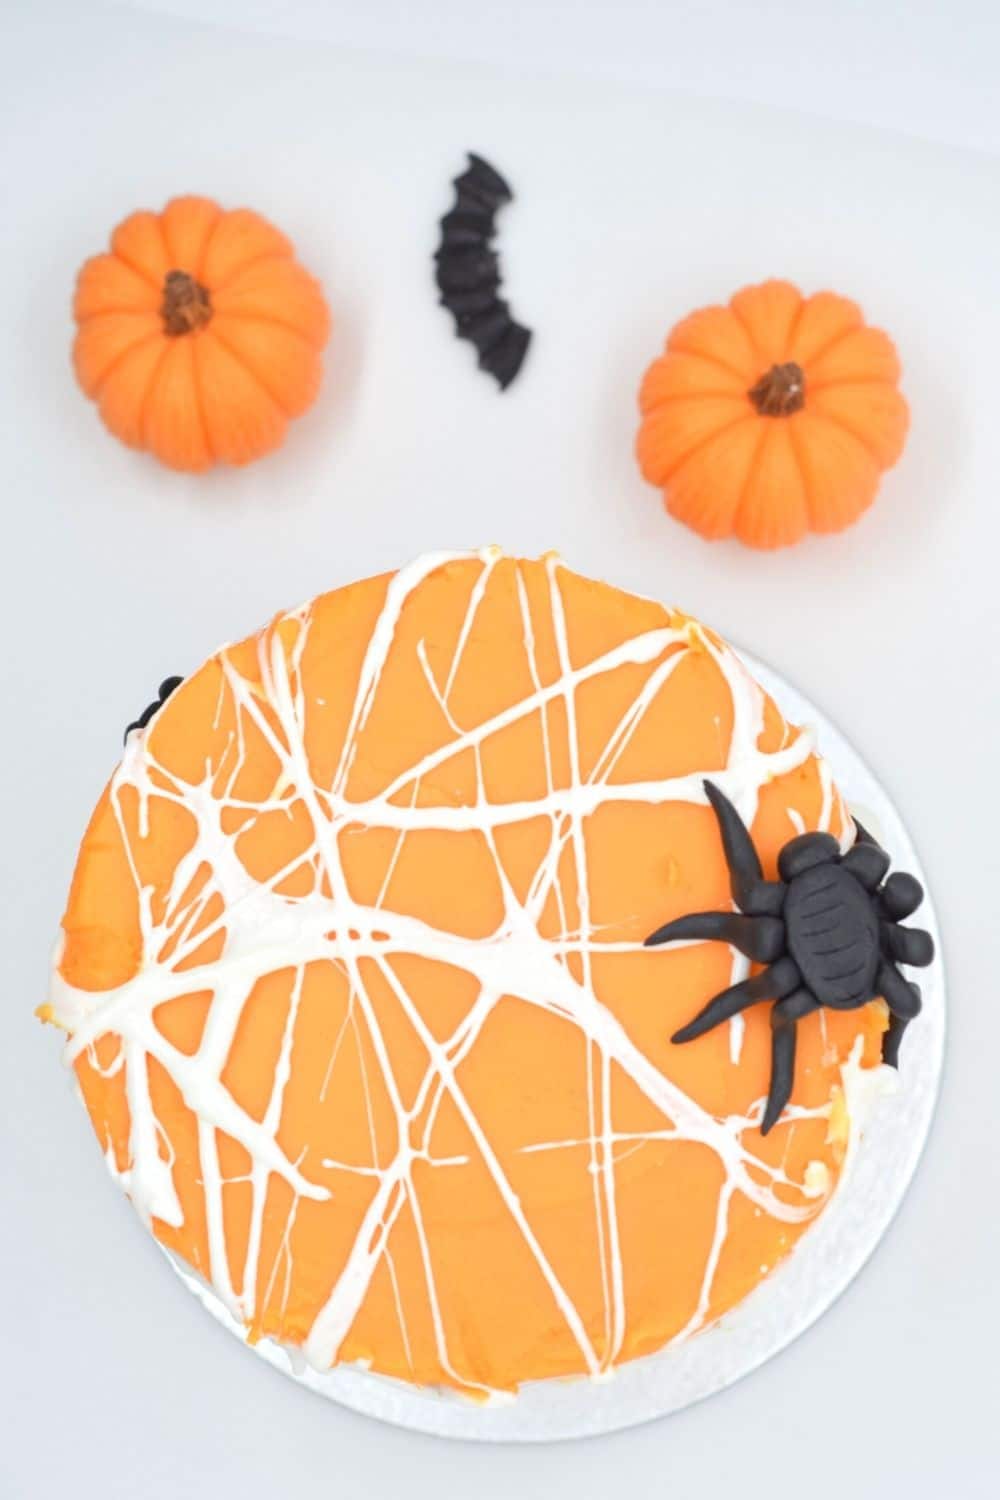
Feeling spooky? This spiderweb orange and vanilla mini cake is perfect for a Halloween treat! Or to be honest, any time you fancy freaking someone out with a cute and creepy spider-themed cake.
Jump to:
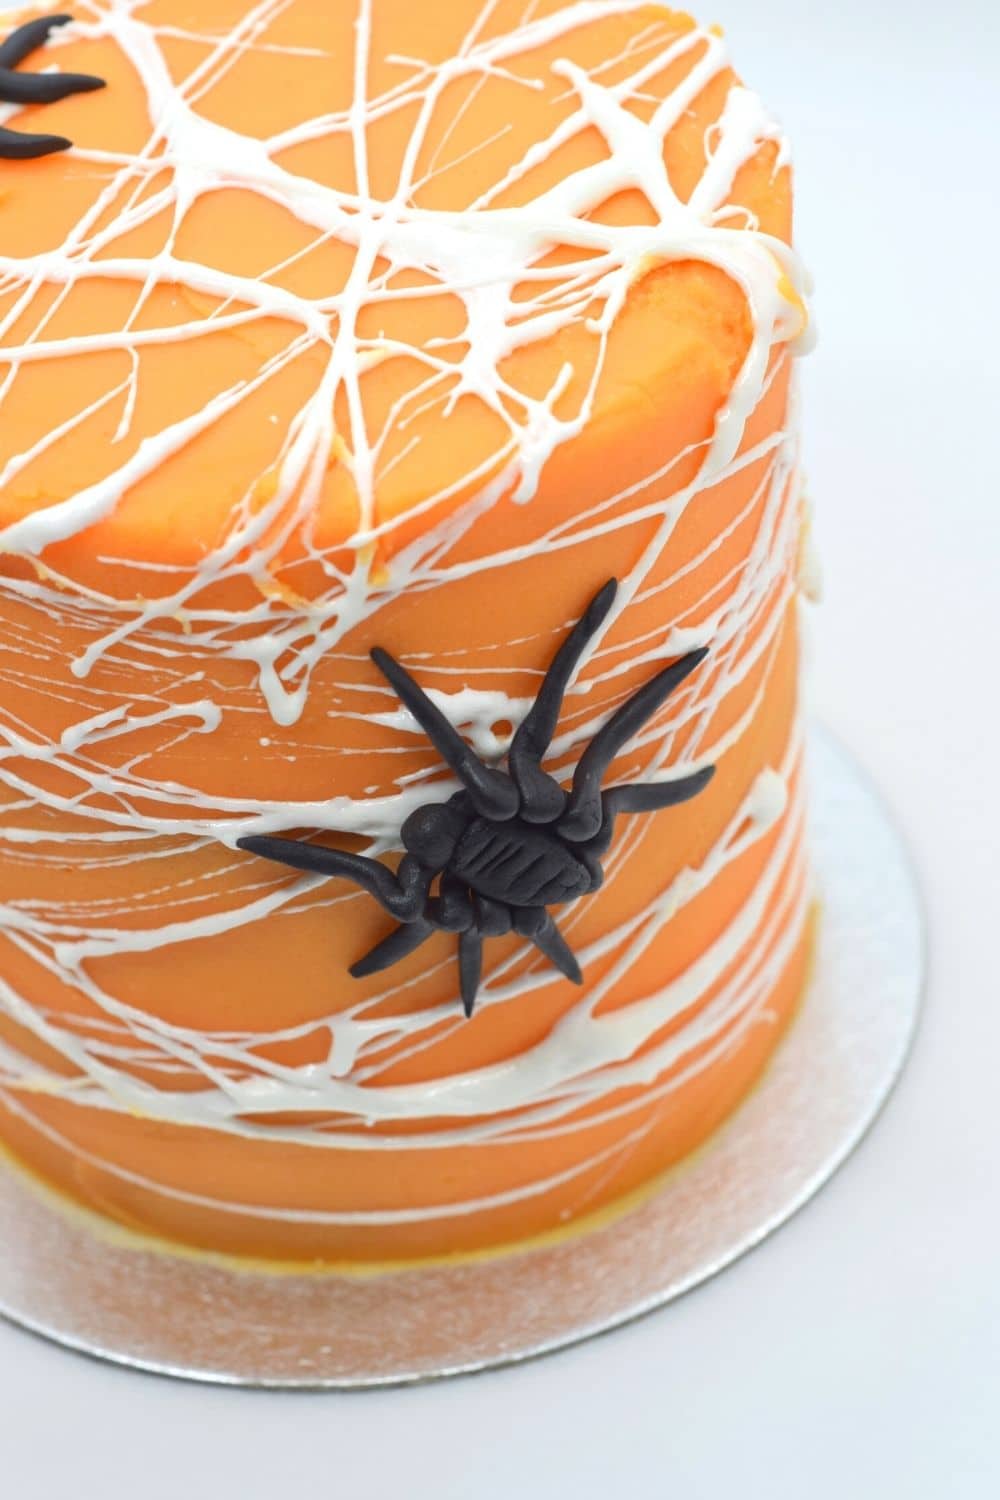
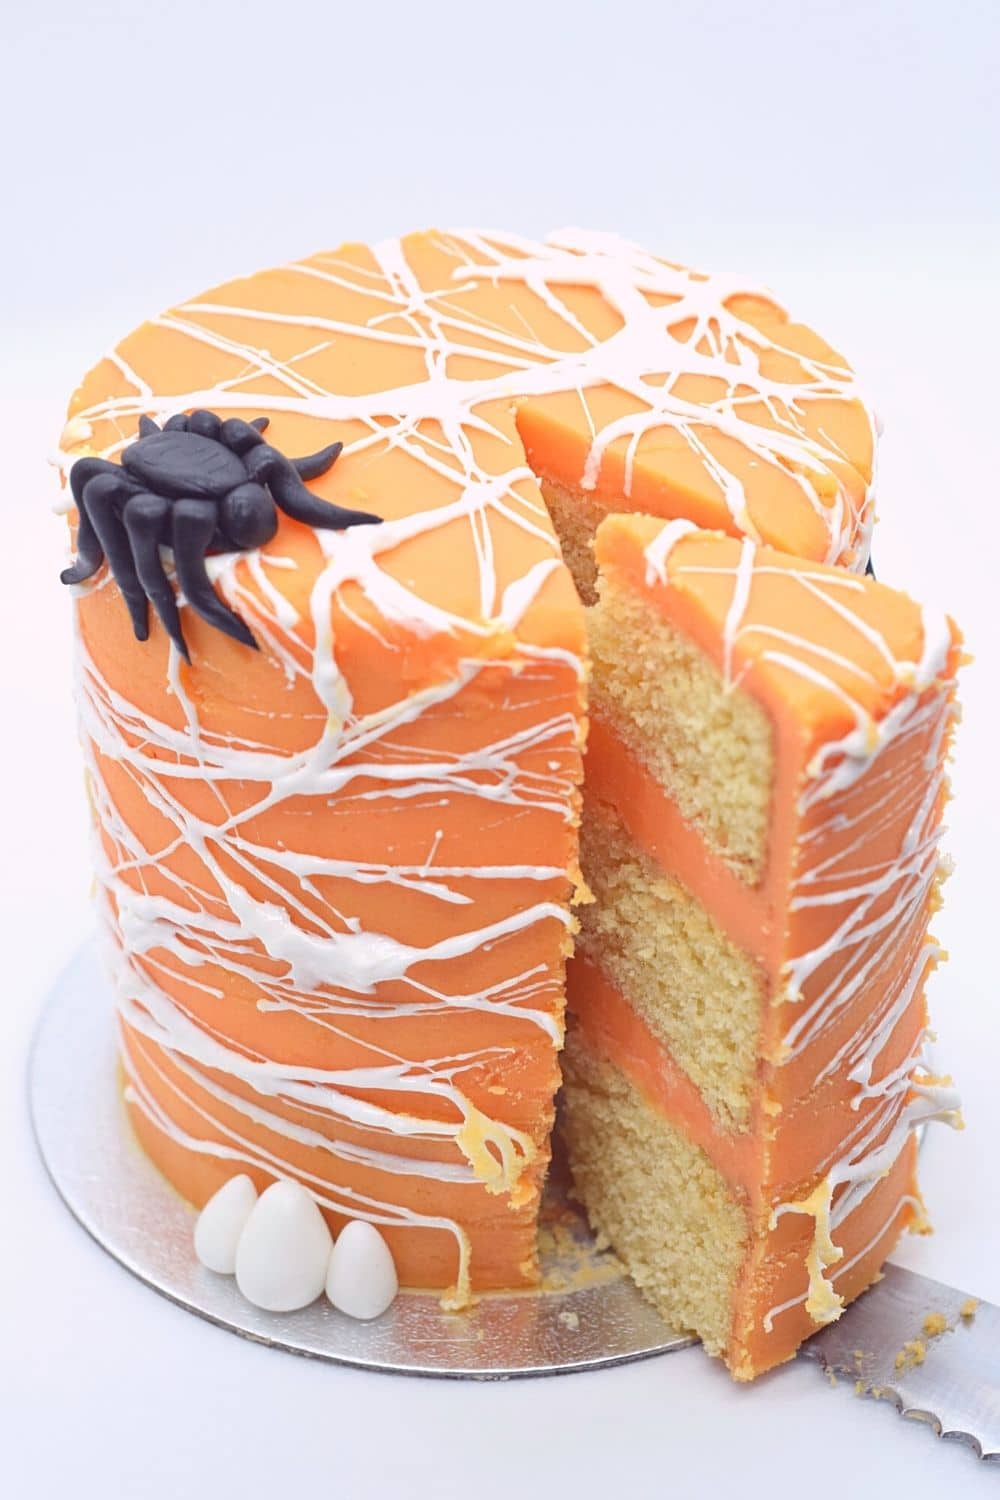
Three layers of delicious vanilla sponge are sandwiched with an easy orange buttercream and then the whole cake is wrapped in tasty marshmallow spiderwebs and then topped with a few spiders made of fondant icing. This easy cake not only looks hauntingly good but tastes pretty amazing as well!
I’m a HUGE fan of all things spooky and cute, so Halloween is one of my favourite Holidays. I love giving this cake as a little Halloween treat to friends and family, or just snaffling it all to myself. It also makes a great Halloween birthday cake for adults.
✏️ Recipe creation
Using marshmallows to make spiderwebs wrapping around a cake is one of the best and simplest spider Halloween cake ideas. I wanted to include little edible spiders as Halloween cake toppers too. This definitely ups the fear factor for me as I’m scared of spiders! I kept catching the cake out of the corner of my eye and jumping. Trust me, this cake makes for one scary Halloween cake idea.
I tried making the spiders using a silicone mould I’d bought online, but the leg cavities were so thin I couldn’t get either fondant icing, chocolate or candy melts to survive the removal process. Instead, I tried to get creative and model it myself – much simpler and less mess!
One of my favourite things about this recipe is that you don’t need to be wasting time grating the zest off of an orange to have a beautifully flavoured frosting. Using orange extract gives such an amazing flavour, and saves a nice bit of time / grating your fingers.
I did test making the orange buttercream frosting using fresh orange zest, and don’t get me wrong, it’s definitely delicious, but I like the orange extract flavour just as much. It’s also an ingredient that is readily available in most supermarkets where I am in the UK.
🥘 Ingredients notes
- Always sieve your flour, baking powder and confectioners sugar (icing sugar). I used to be pretty lazy and skip this step, but it really makes such a difference to get you a smooth cake batter and buttercream frosting.
- When measuring your ingredients, I always recommend using weights rather than cups where possible for greater accuracy. This is especially important for the amount of flour.
- As with many of my baking recipes, I recommend starting with room temperature ingredients for your cake and buttercream. This will improve the consistency and ease at which your ingredients will mix together.
🔪 Equipment notes
- Use measuring spoons for your teaspoon and tablespoon amounts where possible. Be sure to level off the heaped ingredients in your scoops before adding them to your mix.
- If you're planning to use a stand mixer, I would recommend using the paddle attachment to make your cake batter and / or buttercream frosting. I usually use a low speed for this cake batter. For the orange buttercream frosting, I use a medium speed on a stand mixer. Note that a hand mixer will work just as well though!
- When icing your mini layer cake, using a cake turntable is a lifesaver! It's so much easier to get a smooth top and sides when you use a cake scraper (or bench scraper) and an offset spatula.
🍱 Storage
Once decorated and finished, it's best to store your cake in an airtight container. This spiderweb vanilla mini cake with orange buttercream frosting should keep for several days at room temperature.
If it's quite hot where you live, I'd recommend storing your cake in the fridge instead of at room temperature.
If you want to freeze your spiderweb cake, you can wrap the unfrosted vanilla mini cake sponges in plastic wrap / cling film and a layer of foil and then freeze them.
Your buttercream frosting can also be frozen in an airtight container.
Both should keep for up to 1-2months in the freezer. Defrost and use as normal per recipe. The buttercream may need to be beaten again to whip up to nice and fluffy before use.
💭 Top tips
Cake baking tips:
- When making cakes with raising agents (i.e. using self-raising flour, baking powder, baking soda, etc.) such as this one, try to not over-mix your cake batter. The texture of your vanilla mini cake will be dense rather than a light and airy sponge.
- Don’t open the oven mid-bake. You’ll have probably heard this advice before, but it’s such an important factor that it bears repeating. I’ve been there before and nobody likes a cake with a sinkhole!
Orange buttercream frosting tips:
- When making your buttercream, make sure to use room temperature butter. Your butter should be soft enough to indent when you press it but not so soft you can squidge all the way in.
- For a gorgeously creamy buttercream, start by beating your butter until it’s light and fluffy. It could just be me, but this always seems to take longer than I think. It should be several minutes of beating the butter if using a stand/electric mixer. This will go a long way in giving you creamy and light frosting.
- When making the orange buttercream, I like to add a few drops of food coloring to really make them stand out. This is completely optional, but I think it adds an extra touch. I always recommend using food colouring gel instead of the liquid type, as this won’t affect the consistency of your icing.
- Another buttercream colouring tip is to only add the colouring a drop at a time, and to note that your colour will develop and strengthen over time. This means that you should stop adding more colouring a shade lighter than you’d like your final colour to be.
Spider and spiderweb decoration tips:
- When making the spiderwebs, it’s best to work quickly. When your marshmallows are fresh out of the microwave, they have more stretch and are much easier to work with. As the marshmallow cools, it will become more brittle and be more like to snap rather than wrap beautifully around your cake.
- When making your fondant spider decorations, the temperature can play a big factor. If it’s too warm or you’ve worked your icing quite a bit, it will be hard for your thin spider legs to keep their shape, and they may wilt. This isn’t a big issue, but you can always pop your spider legs in the fridge for 5-10mins to firm up a little before you attach them to the spider body.
Troubleshooting
If you’ve got any specific questions on making your Halloween spiderweb orange and vanilla mini cake, please feel free to leave a comment below and I’ll try my best to help out!
Alternatively, you can get in touch via my Facebook, Instagram or Pinterest – I’d love to hear from you!
♻️ Alternatives and substitutions
Food colouring:
Don’t have orange food colouring? Go back to your primary school colour wheel and mix a few drops of red and yellow food colouring together.
Can you substitute orange extract?
Yes, you can substitute every 1tsp of orange extract for 2 teaspoon of orange zest.
Cake pans to use:
This recipe is for a 3-layer cake using 4inch / 10cm size cake pans. I find this serves 2-6 people, depending on how hungry you are. I also call it a couple cake! However, if you’ve not got this size of cake tin, you can easily swap this for 2 layers of the 6inch / 15cm size.
Alternatively, double up the recipe for 3 thick layers of 6inch / 15cm for an impressively tall layer cake!
Spider decoration options:
If you don’t fancy trying to model your own spiders from fondant icing, you can draw a simpler version of them on a piece of greaseproof paper using melted dark chocolate – just a small oval with eight lines coming off. Let this set in the fridge for 10mins and then peel them off and place them onto your spiderwebs.
Alternatively, you can buy pre-made chocolate spiders in the store if you can find them!
I also made little white spiders’ eggs to place at the base of my cake as shown in the photos, but this is completely optional. I’ve also been told that spiders’ eggs don’t even look like that! Whoops. But I still stand by my weird spidery decisions...
🧁 Other goodies
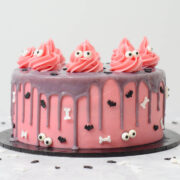
Love all things cute and creepy? For more spooky cakes, check out my recipe for a pink Halloween cake or poorly pumpkin patch chocolate tahini drip cake.
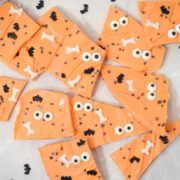
If you're looking for an easy Halloween treat, check out this Halloween bark or spiderweb cakesicles!
Looking forward to some new recipes? Check out my Facebook, Instagram and Pinterest pages for a few sneak peeks and some sweet inspiration!
Or if you’d like to hear about our latest recipes, why not subscribe to our newsletter?
📖 Recipe
Spiderweb Orange and Vanilla Mini Cake
Rate this recipe here:
Equipment
Ingredients
Sponges:
- ½ cups (110 g) unsalted butter
- ⅔ cups (110 g) caster sugar (golden or white)
- 2 eggs
- 1 cups (110 g) plain / all-purpose flour (or see notes for using self-raising flour)
- 1½ teaspoon baking powder
- 1 teaspoon vanilla extract
- 1½ tablespoon milk (whole or semi-skimmed)
Buttercream:
- ⅔ cups (150 g) unsalted butter
- 2½ cups (300 g) confectioners sugar (icing sugar)
- 1 teaspoon orange extract
- 2 teaspoon milk (whole or semi-skimmed)
- A few drops of orange food colouring
Decorations:
- 2-3 marshmallows (large)
- Black fondant (for spiders)
Instructions
Sponges:
- Preheat oven: 180°C / 160°C (fan) / Gas Mark 4 / 350°F
- For the sponge, cream together the butter and sugar, either using a spatula, electric hand mixer or stand mixer, for several minutes until light and fluffy.
- In a separate bowl, beat the eggs until whisked up to foamy, then add the eggs to the creamed butter and sugar and mix together until smooth.
- Stir in the vanilla extract and then sieve in the flour, folding in gently till just combined.
- Add in the milk and lightly mix until you only just have a smooth mixture.
- Divide the mixture evenly between three lined cake tins and bake for 20-25mins, until the sponges no longer wobble, are springy to touch and a skewer comes out clean. Allow the sponges to cool on the side while you make the buttercream.
Buttercream:
- Beat the butter (either by hand, using an electric mixer or stand mixer) until pale, light and fluffy. This could take several minutes.
- Sieve half of the icing sugar into the butter and beat until combined, then repeat this with the remaining half of icing sugar.
- Once fully combined, add the orange extract, milk and orange colouring and beat until smooth.
Assembly:
- Once the sponges have cooled completely, cut off any peaks to give smooth flat tops on your layers.
- Spread a thick layer of buttercream on top of one sponge, then sandwich another sponge on top before repeating with the next layer. The top sponge layer should be upside-down to give a smooth top.
- Smooth a thick layer of buttercream on top of the cake and around the sides, smoothing and scraping with your spatula and scraper until your cake has a relatively thin and neat outside crumb coating. Refrigerate for 15mins.
- Add the remaining buttercream to the top and outside of the cake, smooth using a spatula and scraper.
Decoration:
- Microwave your marshmallows for 15-20secs and then using your fingers of both hands pick up a pinch, spreading your fingers wide to create long strands of marshmallow. Wrap this around your cake and repeat until you have covered your cake on the top and sides.
- For the spiders, pinch off a small amount of black fondant icing and roll it into a ball, lightly flatten it and then pinch off a smaller piece and roll it into a ball, brush a small amount of water onto one side and press it lightly on top of the body as the head.
- For the legs, roll out 8 very small thin sausages and bend each at a right angle roughly ¾ of the way along. Brush a small amount of water to the tip of the short end and attach it to the spider body, pressing lightly.
- Take another small pinch of icing, roll it into a small ball and flatten into an oval before brushing it with water and pressing it over the legs creating a top half og the body.
- Repeat the above spider steps for the number you’d like to top your cake and press each one lightly into the sticky marshmallow webs.
Notes
- Instead of plain flour, you can use self-raising flour and reduce the baking powder by 1tsp.
Nutrition
Nutritional information is an estimate based on an online nutritional calculator, actual values may vary.


Julia says
This looks amazing - spooky but not terrifying. I love how you've decorated it too. I'll have a go at making the spiders but I might have to stick with making an extra web design. I'm not great at moulding little creatures 🙂 Thank you for this.
Sweet Mouth Joy says
Thanks Julia! I'm actually scared of spiders so I totally back you not making them haha. They're a bit fiddly but easier than it looks. Happy baking!